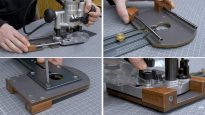
Hi there, today I’d like to show you two different ways of making a milling with the homemade 3D Router.
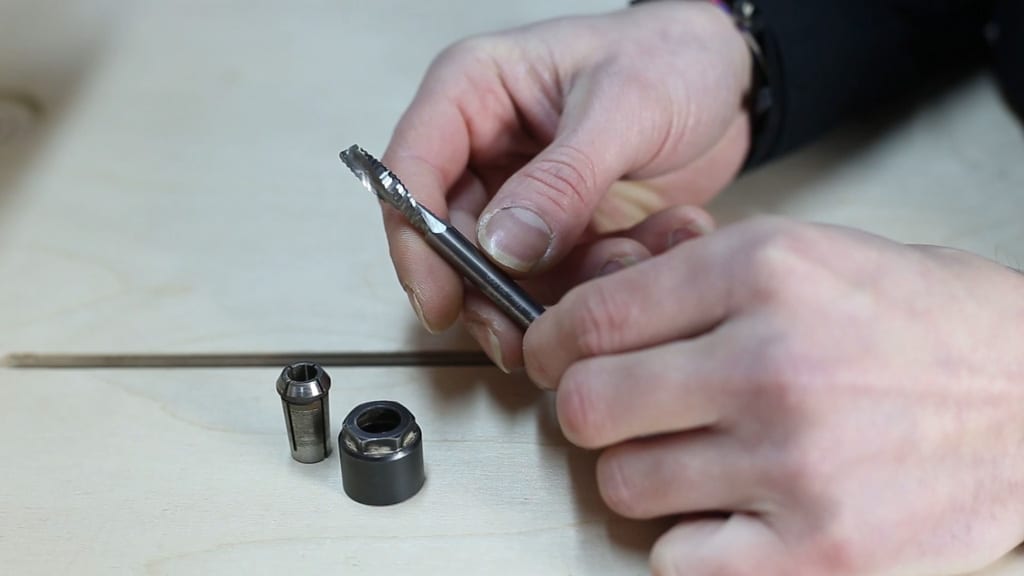
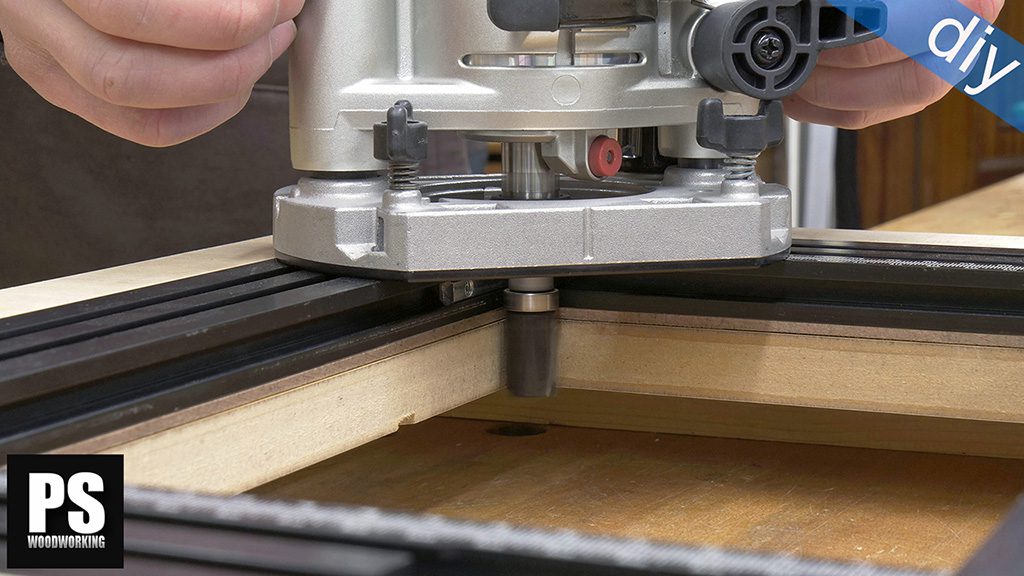
I am going to use an 8mm solid carbide spiral bit with chipbreaker It’s been made to be used in CNC Routers but it also works fine in hand routers. They are so useful if you need to remove a lot of material because it evacuates much better the woodchips.

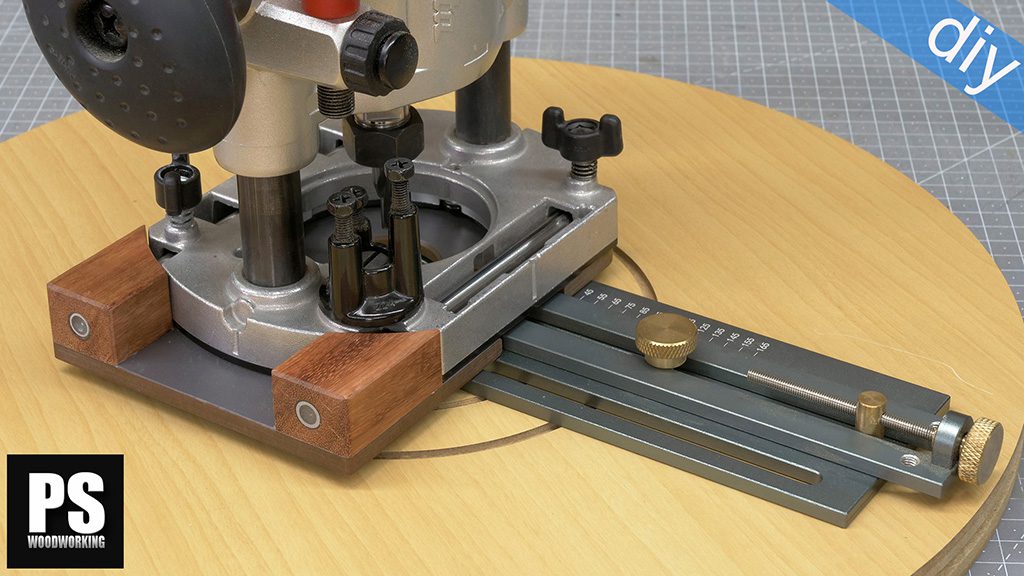
Put in place the piece we want to mill and make the height adjustments of the 3D Router. Turn the fence to square the board.
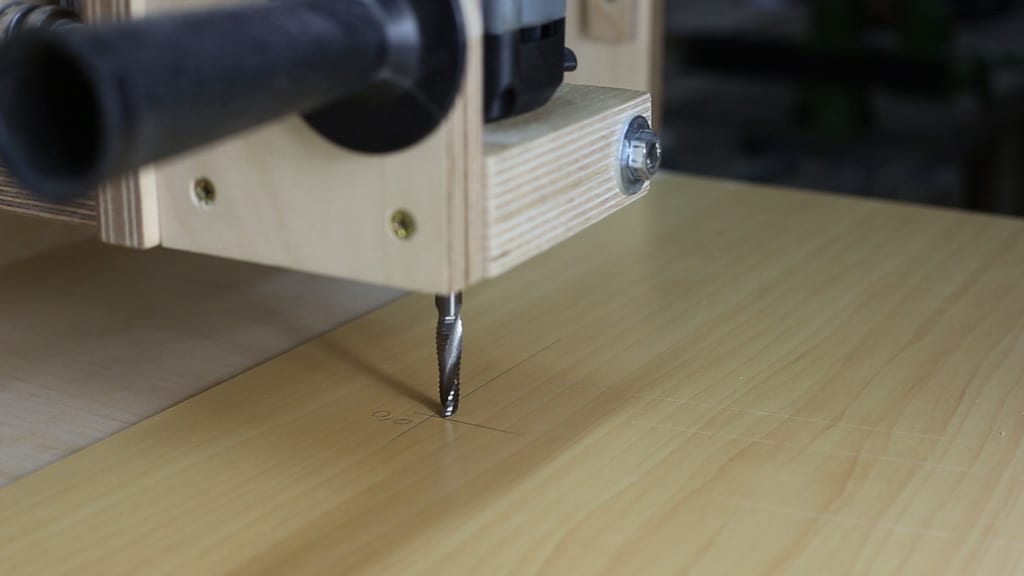
Place the bit in the pre marked start corner.

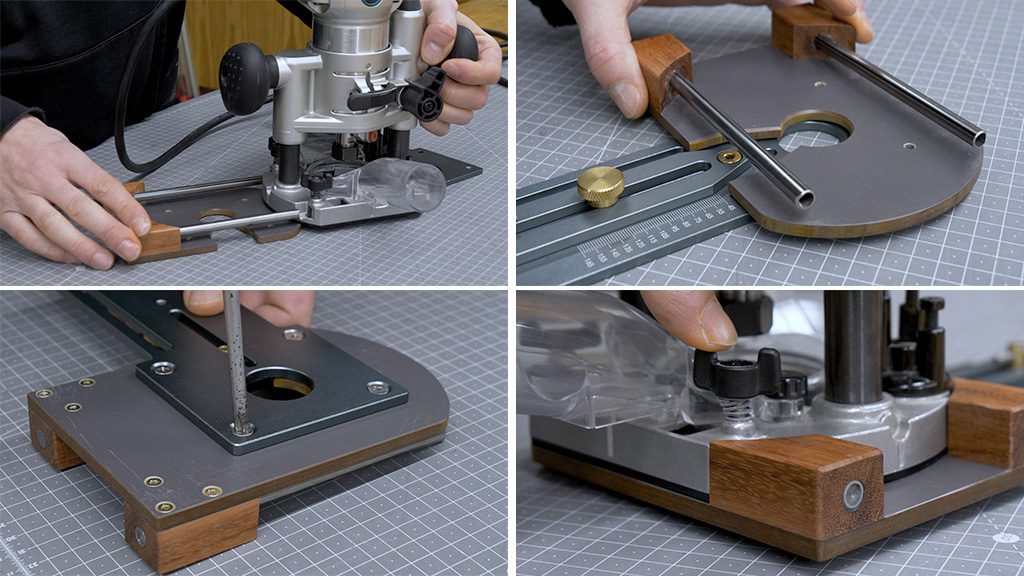
Hold the board with clamps and adjust the deep, in order to do that, stop the bit in the board, and keeping that position, place a jig with the thickness needed.
A good way to get the milling exact size, is to cut a block with the total dimensions of the milling, subtracting the diameter of the bit. In this case I want a milling of 100x150mm, so I’ll use a block of 99.2×114.2mm.

Place the jig and hold the stops for the “X” and “Y” axis.

Let’s start the milling, as you can see these type of bits works so nice with MDF.

Now I’ll show you the two ways I was talking about of doing this milling. The first one with a jig of the same thickness as the bit, adjusting the stops in every straight mill. This will prevent the bit from moving in the “Y” axis.
The second one is the “freehand” way. Like using a hand router, you’ll need a little practice in order to get a good finish. In this case as it is 10mm deep, it is even harder. Ideally we should do this in two or more times.

Finally check we’ve got the desired dimensions.
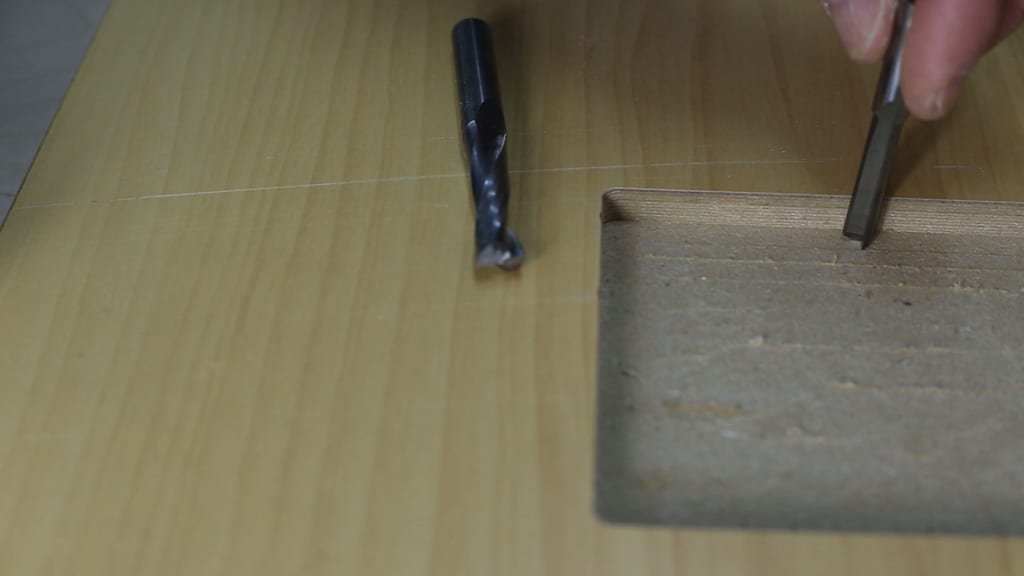
These kind of router bits make these tiny grooves, but you can easily remove them with a finishing router bit. Like this twist bit for CNC routers or this flat one used with hand routers.


Just a thought, can you not do the same with a drill using router bits?
hi John, the drill does not have revolutions enough!