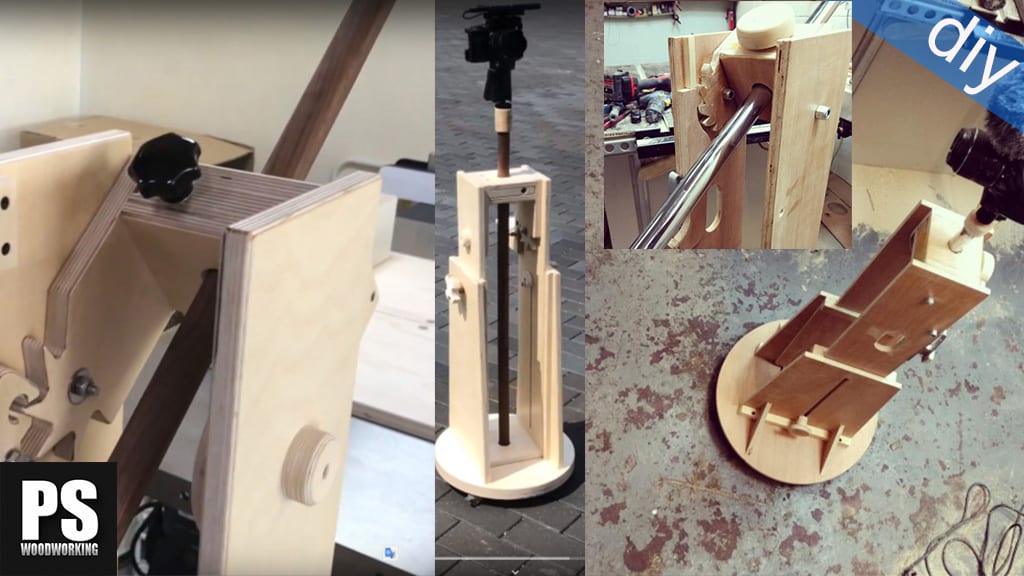
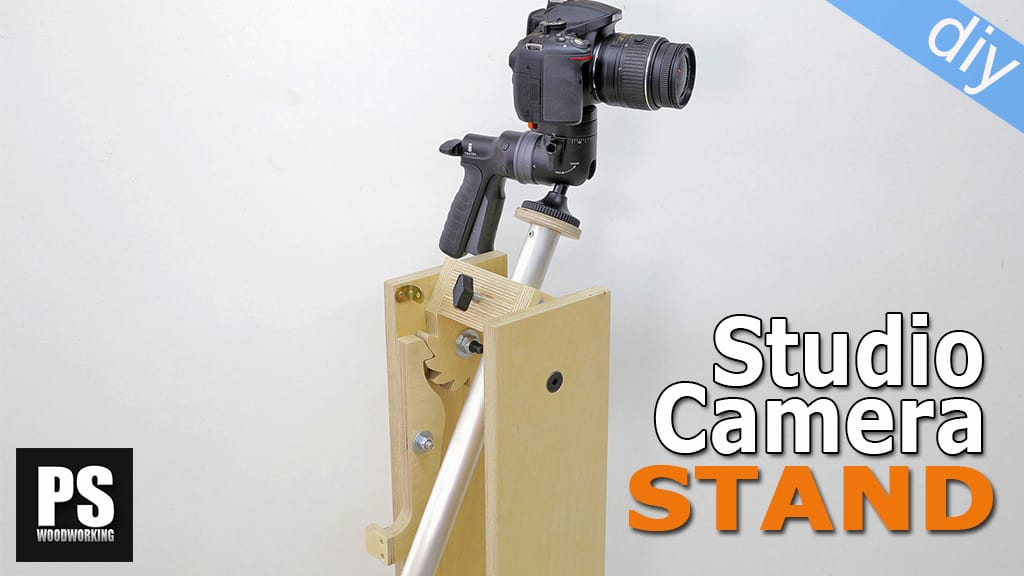
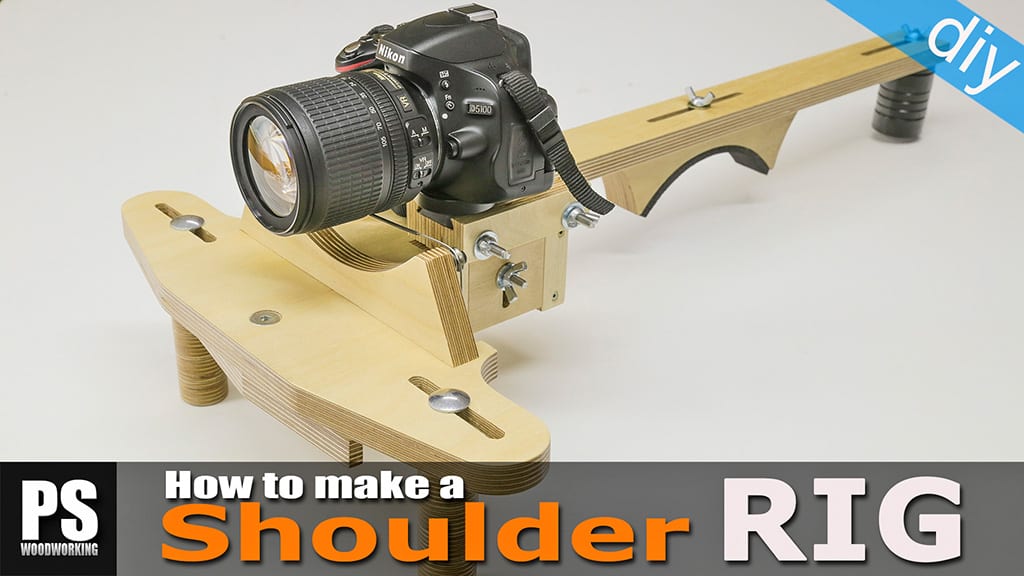
For this article, I’ve tried out many of my latest projects, such as the cutting board, the pepper mill, the folding knife, and the omelette flipper. Also, I’ve tested my DSLR camera shoulder rig outdoors. All the footage in this video was shot with it.
I have also used a Canon 6D, a Tamron 24/70mm lens with polarizing filter and a directional microphone, you can find them here.
I must admit that I’m very satisfied with how the video turned out. Keep in mind that I’m by no means a professional in the audiovisual business, but I think the result is quite decent! I’m also quite happy with how the omelette flipper works. As you can see in the video, it does its job quite well. Keep reading to find out how to cook your own Spanish omelette step by step. You’ll need some potatoes, eggs, and not much else…

It goes without saying that the quality of our recipes is tied to the quality of the ingredients. All the ingredients you see in this article are home-grown, courtesy of my mother, whom I thank for her effort. The eggs are from her free-range hens. This kind of hen lays eggs that have a distinctive taste and strong shade of yellow.
Let’s get started… An omelette this size should be enough for three. First we peel three or four medium sized potatoes and then cut them into slices of different thicknesses -I used my folding knife for this. By doing so, some fries will be crisper than others, giving the omelette a better mouthfeel.
We put some sunflower oil in a pan. Half a liter will be enough. We turn on the stove and put in a slice so that we can tell when the oil is hot enough. Then we put the rest of the potatoes in the pan.

While we fry the potatoes, we beat eight eggs. The texture of the omelette will be better if we don’t beat them too much. Then we add a little salt. We move and stir the potatoes two or three times with a skimmer to ensure they’re evenly fried.
When the potatoes are ready, we use the omelette flipper to drain the oil from the pan into another container. Make sure you remove as much oil as possible. Then we pour the beaten eggs on the potatoes. We lower the heat to 60%.

With a spatula we make gaps between the potatoes to ensure the egg mixture soaks through and is spread evenly. After about a minute, it should start to smoke, meaning it’s time to flip it over with the flipper. You might need to practice before you pull this off!
We put the omelette back in the pan and after another minute, once it starts smoking again, we flip it one more time.

Whether you think it’s ready at this point or not is a matter of taste. I like my omelette a bit runny, so I only flip it over twice. If you like it crispy, let it cook for another minute after flipping it for the second time.
As you can see in the second picture, the egg is a little runny and you can see some white spots from not beating the eggs too much. That’s the egg white.
We also made a salad to go with the omelette, with tomato, olives, and garlic. For the dressing, we used salt, lemon, ground pepper, and extra virgin olive oil. At home I always have a glass bottle with a mixture of extra virgin olive oil, crushed unpeeled garlic, peppercorns, and cayenne. I let it macerate for months… It makes an excellent oil for your salads!
Now that that’s done, it’s time to enjoy the meal with my good friends Manu and Irene – thank you for your help!