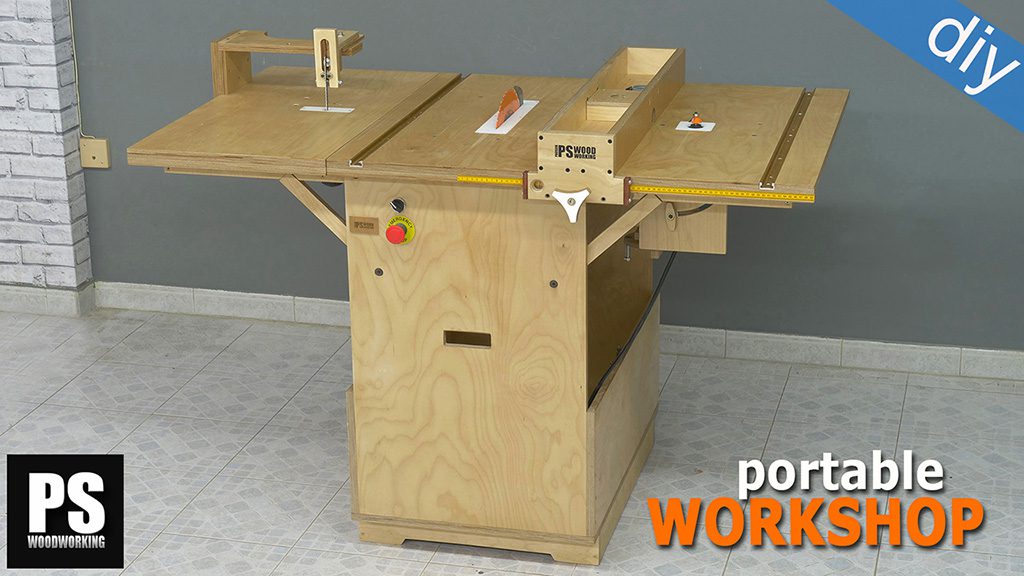
This is the second in a series of four articles on the improvements I’m making on my DIY and woodworking multi-function Portable Workshop. Today I’ll be showing how to use and modify the jig saw table guide.
Plans for the jig saw table guide:
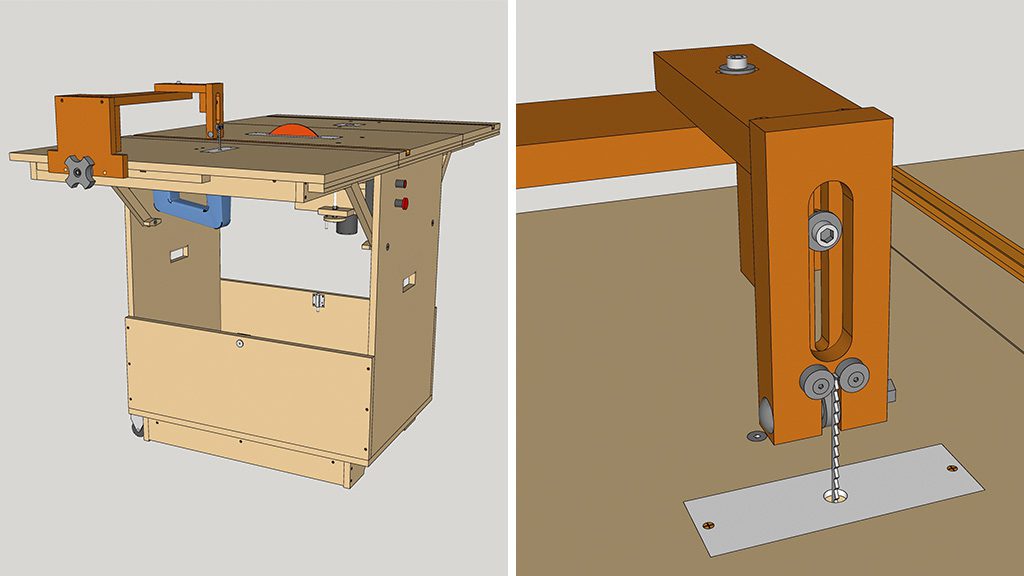
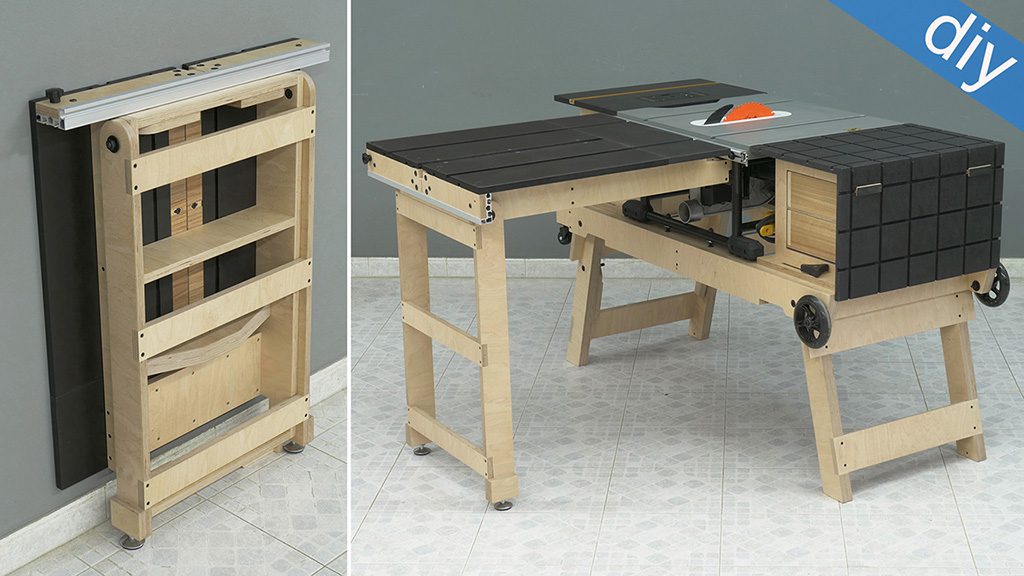
This is the 3D SketchUp model included in the plans available on my website. I’ve updated the Portable Workshop plans with these improvements, but they’re also available separately, so that you can use them with any worktable.
If you had already purchased the plans, you can download it again with the upgrades at no additional cost. Here you will find information to re-download the plans.
Jig Saw Guide Plans
How to use a jig saw table guide?
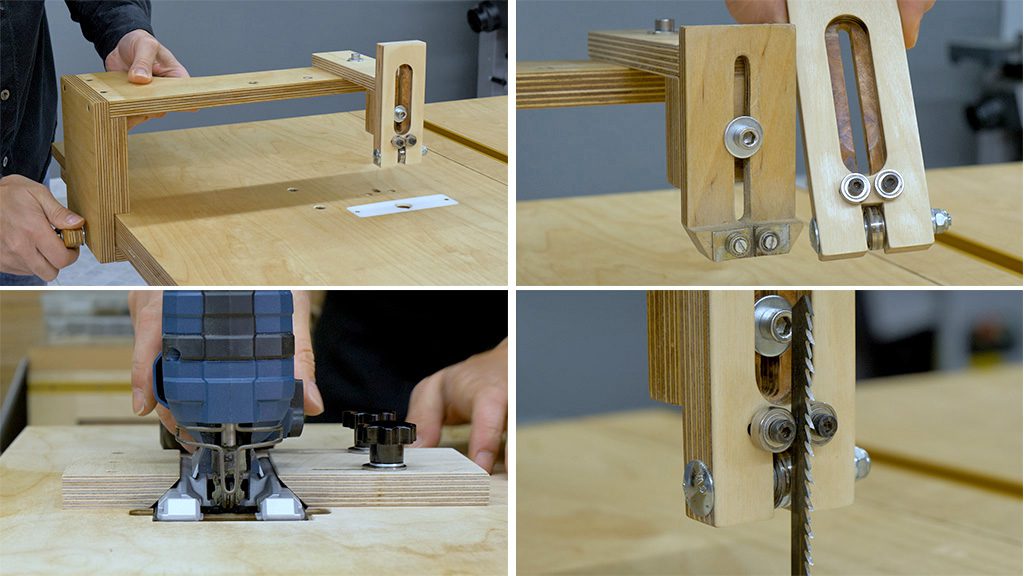
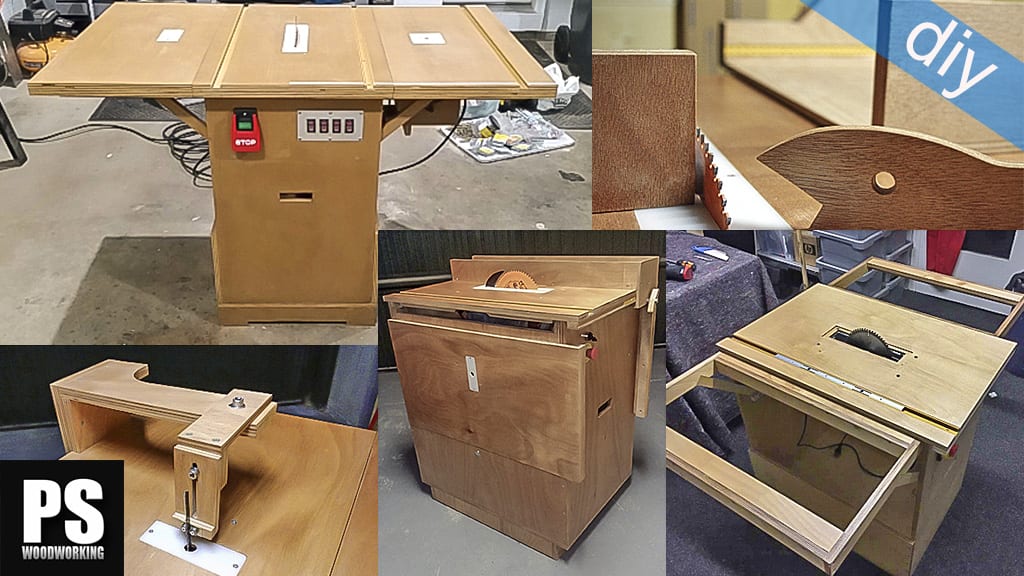
It’s a simple design for attaching to the inverted jig saw’s folding table. The main change was to make a new guide piece, which I’ve fitted with a bearing that will act as back support for the jig saw blade. I’ve also replaced the two bearings that keep the blade square with some bigger ones.
I’ve rebuilt the top piece which lets me adjust the guide’s position. This time I’ve made it 18mm thick rather than 9mm. The Allen bolt on the front allows me to adjust the cutting height. Here’s the old guide piece. It was thinner and had a metal plate as a support for the blade, which wore out with use and in the end it got split in two.
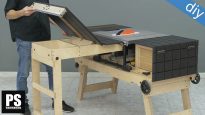
Another interesting improvement was the fast-locking system for the jig saw. It allows me to lock the jig saw to the bottom to the table in a matter of seconds, as well as remove it and use it as a portable saw without wasting any time. In this case, having a 45-degree tilt on the jig saw base has made it easy to make this kind of locking system. If the base was flat, I would have to make both pieces with a rabbet adapted to the thickness of the base.
With this jig saw table, I tend to use fairly long blades, between 15 and 18 centimeters long. The blade must be inserted from the top into the jig saw. Ideally the jig saw should have a quick saw blade changing system. I’ve made to channels so that I can adjust the guide bearings to the thickness of the blade.
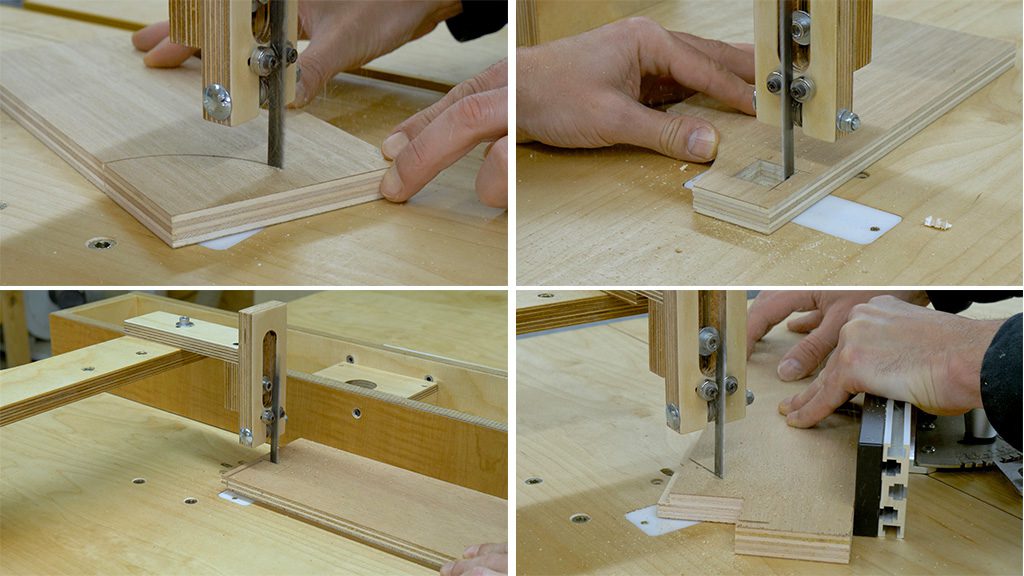
I’m going to make a few cuts to see the saw in action. This tool lets me make curved cuts comfortably as long as they aren’t too tight. I can also make other kinds of cuts that are not possible with a band saw, such as an interior square.
Even though I have a homemade band saw, I’ve decided to keep and use this tool for these kinds of cuts with said saw. When used in conjunction with the fence, I can cut tenons with relative ease. I can also use the miter gauge with this saw. It’s perfect for straight and angled cuts.
How to hold an inverted jigsaw a saw table?
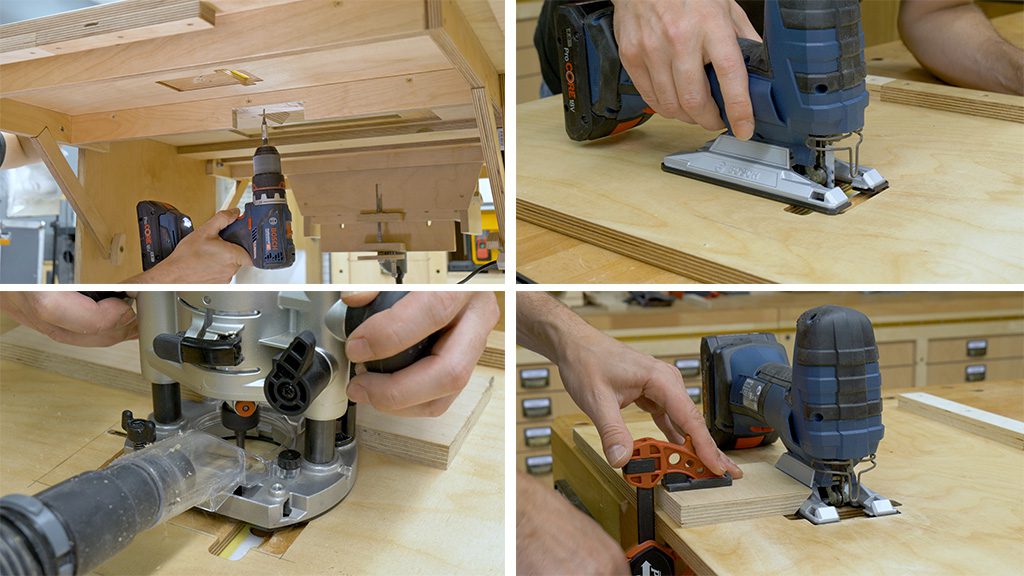
Now I’m going to show you how I made these modifications. I’ll start with the jig saw holding system. First off, we have to remove the top to work more comfortably. Since this battery-powered jig saw has a slightly bigger base than the jig saw I’d been using up until now, I have to widen the recess a little.
After working out its exact position, I mark the new recess with a pencil and cut it with a hand router and guides. I’ve cut the edge of a piece of plywood at 45 degrees to make the mechanism to hold the jig saw to the bottom of the top.
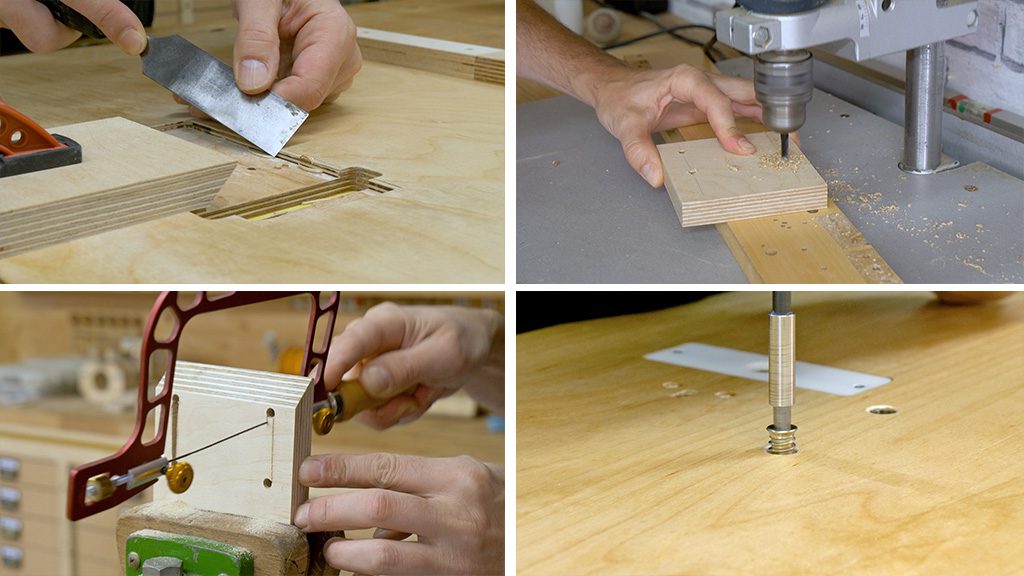
I do some tests and it seems I have to bezel de recess on one of the sides so that I can remove the jig saw. I do this with a chisel and it seems to be working as intended. Now I screw the plywood piece that I cut at a 45-degree angle to the bottom of the top and now I prepare the other piece.
First I’ll make some holes with the column drill. Then, with a coping saw, finish cutting the channels that will let me move this piece so that I can attach and remove the jig saw. I mark the position of the holes to place the threaded inserts with the piece itself.
I place the inserts and do some testing to make sure everything’s working fine. Looks like everything’s okay and that the system will be able to hold the weight of the jig saw without any problems! Now I only have to fasten the top to the Portable Workshop with screws again.
How to improve a jig saw table guide?
Now I’ll make the required modifications in the jig saw guide. First I’ll turn the guide arm around to leave it as it was in the original design. I don’t remember when, but it seems I turned it around at some point.
I’m going to cut and machine two of the smaller guide pieces. First I’ll build the top piece again using 18mm thick plywood rather than 9mm.
I cut the piece down in length and make the necessary holes with the column drill. I finish the channel with a coping saw and screw the two pieces of plywood back together.
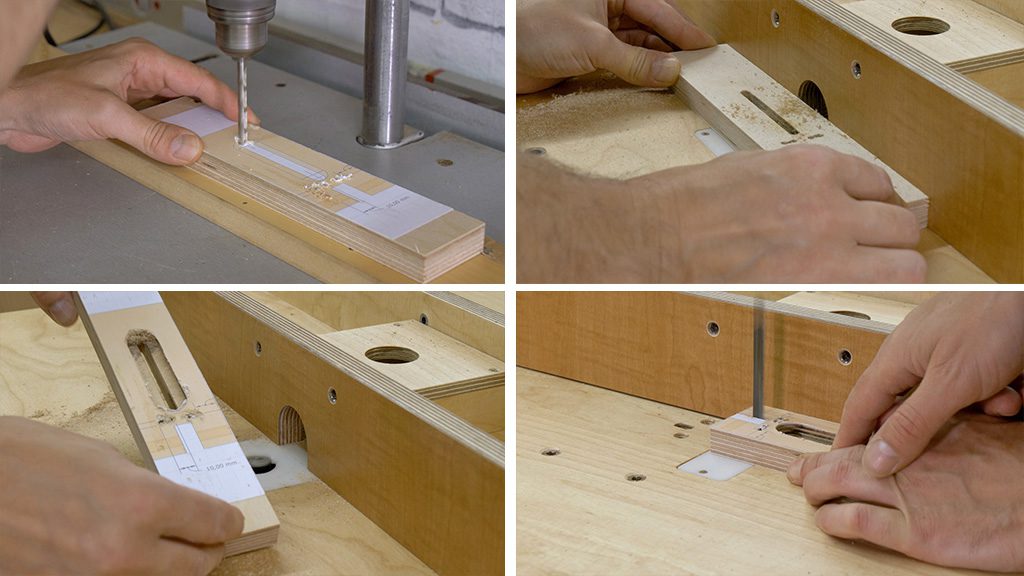
This is the printable template for the piece which houses the bearings. I’m going to stick it on the board to make it easier to build it. First I drill the required holes with the column drill. With the table router, I cut the rabbets that will let me adjust the height of the guide.
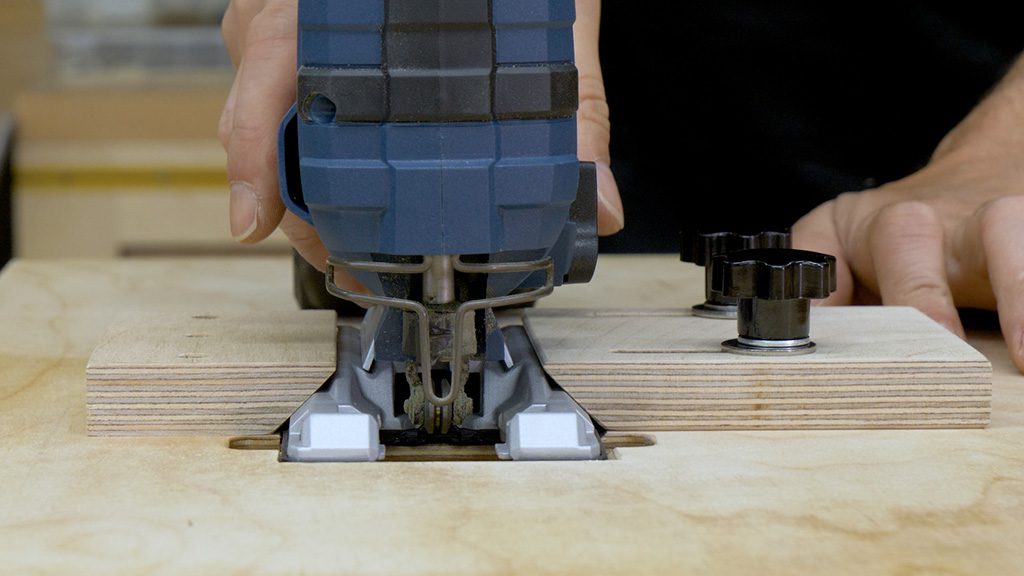
I haven’t cut down the piece in height so I can have more control when cutting with the router and to make it more secure. Once I’ve finished routing, I finish cutting the piece and with the inverted jig saw itself, I cut a groove for the back bearing.
How to install the bearings of a jigsaw table guide?
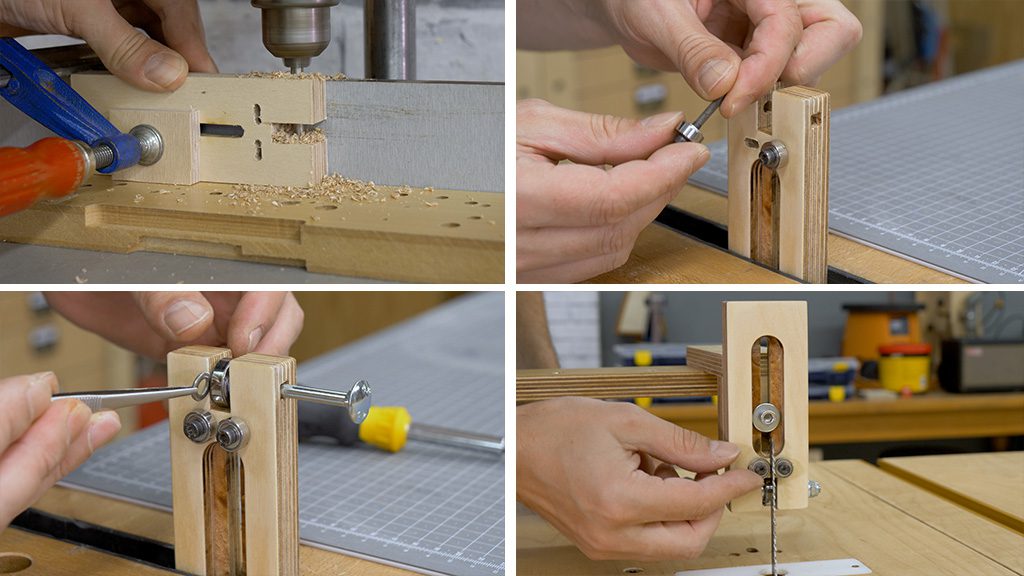
Going back to the column drill, I make a hole for the mushroom head bolt of the back bearing. With a chisel, I cut a rabbet for the bolt’s square neck to prevent the bolt from turning when tightening its nut.
It’s time to place the three bearings in this piece. The blade’s two guide bearings and the back bearing. I put all the pieces of the jig saw guide together again and adjust the blade’s guide bearings.
In the next article in this series, you’ll learn how to improve the lifting system for the router table of this Portable Workshop.


I’m worried that the vibrations from the saw could cause the bracket that holds it in place to come loose, with dangerous results.
I haven’t had any problems so far, but I’ll keep an eye out!
These are great upgrades! Have you considered adding small triangle gussets to the arm to reduce its vertical flex, or do you feel it isn’t necessary?
I thought about it but as you can see in the video it is not a problem when making cuts! thanks