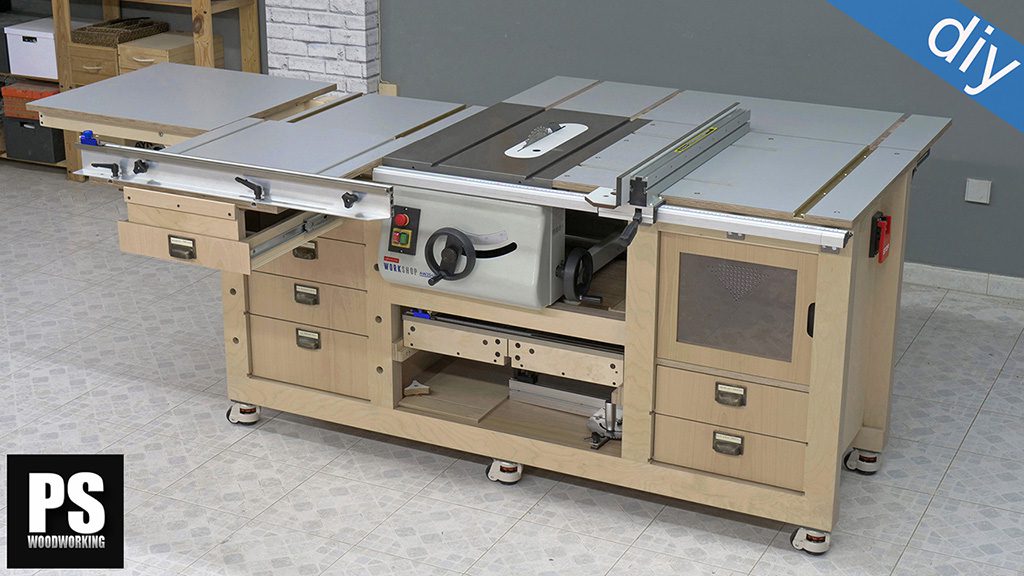
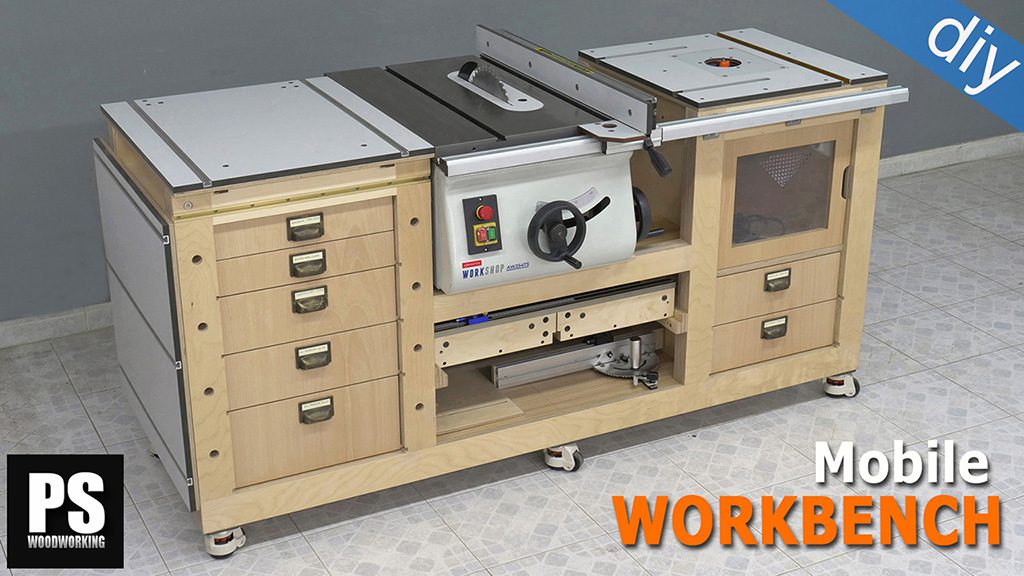
This is the seventh video-article in an 8-part series about my new woodworking portable workbench, which I’ve fitted with a bench table saw and router table. Today I’m going to show you how to build and use this table saw sled with replaceable, adjustable zero clearance.
DIY Table Saw Sled Specs
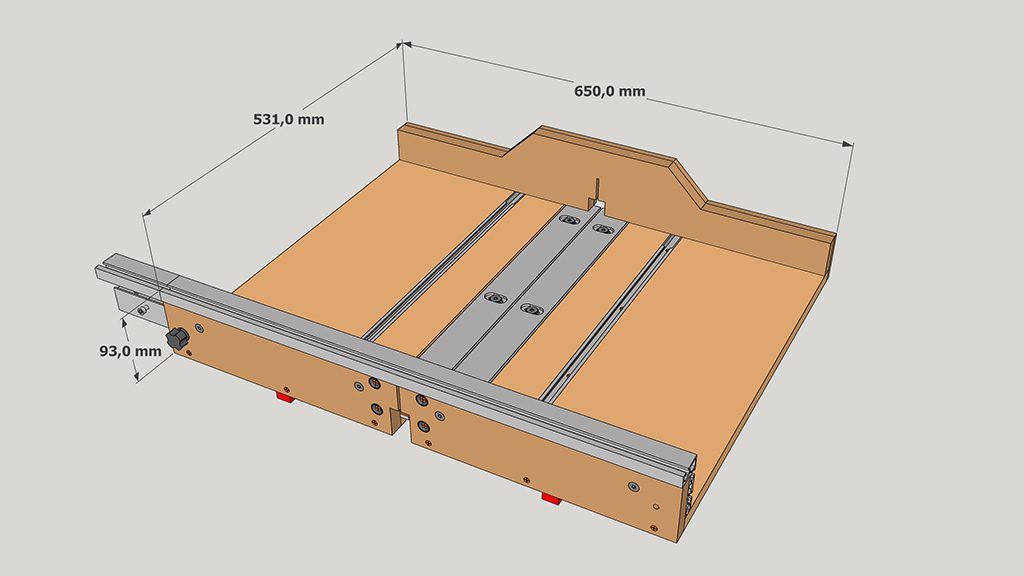
This is the 3D SketchUp file included in the plans you’ll find on this website. In the photo you can see the total measurements of the table saw sled.
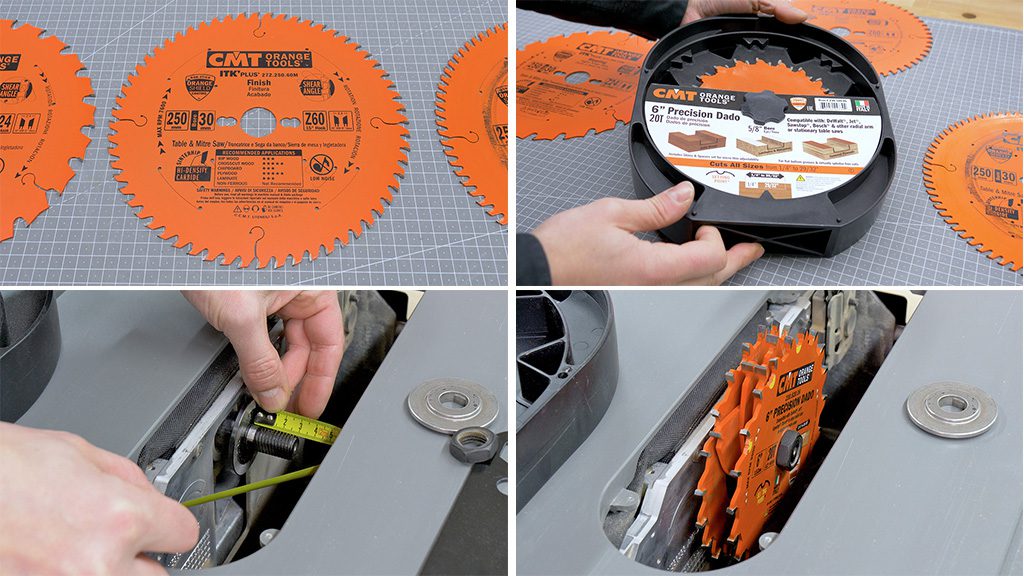
In my case, with the 250mm blade that’s mounted on this saw, the maximum cutting height of the sled is 60mm. If that’s not your case, remember not to go over 60mm in height to avoid cutting the aluminum fence completely.
Table Saw Sled Plans
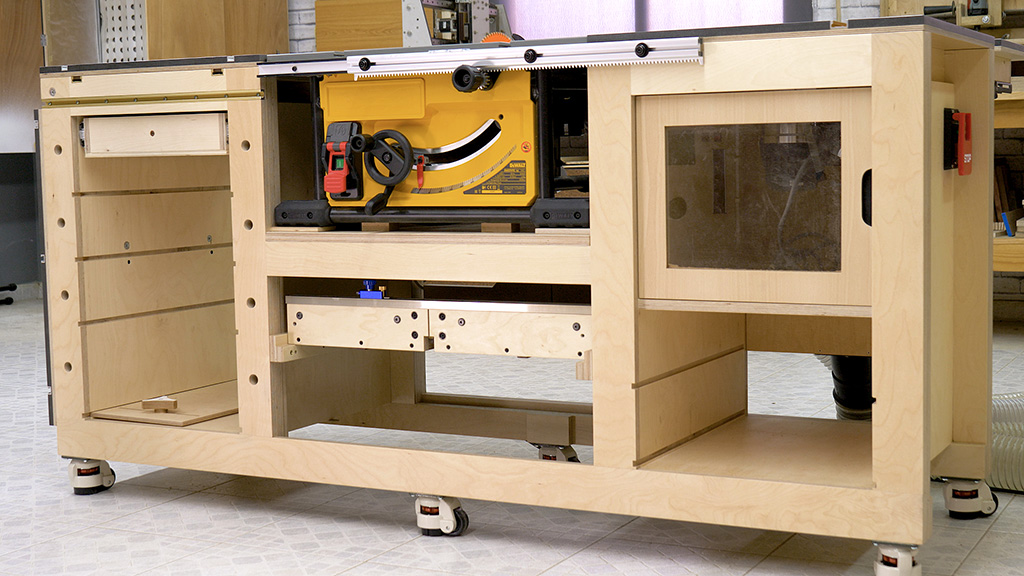
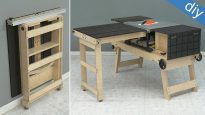
The workbench has a gap in the bottom of the table saw to store the sled and keep it handy when needed.
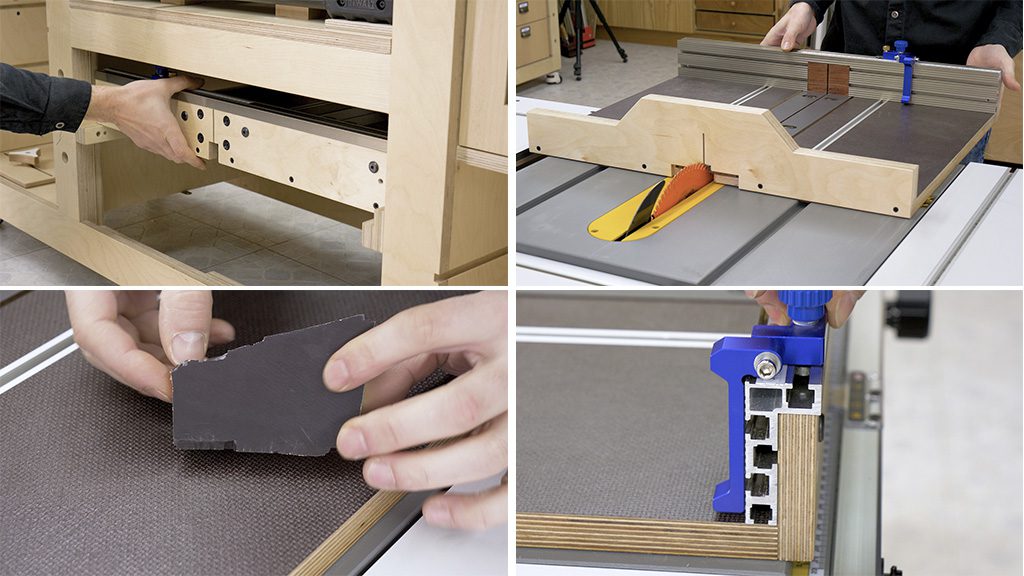
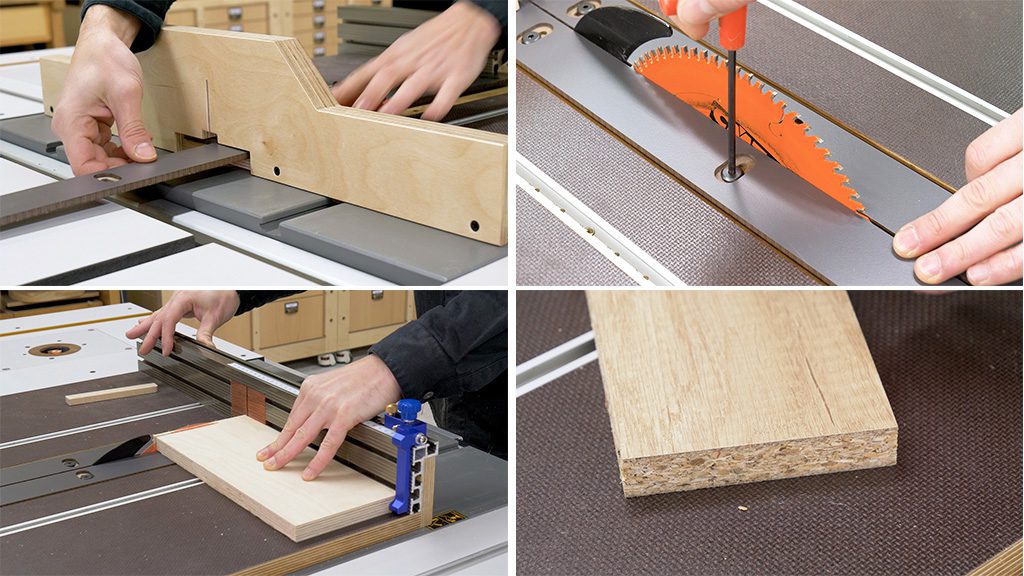
I’ve used trailer floor plywood to make the base of the sled (third picture). It’s a hard and sturdy kind of plywood that’s used, as the name suggests, for the interior of industrial vehicles. It has a layer of phenolic resin on both sides. The side that’s facing upward in the sled is slip-resistant, which allows for better grip on the workpieces. The bottom side is smooth, so the sled will slide better
I’ve also used the same aluminum profile fence as in the sliding carriage and the router ta-ble fence. It’s a very versatile profile that will let me use miter track stops and other acces-sories such as clamps.
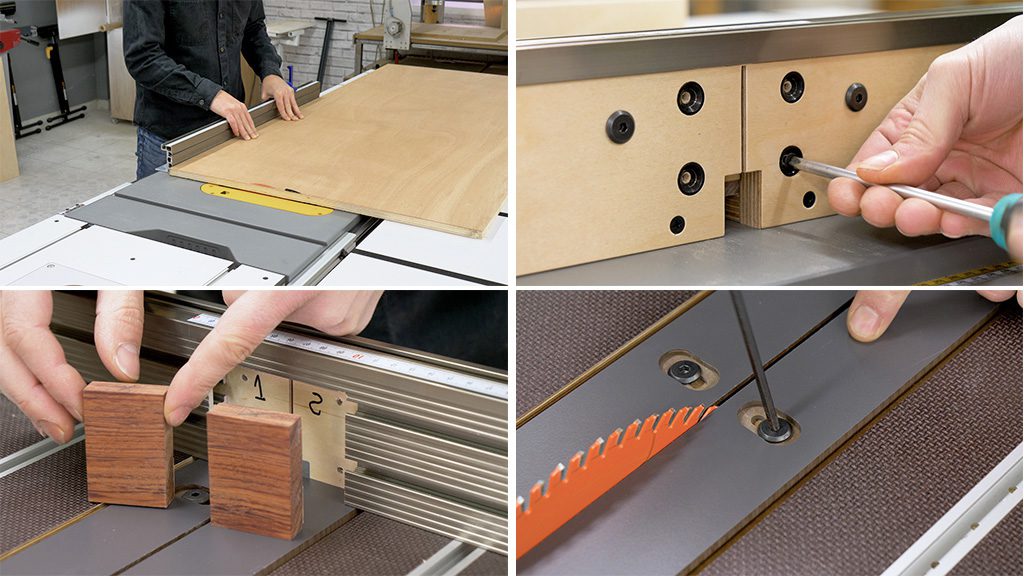
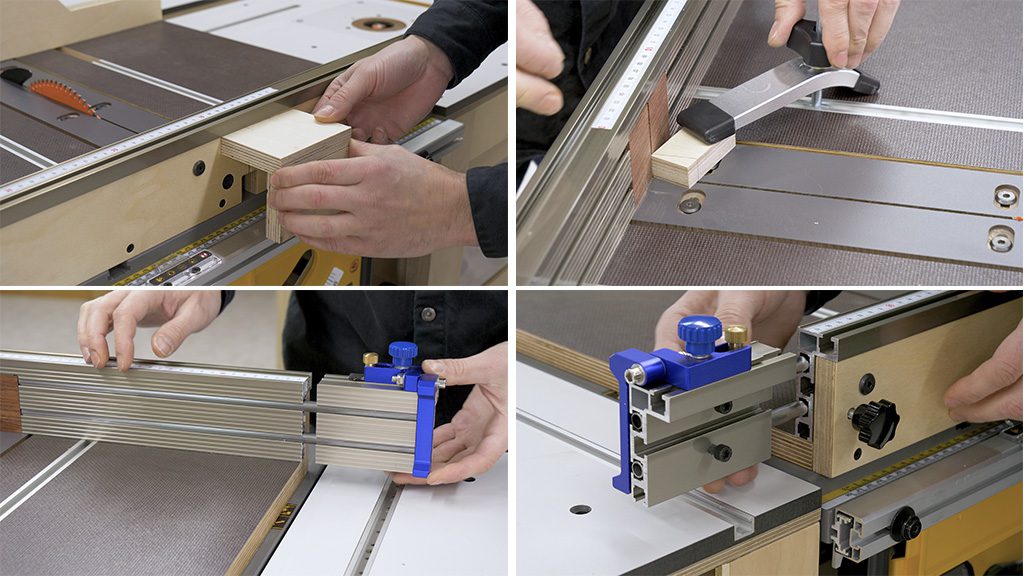
In the first picture you can see the aluminum profile mounted in the sliding carriage while I make a cut on a board.
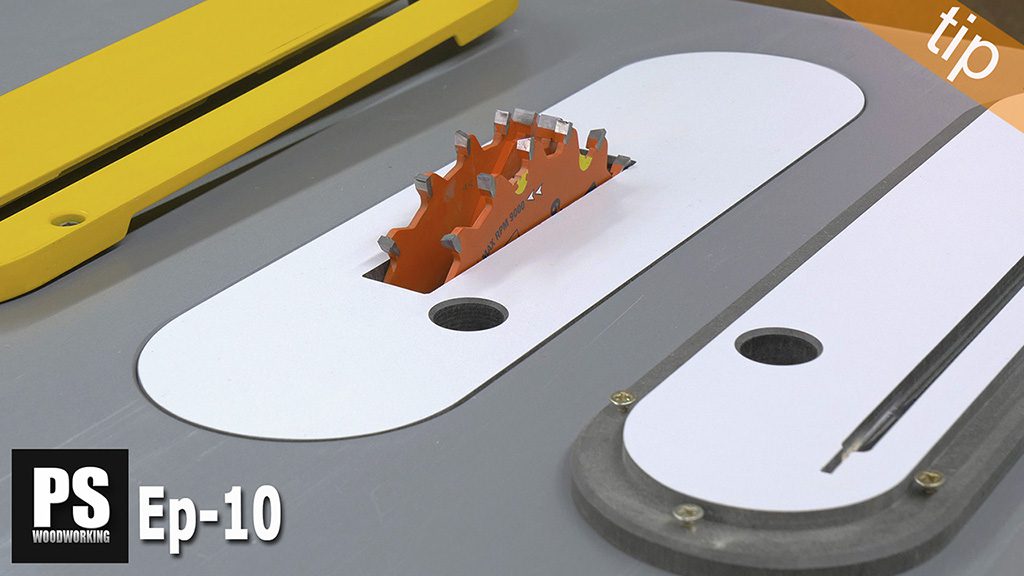
I’ve installed a piece of wood acting as an insert to achieve clean cuts at the exit point of the blade. I’ve screwed it on using neck joint bushings, but you could use any kind of metal washers to avoid damaging the board when replacing the insert.
These are the inserts for the base. They’re made from HPL with grey melamine, but we could have used MDF or acrylic boards between 5 and 7 mm thick. I’ve machined some grooves to adjust them according to how thick the blade we will use is.
How to use the DIY Table Saw Sled
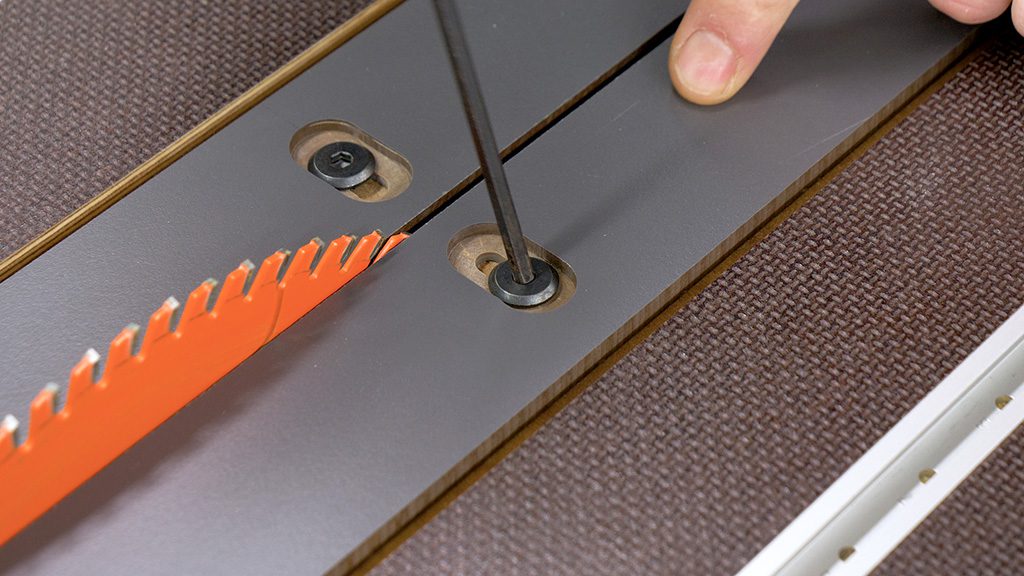
I can remove the inserts from the back of the table by taking out the screws. To adjust them, it’s best to raise the blade as much as possible and tighten the screws, leaving 2 tenths of a millimeter between the insert and the teeth of the blade.
It’s normal for the blades in these kinds of table saws to vibrate a little when starting or stopping the motor. In the video you can see how the blade removes some material from the in-serts on start up.
I’ve installed a soft start module in this saw and even though it’s im-proved, I haven’t been able to solve it completely. With these adjustable inserts, I’ll be able to adjust them as they wear out or deform by touching the blade.
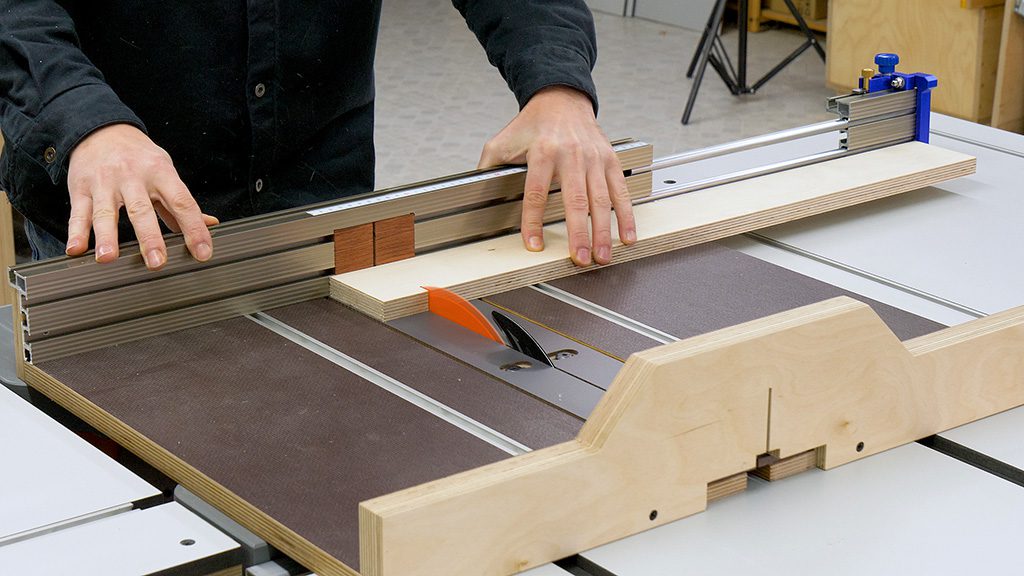
I’m going to make a few cuts to see the sled in action. This sled is ideal for making cross-cuts in medium and small sized workpieces in a safe and accurate way. To cut larger workpieces, I have the sliding carriage.
The lower inserts make it so that the wood will barely splinter at the exit point of the blade. I’m going to try with a much more sensitive board, a piece of chipboard with melamine on both sides.
Funnily enough, there’s more splintering on the upper side than on the lower one at the exit point. Maybe the blade was too low, but the inserts work like a charm.
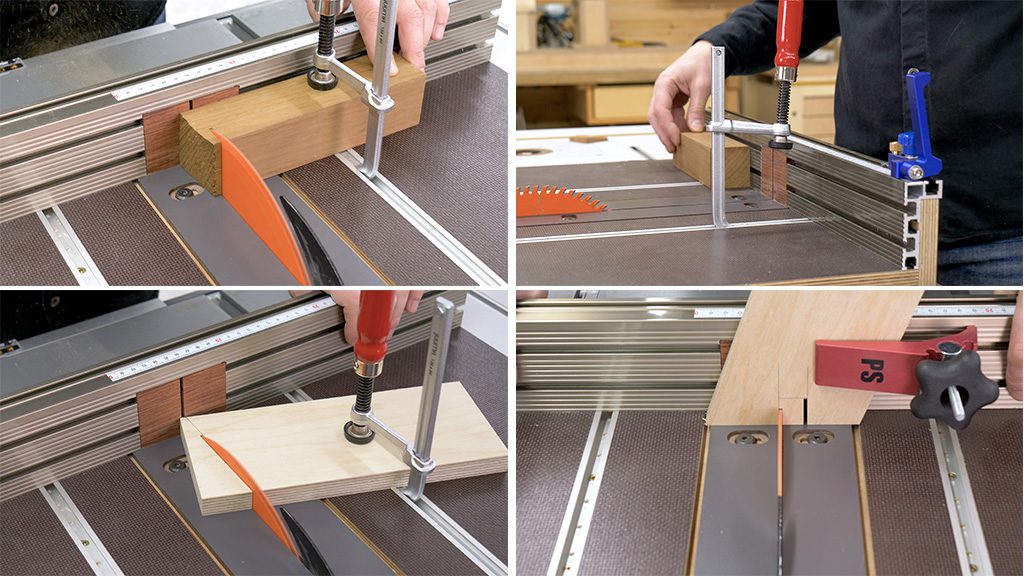
I’ve installed some T-track profiles on the base of the sled that will let me hold and cut al-most all kinds of workpieces safely. I’ll be able to use T-track clamps and hold down clamps.
These kinds of T-track clamps are very comfortable when holding relatively high pieces. Besides, they maintain the position once loosened, making them very comfortable for re-peated cuts.
They’ll also allow me to hold pieces so I can cut them at an angle. This sled is very com-fortable for these kinds of cuts—you only need to premark the cut and align the cutting lines with the base inserts.
I can also use hold down clamps in the aluminum profile fence, but only the ones that have a bolt up to 6mm in diameter (fourth photo). It will be very useful for holding workpieces to the aluminum profile fence and cut rabbets or make these kinds of cuts.
These hold down clamps will be also perfect for holding very small workpieces and cut them safely. It’s important to be careful with your hands in these kinds of jobs if the sled doesn’t have protection at the exit point of the cut.
It wouldn’t be a bad idea to make a protector to install at the exit of the cut. It would be easy to install by screwing it to the back plywood piece.
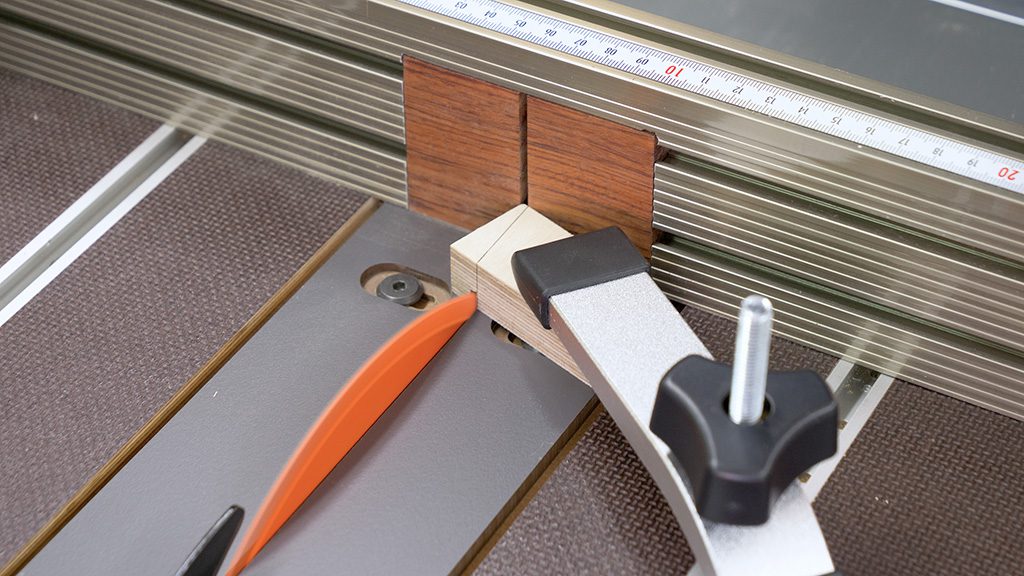
Just like with the sliding carriage, here we can also make an attachment so that we can extend the miter track stop and cut larger workpieces. We only need to insert it on one of the sides of the aluminum profile fence and lock it at the desired length with a tightening knob
This stop is reversible and can be used both on the left and on the right of the profile fence. We could even make larger attachments to cut even longer workpieces, and also use the one I made some days ago for the sliding carriage.

Another interesting possibility of this sled is to use it with a dado blade to make rabbets in all sorts of wooden workpieces. You only need to adjust the inserts of the base to the thick-ness of the blade and change the aluminum profile fence’s wooden insert.
These types of blades are normally used to cut grooves. With this setup, it’s 6.3mm thick. To use it as a fence insert, I can use any kind of board that’s 15mm thick. It will allow me to cut, for example, wooden tenons.
It will also allow me to make box joints. Both with the same dado blade or with a normal blade. Making the insert is easy. You only need to glue a piece of wood as a stop and place it away from the cutting line the same distance as the thickness of the blade we’ll be using.
The height of the blade must be the same as the thickness of the wooden pieces. I’m going to run a few tests to show off the process and the end result. I think it’s a little dangerous to make these sorts of joints this way, and I’m thinking of making a jig to mount on the sled and make box joints in a faster and safer way.

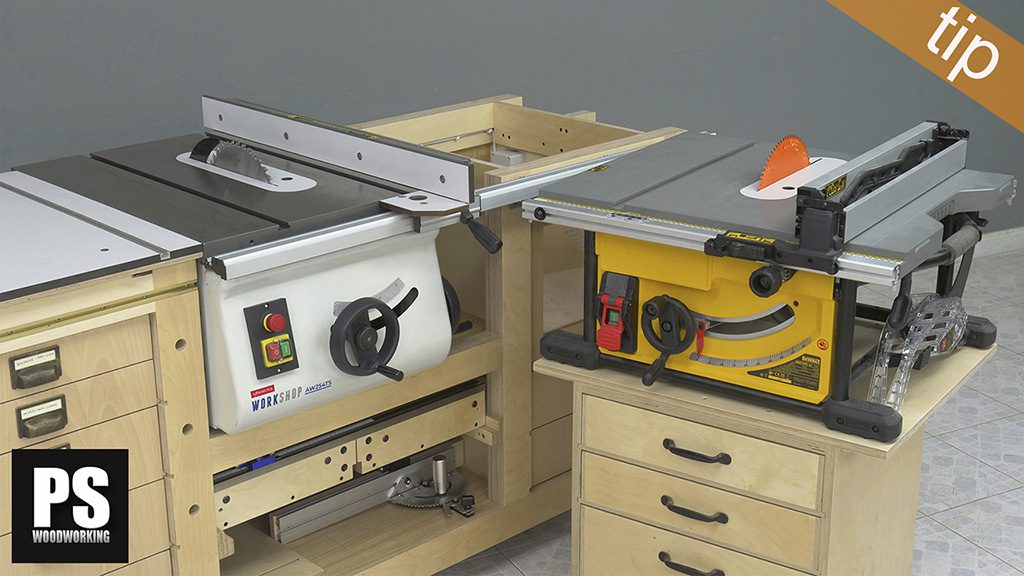
There’s one last consideration I’d like to talk about. The blade in these kinds of saws isn’t usually at the center of the worktable. In this case, there’s a 10 mm difference.
The design of the plans has a central cut right in the center of the base of the sled. By using it in this Dewalt DWE7492-QS bench table saw, the sled would be slightly off center to one of the sides, more or less as you can see in the fourth photo. I’ve modified the design on the fly while I was making it so that the sled would be centered with the worktable. Both systems are perfectly valid.
Table Saw Sled Readers Projects:

Absolutely brilliant, Suso!! You seem to have thought of everything. This sled design has so many great ideas built in! I love how it stores right below the saw. This is definitely the best crosscut sled/build/video I’ve seen. Brilliant design, meticulous build, excellent video production.
Genial!! De gran ayuda en el trabajo con madera.
thanks Donny! 🔥🔥
Why did you give 4 stars if you think it’s perfect? Very strange
What are your thoughts about trying to accommodate the blade at 45 degrees. That looks like it adds some requirements to the adjustable zero clearance design and to the rear replaceable inserts. Did you conclude that the sled should be used for blades set perpendicular to the table?
hi Al, yes you’re right. To make cuts at 45 degrees it is necessary custom inserts
Do you have a link to the forum for the accessories of this sled? I’m particularly intersted in the 17×10,6mm T-tracks for the sled base. Thank you.
hi Brad, here you will find some of the profiles that I have used. The one you mention is the so-called “T-Track Metric”
Much appreciated Suso. I have made several purchases in that store, I know their range. A very good shop.
I am thinking about building one for a sawstop but concerned with the extruded aluminum running the entire length of the back fence. thoughts?