I’ve posted this new article to show you how to adjust the blade, the fence and the miter gauge slots of a table saw or bench table saw, allowing you to make perfect and accurate cuts.
I’d like to clear something up before I begin. These kinds of bench table saws are hard to adjust. This is due to the way they’re constructed. For example, the worktable is never completely straight, like in stationary saws with a rectified cast iron table.
The brushed motor in these bench table saws makes more noise and vibrations. All of this, along with other factors, makes it impossible to do fine tuning, which can be done with other kinds of stationary saws. Therefore, keeping this in minds, we should aim to adjust them as much as possible within their possibilities.
How to align a table saw blade for clean cuts
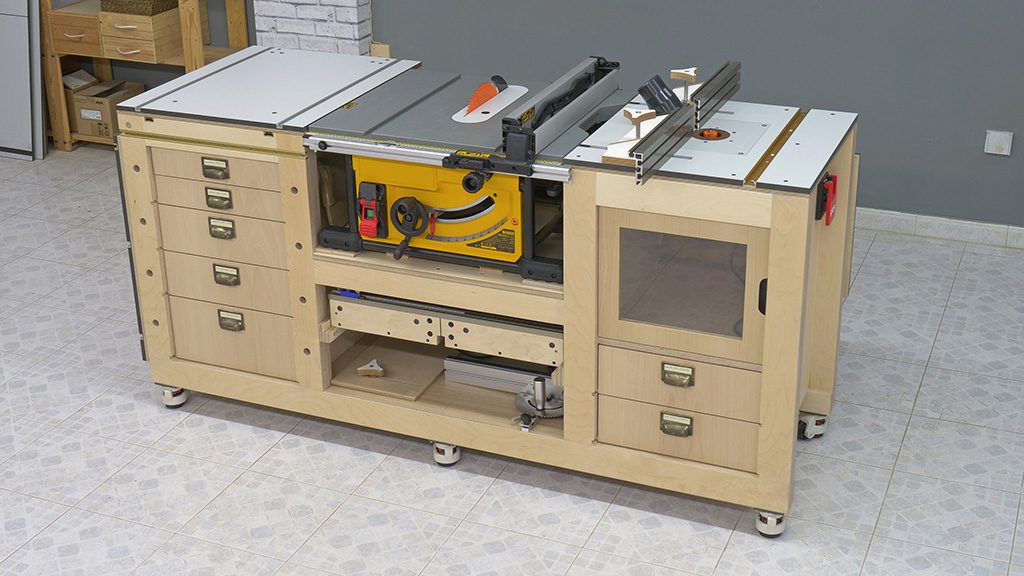
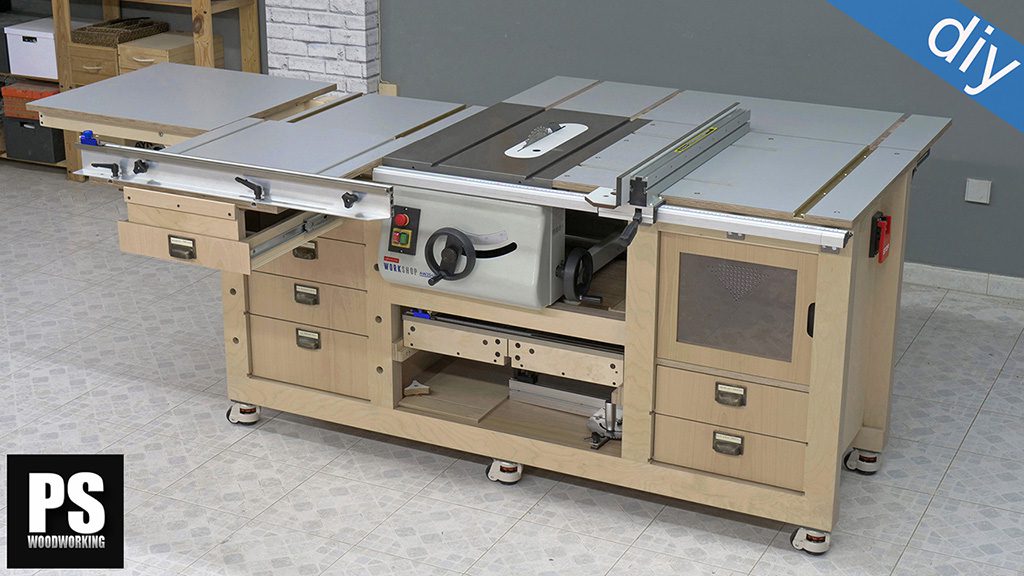
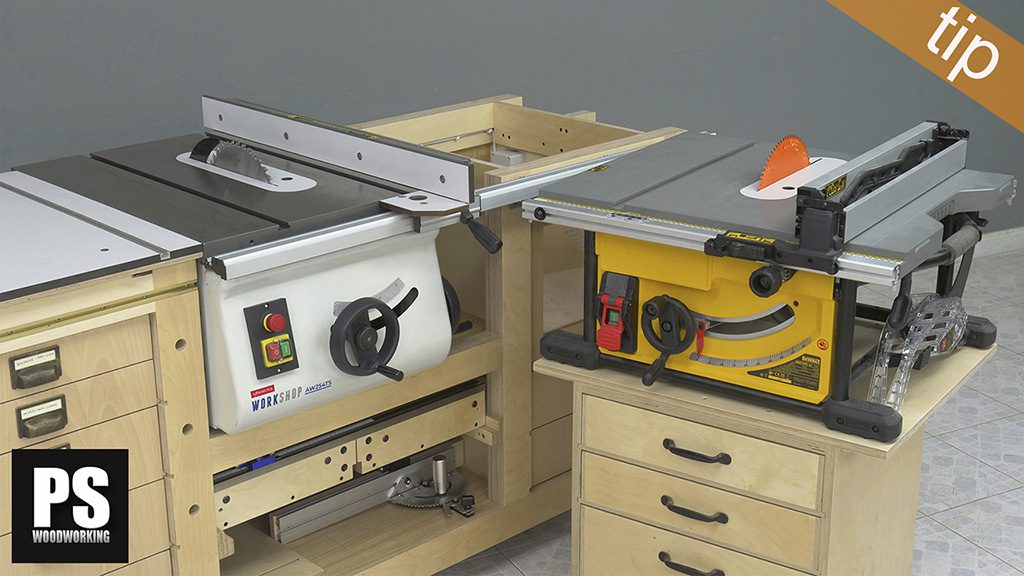
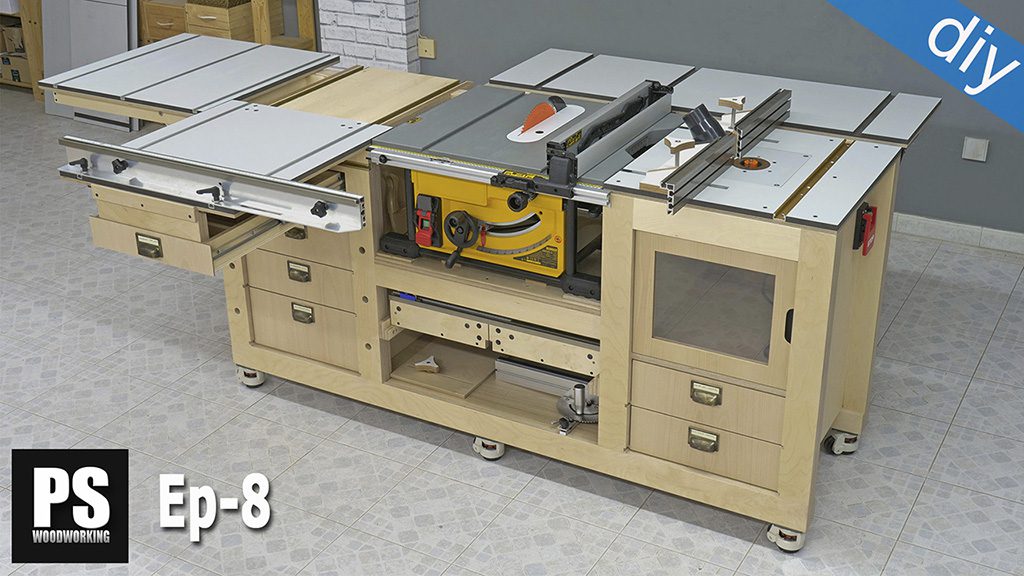
In this picture you can see the saw table workstation I made where I can mount the bench saw, which I’m going to use as an example for this brief tutorial. Besides adjusting the DeWalt DWE7492-QS saw, I’ll also have to adjust the bench’s sliding carriage.
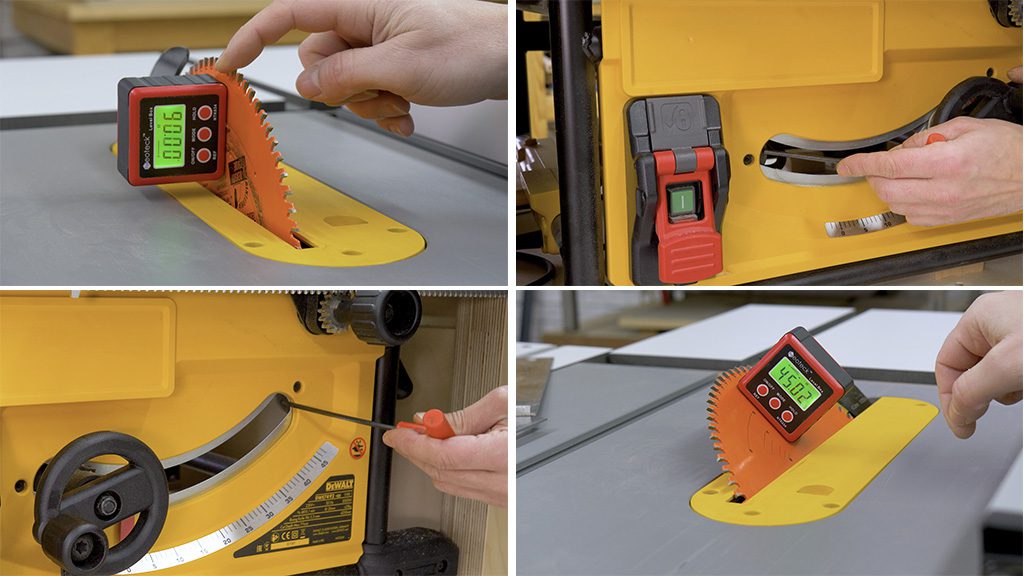
Adjusting a bench table saw is the first thing we should do before making any cuts with the saw. Normally, when you receive them from the manufacturer, they’re very poorly calibrated. First off, we should make sure the blade is perpendicular to the worktable. To do this, we can use a simple square or a digital angle gauge.
We should verify whether it’s perpendicular or whether we should tilt the blade towards one side or the other. These kinds of bench saws typically have a couple of bolts on the front so that the blade can be adjusted. In this case, I have to loosen one of the bolts a little and turn a round metal plate which acts as a reference stop so that the blade tilt can be adjusted.
After verifying to which side I have to tilt the blade, I loosen the screw and turn the metal plate. I tighten the screw and check if it’s perpendicular again. We have to repeat this operation as many times as necessary until the blade is perpendicular to the table. The method to calibrate or set the blade tilt to 45 degrees is the same. In my case, you can see I had adjusted it already.
How to align a table saw blade to miter slot and fence
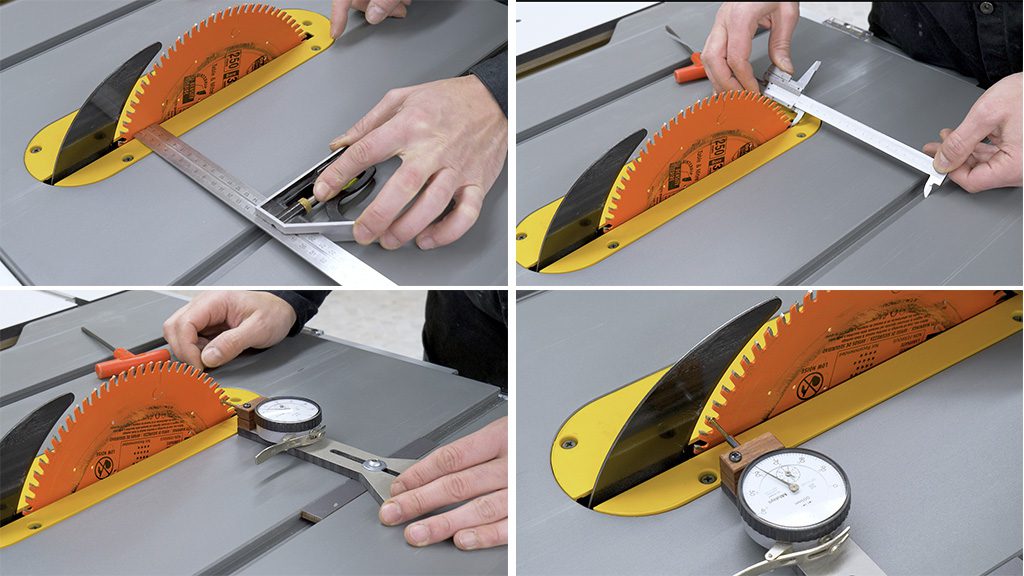
The next step is to ensure the blade is parallel to the worktable’s miter gauge slots for the table saw. To do this we can also use a square or a caliper. We have to measure the distance between the slots and the front and back of the blade.
I’m going to use a dial indicator to which I’ve attached a homemade jig so that I can insert it into the slot. On the market you can find similar ones. After raising the blade to its maximum height, I make sure the blade is parallel to the slot. In my case, I have to move the back of the blade about 6 tenths of a millimeter towards the left.
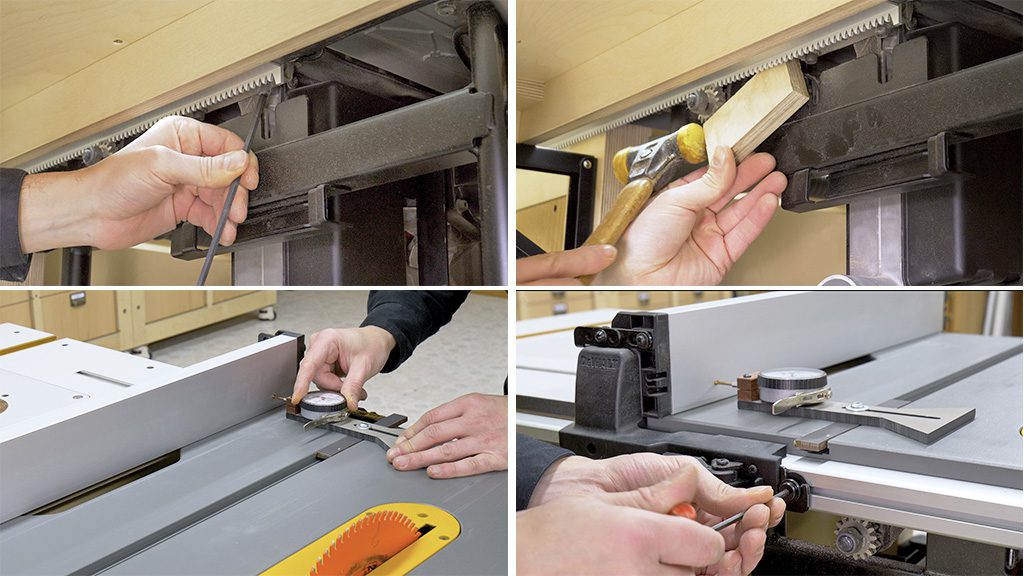
To do that, I have to loosen the two bolts under the back of the worktable. I’m not going to loosen them completely, just enough so that I can move this part of the saw which secures the blade and the motor to the frame by tapping it. I’ll use a piece of plywood and a hammer to avoid damaging any parts. Once again, I check if the blade is parallel to the slot, and if that’s not the case, we have to repeat the process as many times as necessary.
Similarly, I’m going to check if the fence is parallel to the slot. I insert the dial indicator in one of the slots and verify the distance between the fence and slot in the front and back of the worktable. In my case, I have to move the back of the fence to the right. To do this, I loosen the fence bolt a little and carefully hammer it into place.
Just like before, I check once more that there’s the same distance on both ends of the fence and whether it’s necessary to repeat the process. This saw has three possible fence positions. We have to repeat the process for each of these.
How to calibrate a table saw fence
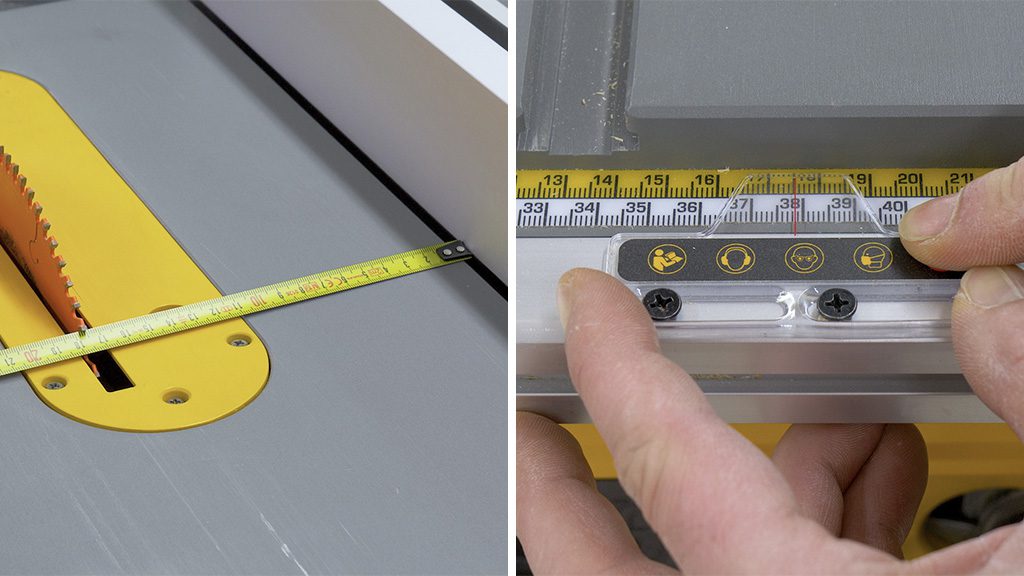
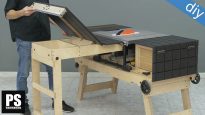
Finally, we have to adjust the fence indicator. It’s as easy as cutting a random workpiece to size, measure the resulting piece with a tape measure or caliper and adjust the indicator to this measurement. If you use a caliper, you will adjust it more precisely. You can also measure the distance between the blade and the fence with a tape measure.

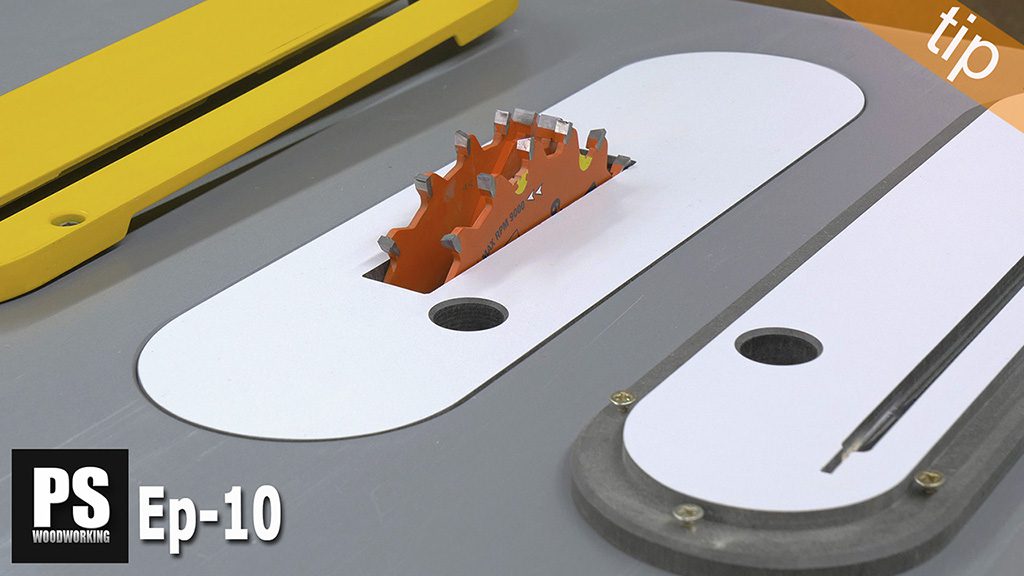
If you have a similar bench table saw, you may be interested in this other article where I explain how to make new and improved zero clearance inserts for use with the saw in order to achieve better cuts.
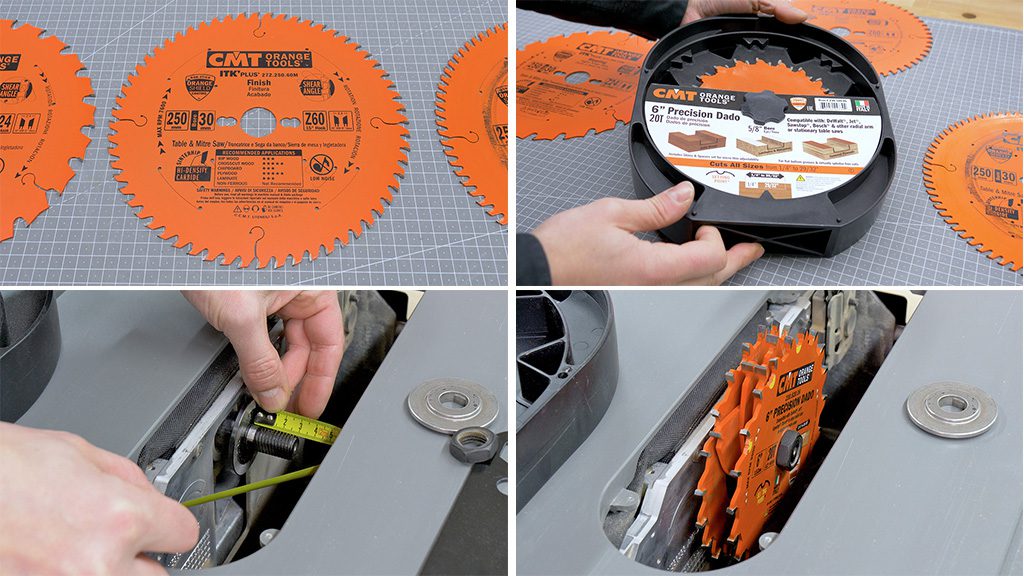
I’ve also written this other article explaining what the European regulations say on the use of dado blade with these kinds of bench saws. In that article, I also talk about the three saw blades I use most with the saw.
Nice! when you measure the distance between the slot and the blade, its better to use the same tooth of the blade at both measurements. So you can avoid the wrong results because of the imperfections in the blade…
But its woodworking. A half mm is a good resolution…
thanks for the advice Tino!
Thank you Paoson for this video. I finally bought a good quality caliper and dial indicator. Up until I received these new measurement aids I used a square. Now I know how to set my Dewalt 745 table saw-properly!
thanks mate!
Very nice saw station but before I can think about building this I need to sort me dewalt saw out as the rack and pinion won’t stay level when fully open do you know of a fix for this ????
Any help would be greatly appreciated
Many thanks Paul
hi Paul, I’m not sure I understand your problem, sorry. Could you email me a photo?