Today I’ll try the oil mixture I prepared in my previous article. This kind of finish has advantages that make it more attractive than other commercially-available options: ease of application, good results, and most importantly, an affordable price.
As you will see, we will barely need any tools. Apart from that, our mixture offers greater protection against light, fungi, and moisture than traditional varnishes.
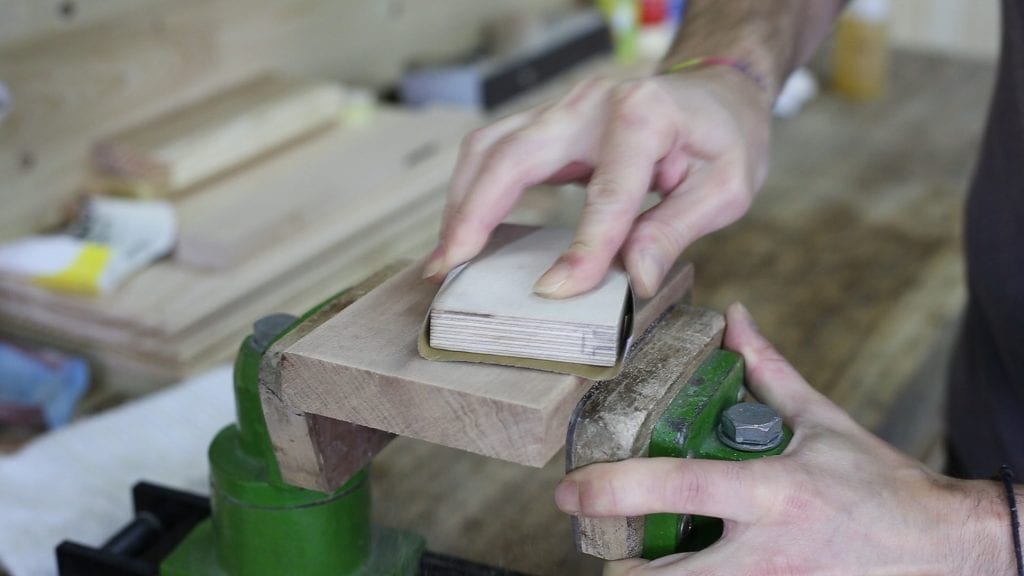
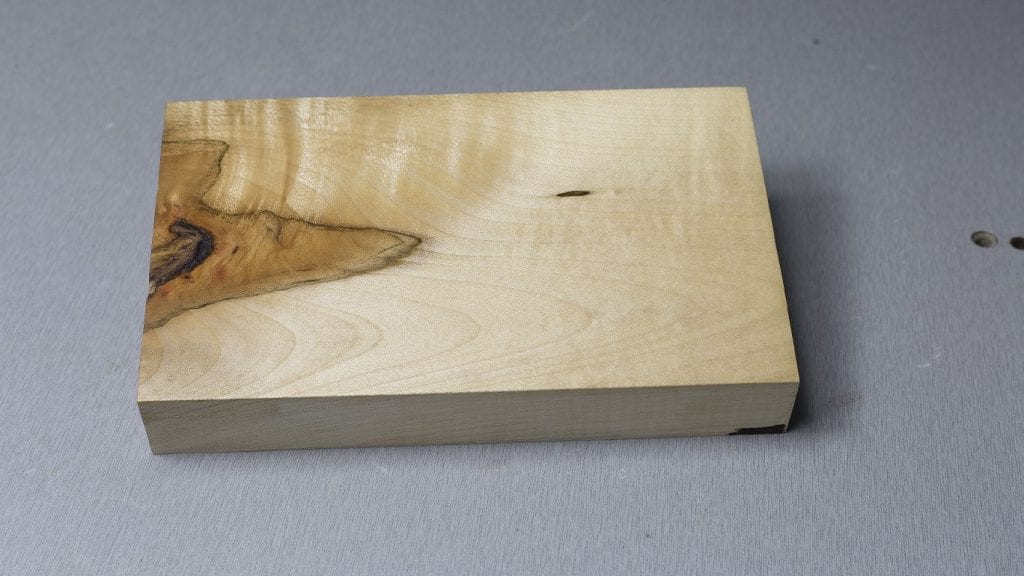
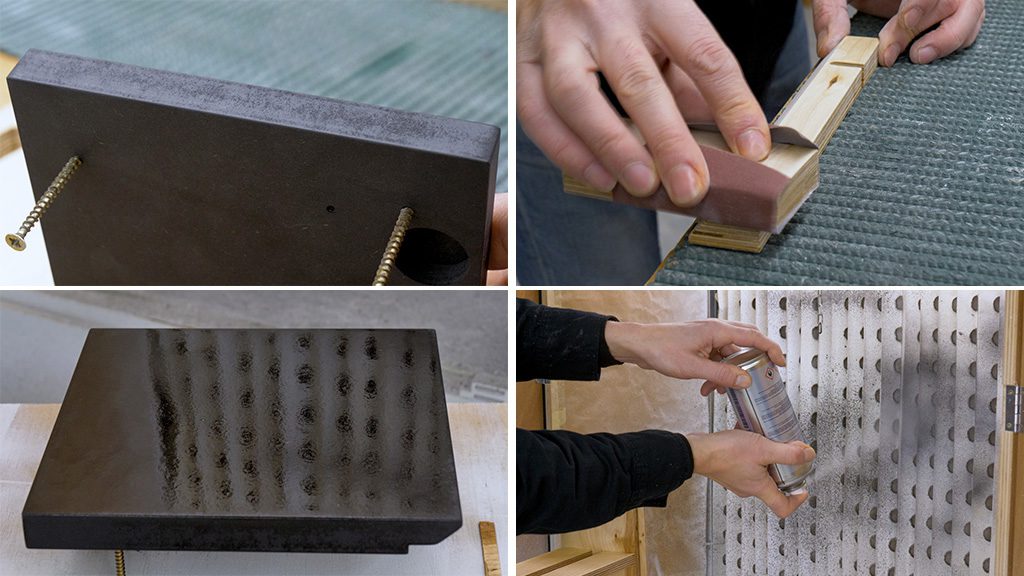
I’ll apply the mixtures on two kinds of wood: maple, a closed-grain hardwood, and sapele, an open-grain softwood. The first step is to sand the wood. First we use a sander with P120 paper, and then we finish the job by hand using P320 paper to avoid the typical marks orbital sanders produce. There’s no point in going over P320, as the grain needs to be open for the oil to soak in.
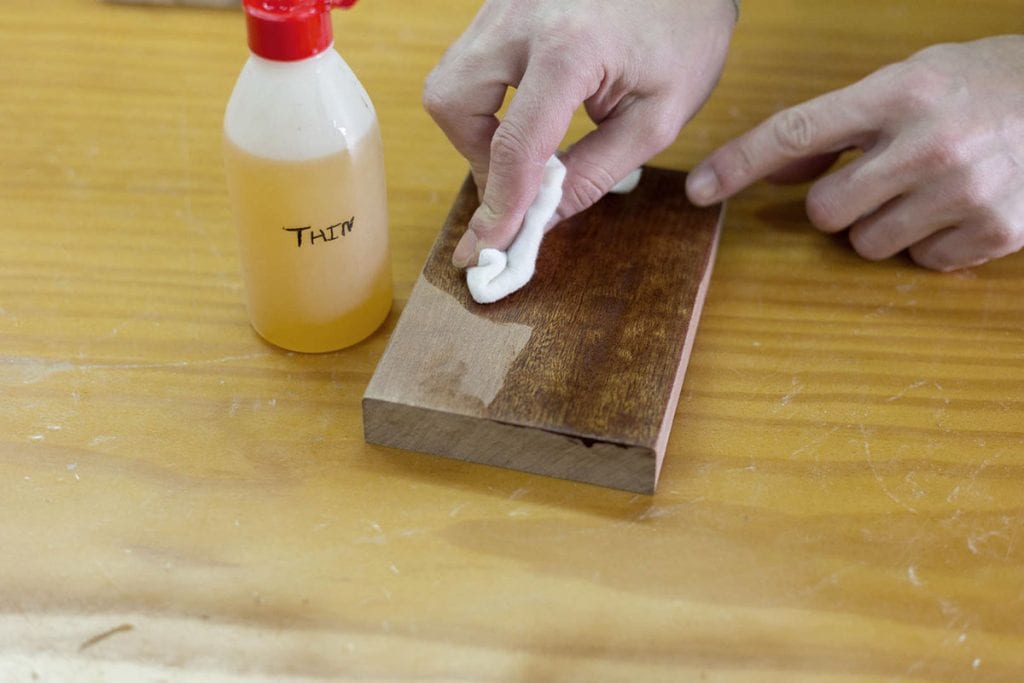
After shaking the thin compound, which we will use for the first coat, we apply it on the wood, without overdoing it. We can immediately see how it changes the appearance of the wood and highlights its veining.

After leaving it in a dry, well-ventilated place for 12 hours, the project should be ready for a second coat. We touch it with a finger to make sure it’s dry, then we sand it gently with P400 paper, and finally, we repeat the process.
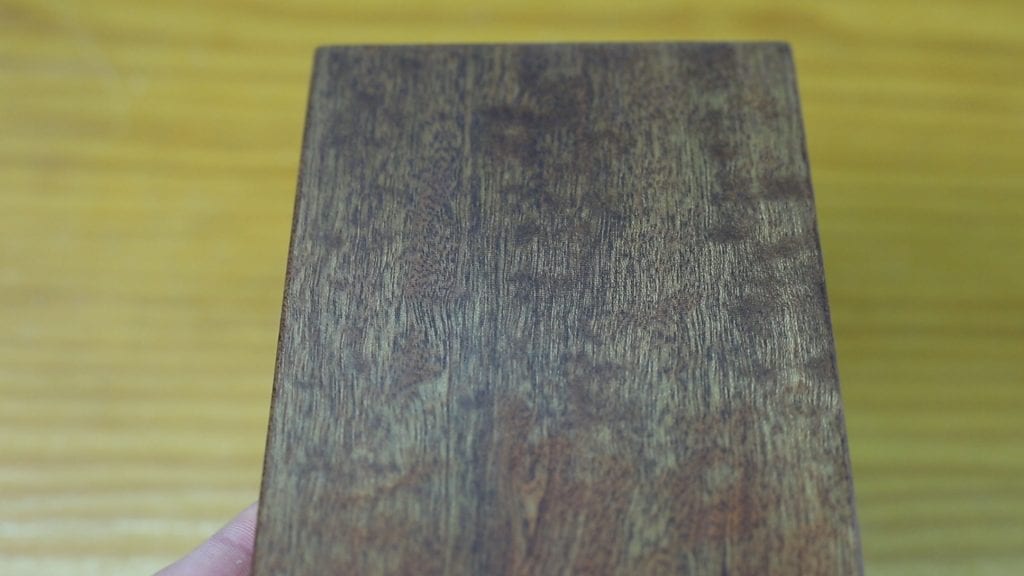
We leave it to dry for another 12 hours and then we check the results. After the second coat we can still see excess oil in some spots on the surface, so we wipe it with a dry rag. If we’re aiming for a matte finish, and not the hard, glossy finish that wax can provide, we can leave it as it is. Here’s a closer look at the finish…
I want to close up the grain on the sapele a bit more, and I want the maple piece to look glossier, so I’m going to apply another coat of our oil-and-wax finish. We shake the mixture and apply it on the wood, like we did before.
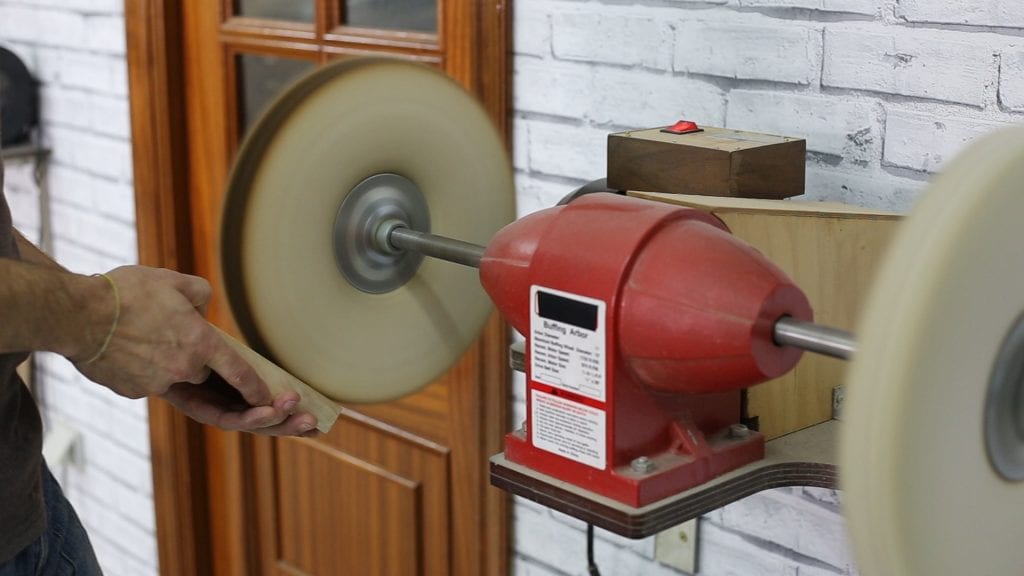
After another 12 hours, the pieces are glossier and the grain on the sapele is more closed up. Now we can also polish the oil with buffing wheels or by rubbing with a rag. I’m going to polish the maple wood piece.
We can see how different it looks now. With time, we can achieve a high gloss finish.
This oil is non-toxic and leaves a pleasant aroma, which makes it ideal to varnish wooden toys, musical instruments, wooden jewelry, outdoor and indoor furniture, small decorative pieces…
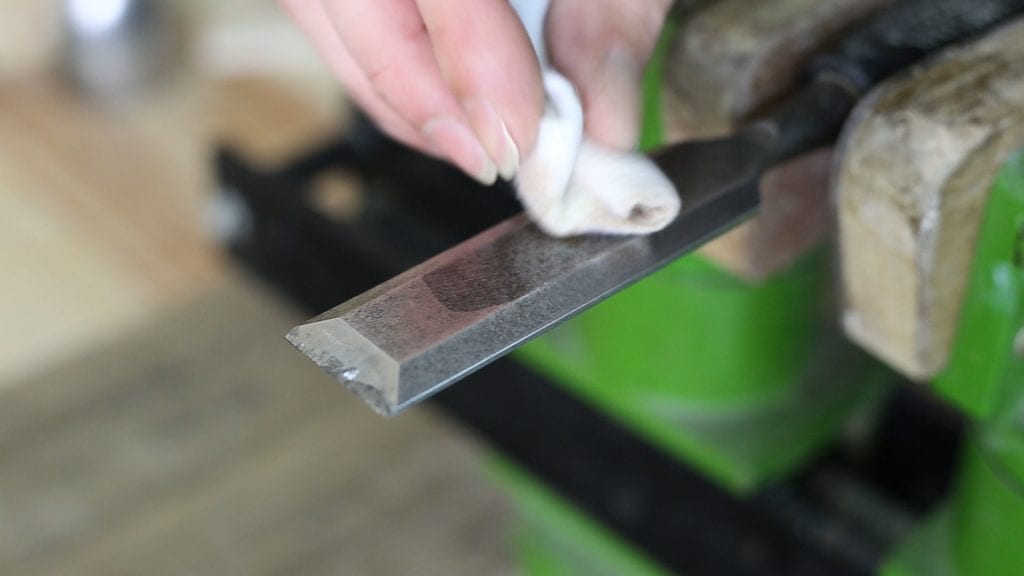
The thin mixture is also effective in protecting all kinds of metal surfaces, such as drill presses and chisels. Comes in handy in environments with high humidity.
For kitchen utensils or cutting boards it is better use only the same pure linseed oil that I have used to make this varnish, or mineral oil. Take a look at my article “How to make kitchen utensils“.


Hi,You say these varnish mixtures are non-toxic. Are they food safe to use on cutting boards, knife block and other similar items used in cooking.
Hi Marc, is non-toxic so you can use the oil in wooden pieces like toys etc. For kitchen utensils better go with pure linseed oil or mineral oil. You’ll find more info in this article: