In this third part of the apartment renovation, I will show you how to install the pocket doors. They are of those that are introduced in the wall, they are easy to find in large do-it-yourself stores. As always, there are many ways to install doors, and I’ll keep it as simple as possible.
You can also check how I’ve installed the prehung bathroom door in this other article:
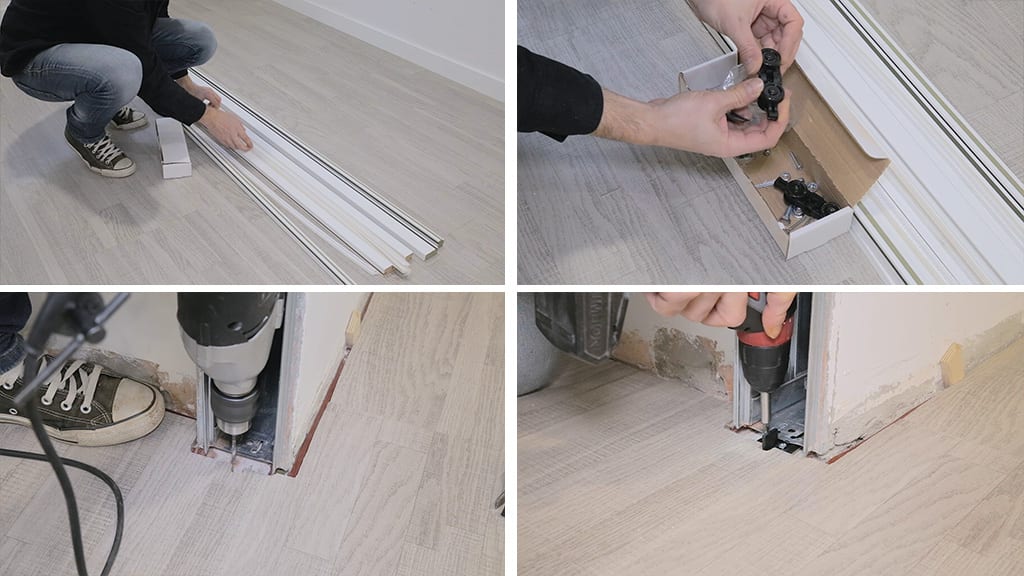
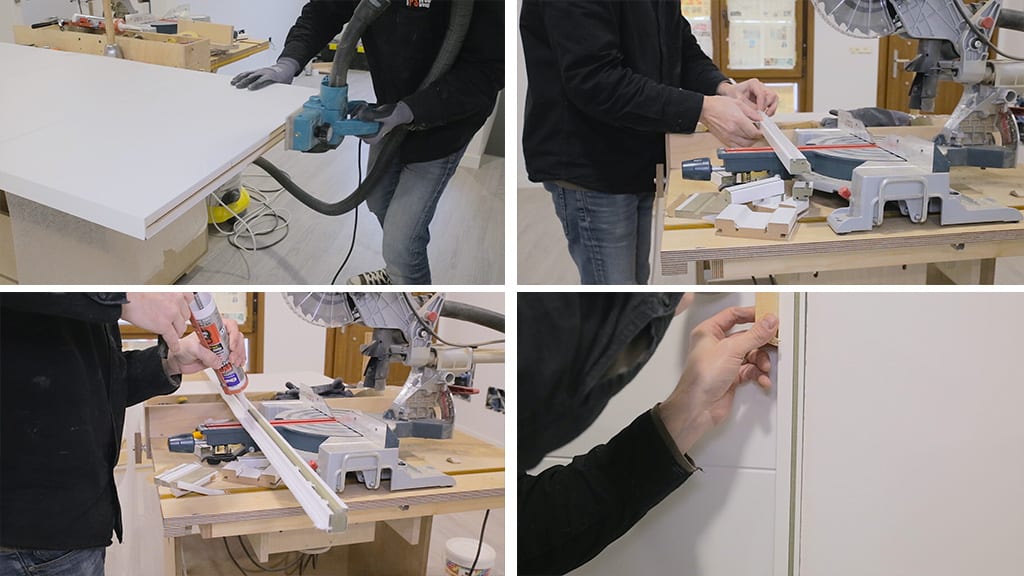
The bricklayers have put in the cassette system inside the wall for me. I’ve bought assembly kits for sliding doors(first photo) and two doors like the bathroom door, but without machining.
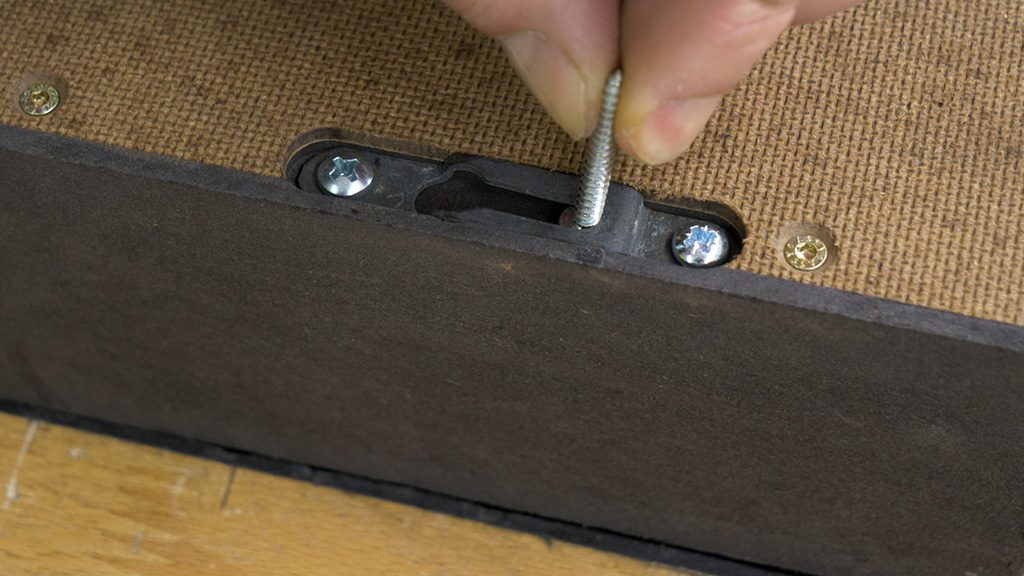
First I’ll attach this piece that will act as a guide for the door(third photo). It was supposed to go inside the cassette, but since it’s a little too high, I’ll put it underneath with screws.
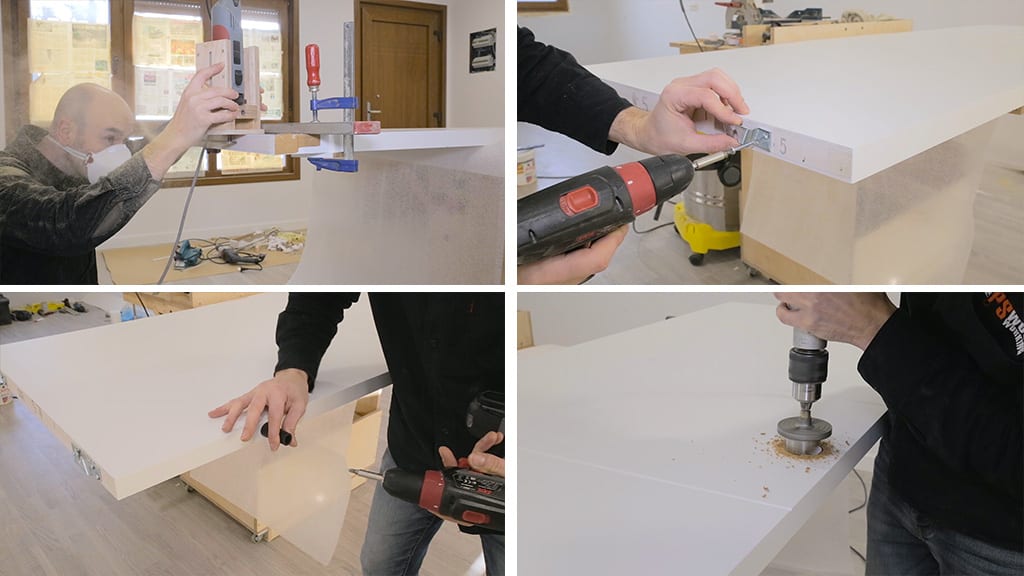
Now I’ll machine the door. Using this T-slot bit and my homemade plunge router base. I’ll make a groove where the guide piece I’ve just screwed to the floor will go. We don’t need to machine the entire bottom of the door, so the groove won’t be visible from the front.
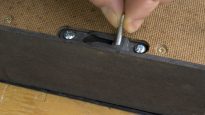
On the top I’ll screw the metal brackets that will allow me to hang and slide the door. First I check the measurements in the installation kit manual. I screw these depth stops in(third photo), and machine these holes for the handles while I’m at it.
These are the wheeled mechanisms that allow it to slide, with screws to regulate height, and a stop for the door. I insert them into the cassette rail and try hanging the door, inserting it at the same time into the guide piece I fastened on the floor.
It seems a little too high. I adjust the height with the screws and tighten the nut to secure the door.

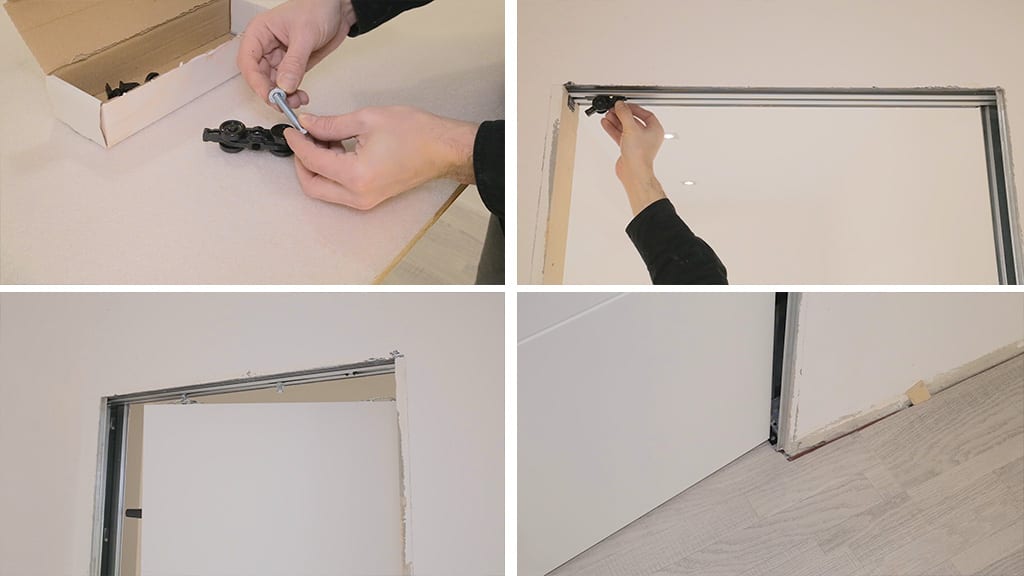
Now I make sure that the jamb that will act as a stop is plumb. Looks like it is, so now I’ll prepare the jamb to cut it, after putting in the rubber strips. As always, I cut the part that’s close to the floor first, and mark its length.
I cut again, and glue it to the frame with anchoring adhesive. When closing the door, everything seems to be working fine, but the gap beneath the door isn’t square, so I’ll mark it so that I can fix it with the planer.
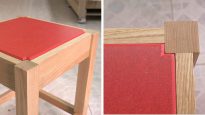
Once fixed, I hang up the door again. These are the jamb parts for the other end(second photo). You mount them using an anchoring system that comes with the cassette. I put the door brushes on them and cut them to size like before. I’ll use anchoring adhesive and fit them in.
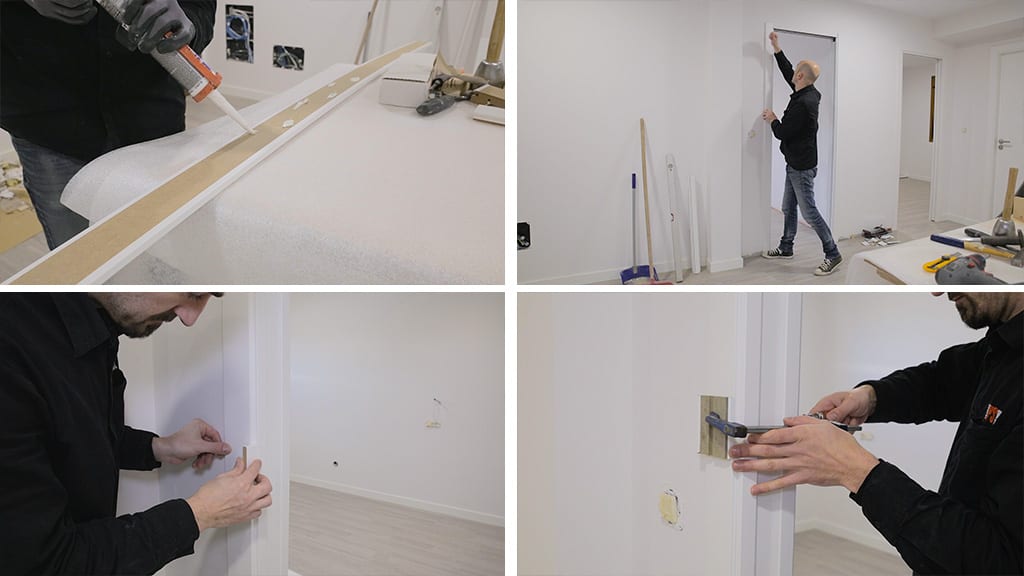
All that’s left is the casings. I mark their height in the first prehung door that I installed before. I cut them and paste them on the wall with anchoring adhesive. I’ll use a wood block to make sure they’re parallel to the jamb and fasten some clamps to ensure they’re tightly glued on the wall and jamb.
You could use some nails, but this material is quite delicate and I prefer using this method.
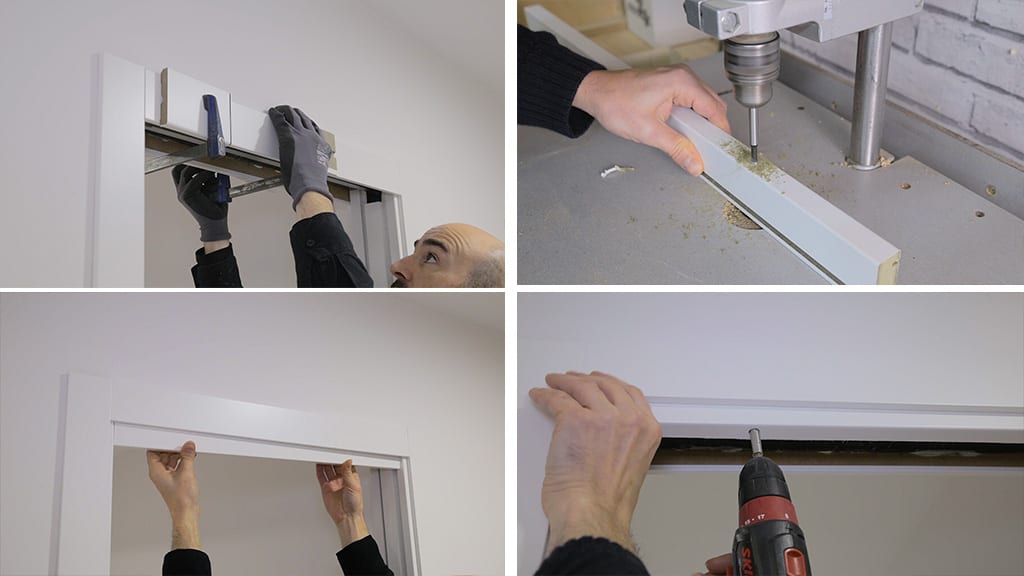
I measure the upper casings and paste them in the same way. The only thing left to install is the upper parts that cover the door’s sliding mechanism. I make a few holes for the screws in my workshop, in such a way that I can cover them or hide them(second photo).
I’ll use screws so that these pieces can be detached if the door has to be removed some day. After measuring their length, I screw them in their emplacement.
Now I can cut and glue the plinth pieces I didn’t place in the laminate flooring article, because the door casings had to be installed first. I do the same trick on the ends and glue them to the wall with anchoring adhesive. That’s all for today. In a few days I’ll post another article showing how I built the kitchen in the apartment.