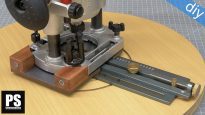
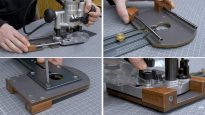
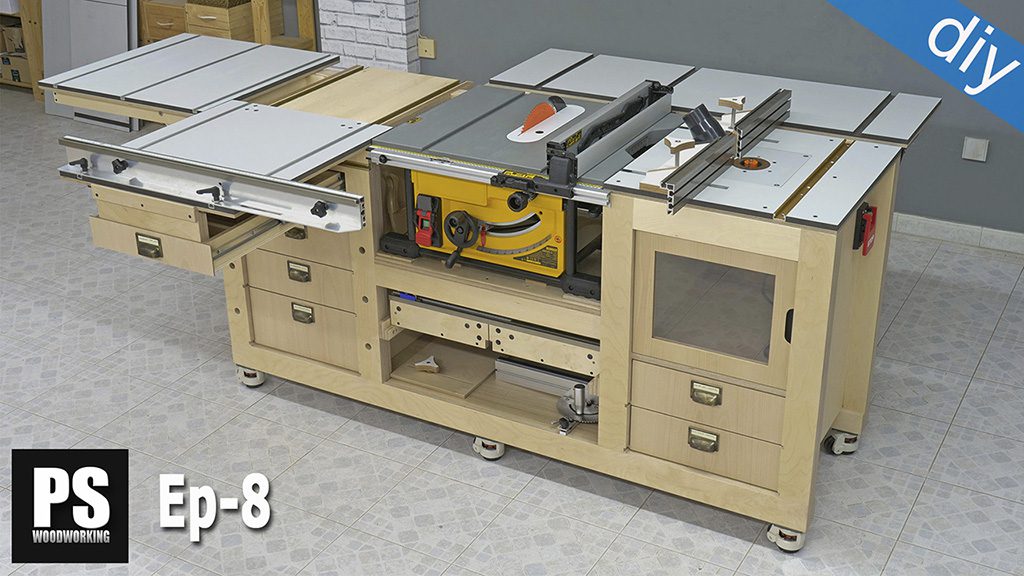
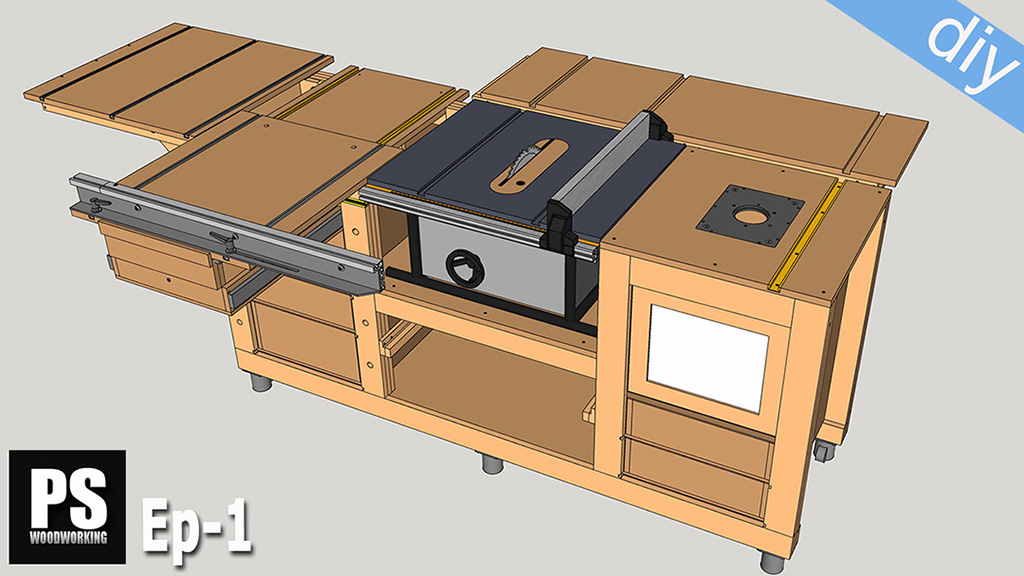
This is the fourth video/article in a eight-part series on my new woodworking workbench with a table saw and a router table. Today I’ll be showing you how to make this blast gate box.
Diy Blast Gate Box Specs

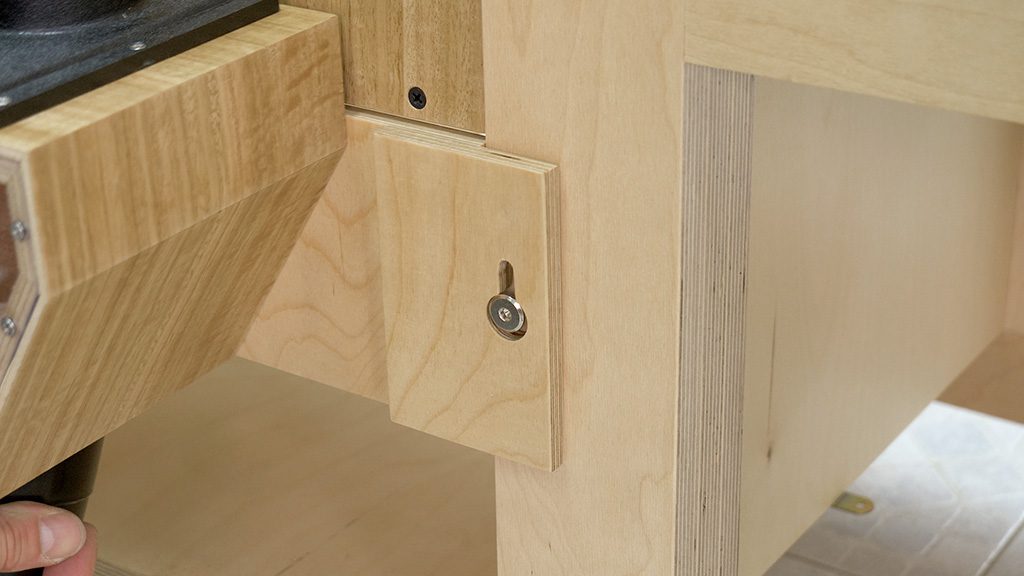
The box has a main 100mm dust hose and two secondary 63mm hoses connected to a blast gate, with a dust extraction cuff to connect to the table saw, and another that goes straight to the router table cabinet.
Blast Gate Box Plans
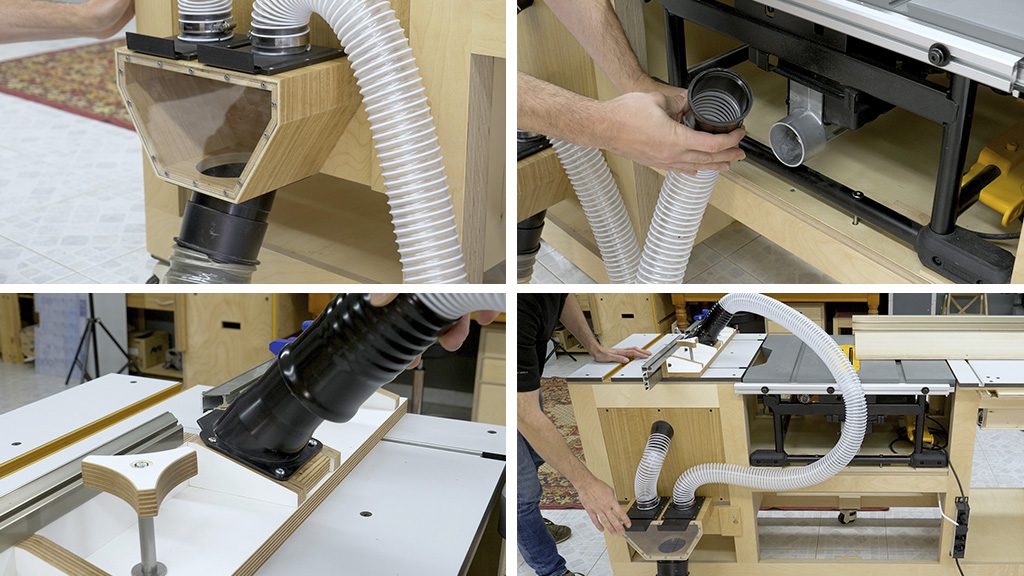
I wanted to be able to disconnect the 100mm dust hose quickly so I could use it with other tools with a socket of the same diameter, which is why I’ve used flange adapters.
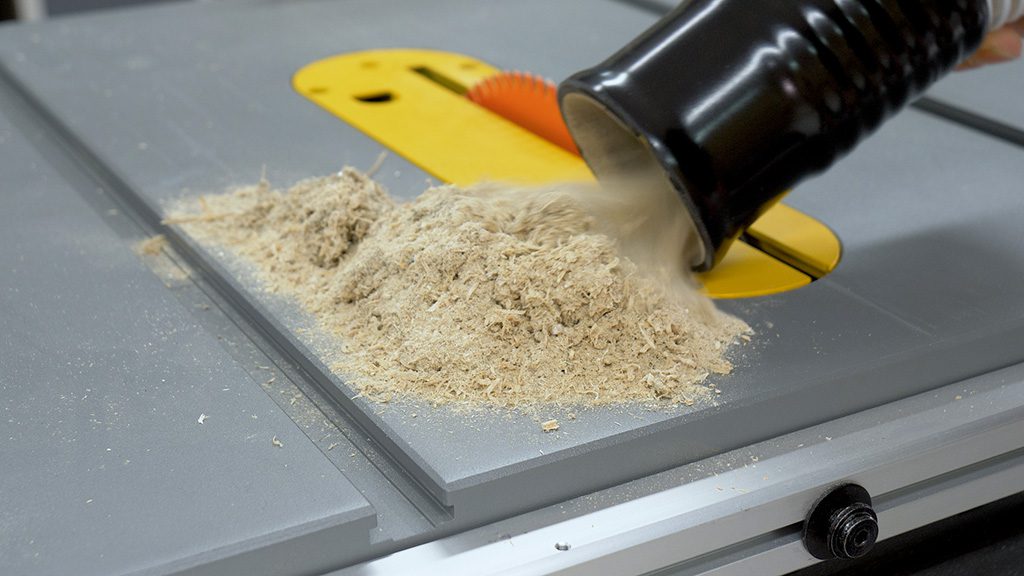
The inside of the box is designed so that it can be easily disconnected from the workbench, allowing you to put it against a wall when not in use, taking up as little space as possible. It’s also designed that way so you can use the blast gate box in other work centers or tools.

How to use the Blast Gate Box

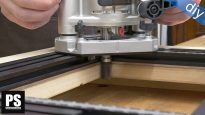
I’m going to run a few tests to see how well it works. First I’ll open the blast gate for the ta-ble saw and start cutting. You can see the box works really well.
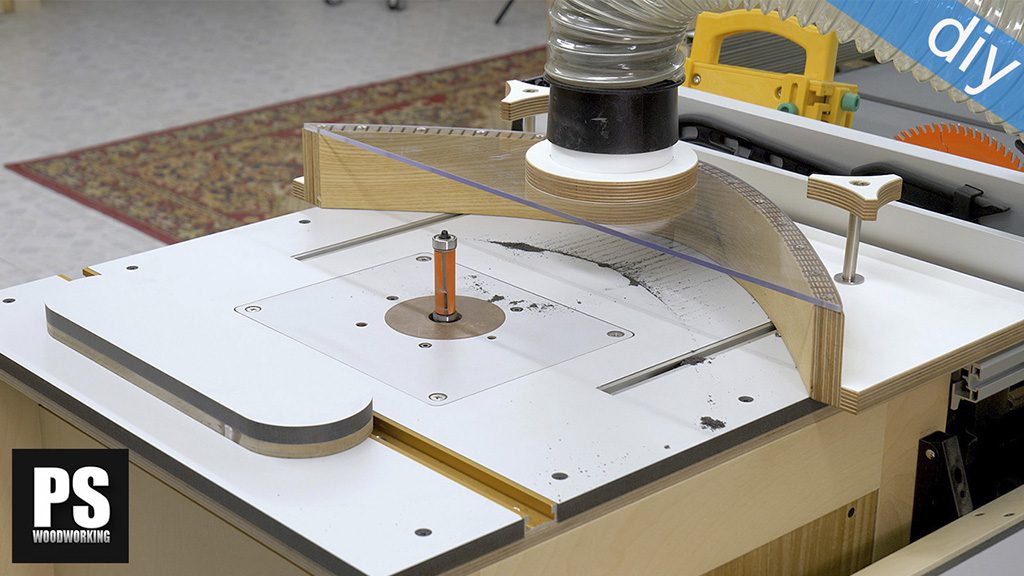
Now I’ll run another test with the router table. For that, I’ll disconnect the dust extraction cuff for the table saw and plug it in the flange adapter of the router table’s fence. Now I open the two gates and do some milling to try it out. As you can see, after milling, there’s some dust left over in the inside of the cabinet—this is normal.
In this other test, you can see that the 63mm hose has a good extraction flow rate, even when both blast gates are open. Logically, these blast gates can be used individually when using the router. For some mill-ing jobs, I’ll only need to connect one of the tubes.
How to make a woodworking Blast Gate Box

Now let me show you how to make this box. First, cut a strip of soft plywood of the proper width. On the router table, make a slot in each of its edges, one in the back, and another with the same thickness as the acrylic I’ll use later.

In this 3D file you can see the joints between parts are angled. I’ll start by cutting the two smallest pieces in the table saw, with the miter gauge at 45 degrees. I’ll cut one piece per end of the plywood strip.

Now I’ll make the other in these two pieces, which is at 16 de-grees. I will use a digital angle gauge to facilitate the process.
Here you will find the following article about this mobile workbench where I will show how I made the workbench side folding table.
I love your work and the way you approach design. Question: are those Rockler blast gates? I have Rocklers and I’ve found that they do not open 100% — I’m not sure why they would be designed that way and I’ve been looking for other options.
thanks! I bought them in another store but they have the same problem. It is surely the same manufacturer…
Hi amazing work bench, what has happened to part 5 its been 2 weeks now looking forward to seeing the finished product.