In this article, I’d like to show you how to make different models of nuts or tightening knobs at home out of wood or plywood. These are perfect for our homemade woodworking tools, or even for our furniture.
Uses and types of homemade wooden knobs

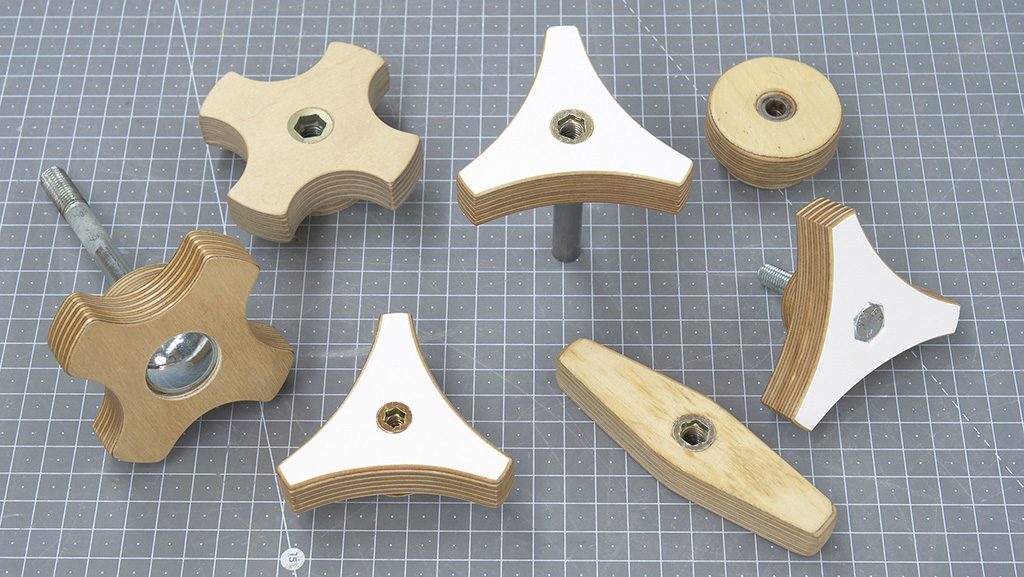
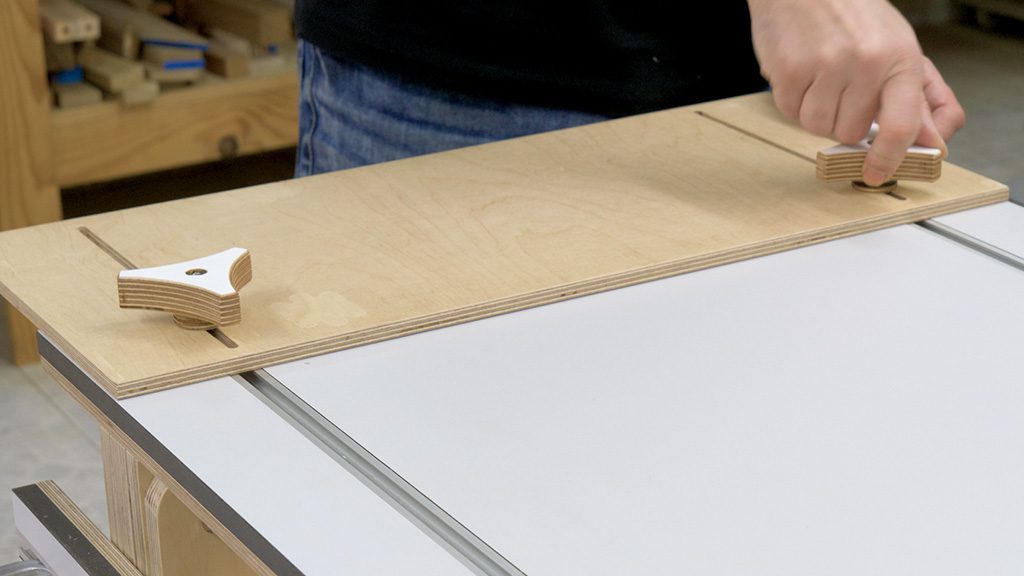
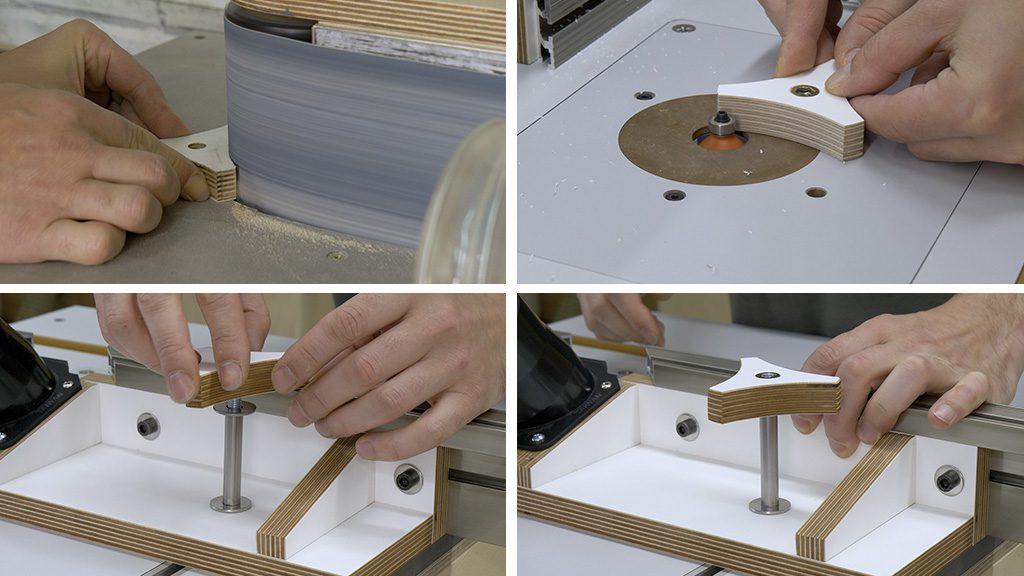
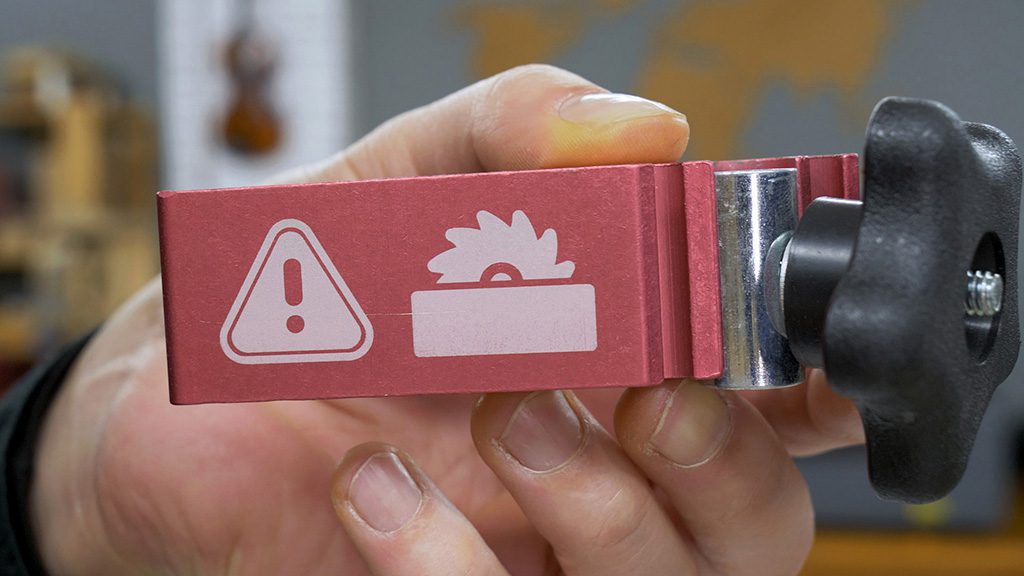
These kinds of knobs are ideal for router fences, saws and column drills. In the picture above, you can see I used a steel tube as a spacer to keep the knobs higher.
I made these knobs out of hard birch 18mm plywood with white melamine on both sides. I think this color combination gives them a very elegant look.
These knobs are the same as the previous ones, but the spacer is made of 9mm plywood glued to the back of the knob. The spacer is a must to apply pressure in a comfortable way, as seen above.
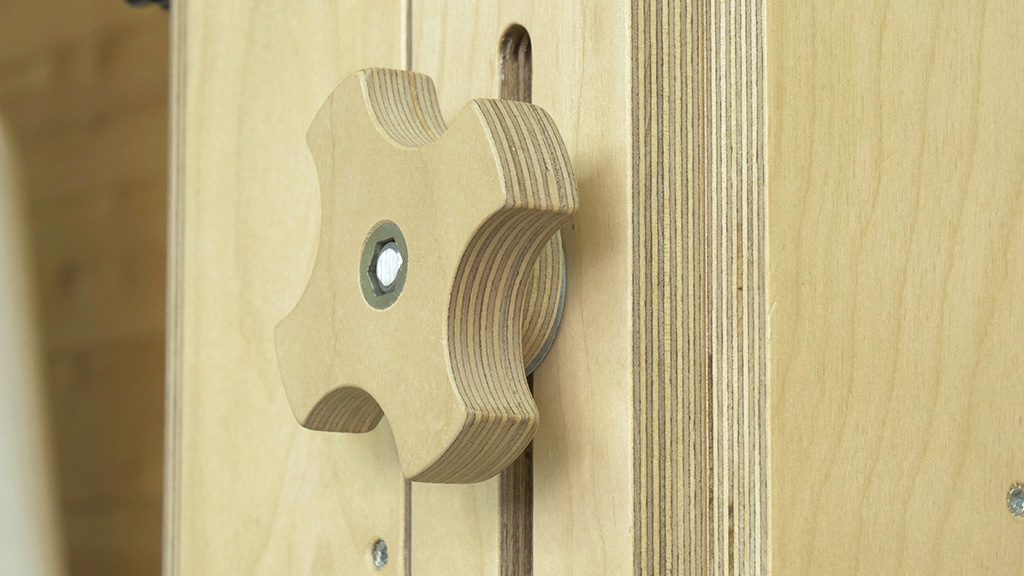
These are the birch plywood knobs I made a few years ago for my homemade band saw. Instead of three wings, these knobs have four. I made them in a similar way to the previous knobs, using a band saw and a sander.
After using both types of knobs for years, I can say the three-wing kind are more comfortable and effective.
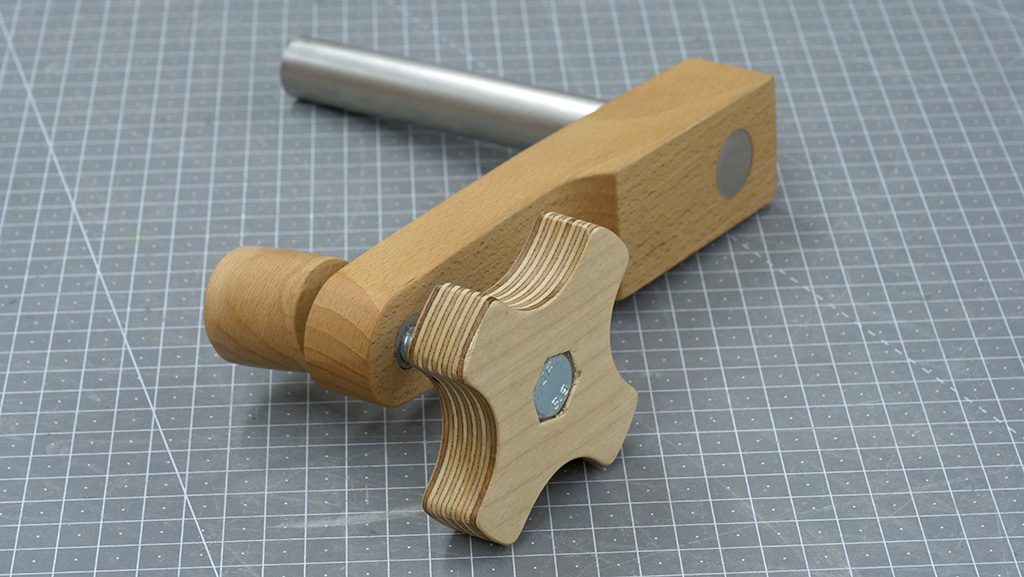
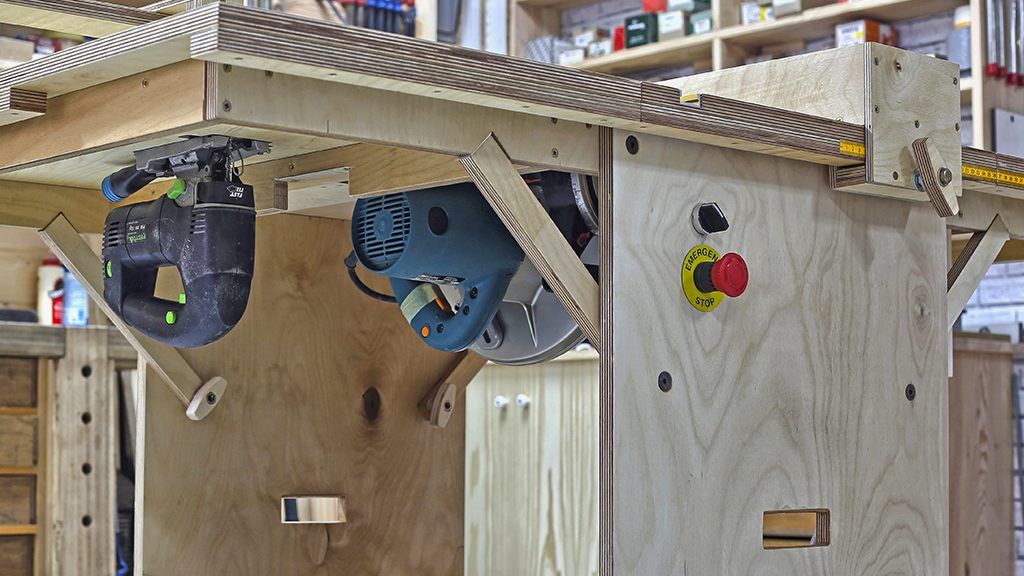
I used the same design again to make the knobs for my DIY holdfast clamps, for use with my multifunction woodworking workbench.
Here we could make them with a straight handle, like the kind clamps usually come with, but I wanted the holdfast clamps to not take up too much space with regard to height.
Here you can see the simplest knobs I made, installed in the homemade tilting disc sander table. I made them with a 50mm hole saw, a threaded insert and a 9mm piece of plywood, acting as a spacer.
They’re not very advisable. Just like the plastic knobs, the cylinder shape does not offer good grip when applying force.
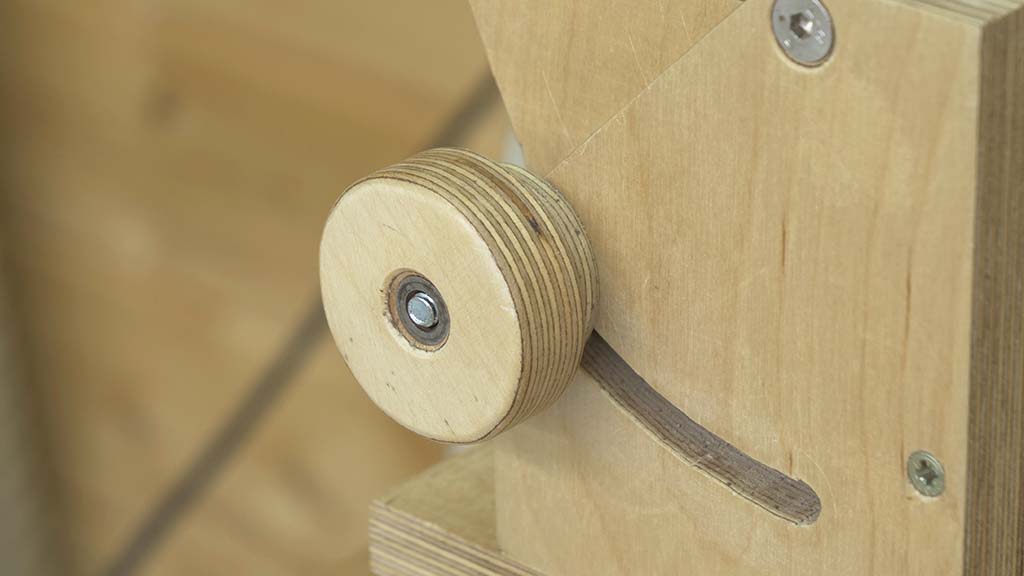
Finally, this is one of my first knob designs. A simple tightening knob shaped like a lever with a simple metal washer acting as a spacer. I made them so I could use them with my homemade 3D router.
Nowadays I wouldn’t make this kind of knob. It has a large enough grip surface to act as a lever and apply pressure, but since it only has two wings, it’s hard to find the proer arm and hand posture to apply the required force.
How to make homemade knobs with plywood
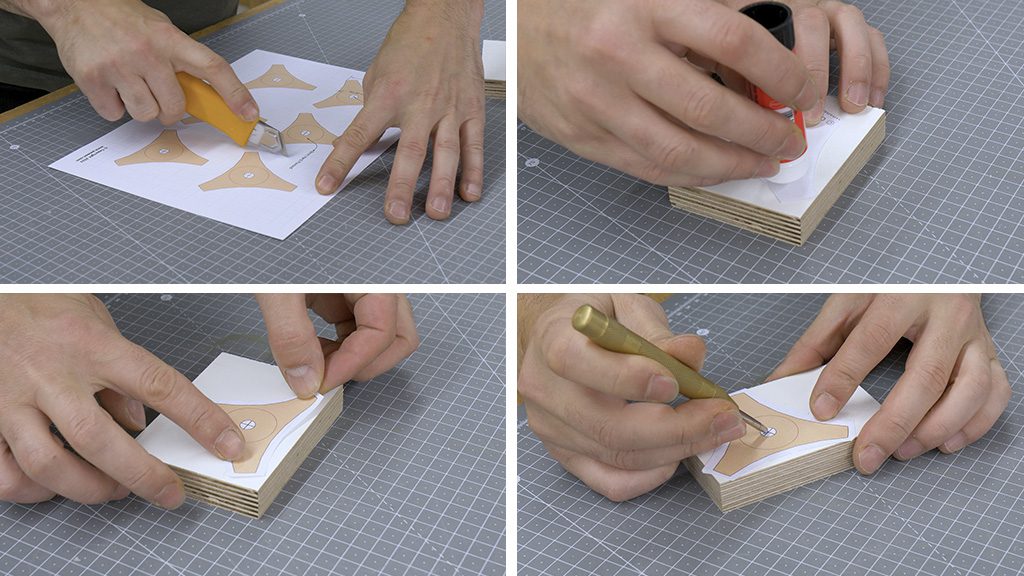
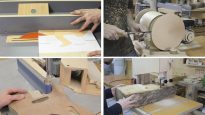
The first step to make these tightening knobs is to print out the printable template included in some of my plans to place on the board and mark the cuts. Normally I use small bits of board for these jobs.
I use a glue stick because it’s easier to wipe off once the cuts are done. After gluing the template, I mark the center of the knob to make a hole for the threaded insert.
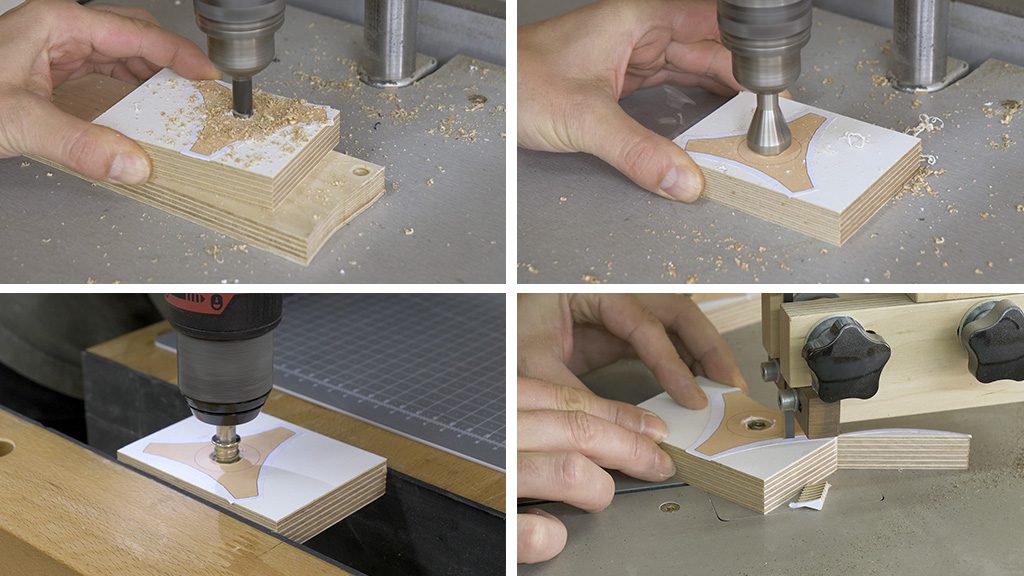
With the column drill, I make a hole for the insert. The insert must not fit in too tightly or it could break and damage the plywood. I also use a countersink drill bit for the upper part so that the insert will be flush with the knob.
I place the insert with the required measurements before cutting the contour of the knob. It would easiest to place now. After that, I cut them out with the band saw. I could also use a jig saw instead.
I sand the edges with a drum sander and a belt sander. You could leave them unsanded, but the finish wouldn’t look as professional. With a half-round bit, I smooth down the edges of the knob. This could be done by hand with sandpaper.
The knob is almost ready. We could apply some oil or spray some lacquer to give it a better finish and avoid getting it too dirty when using it.
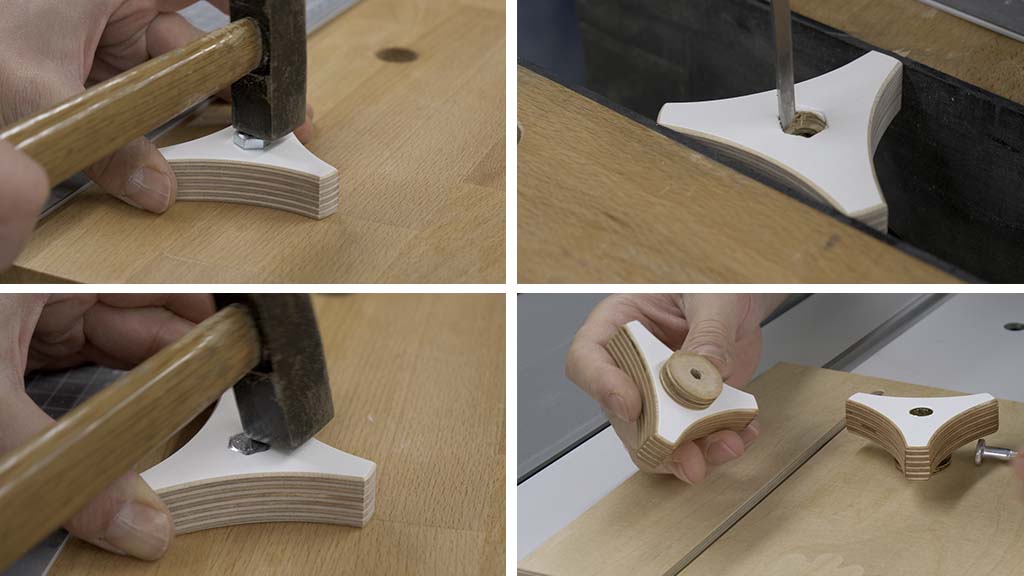
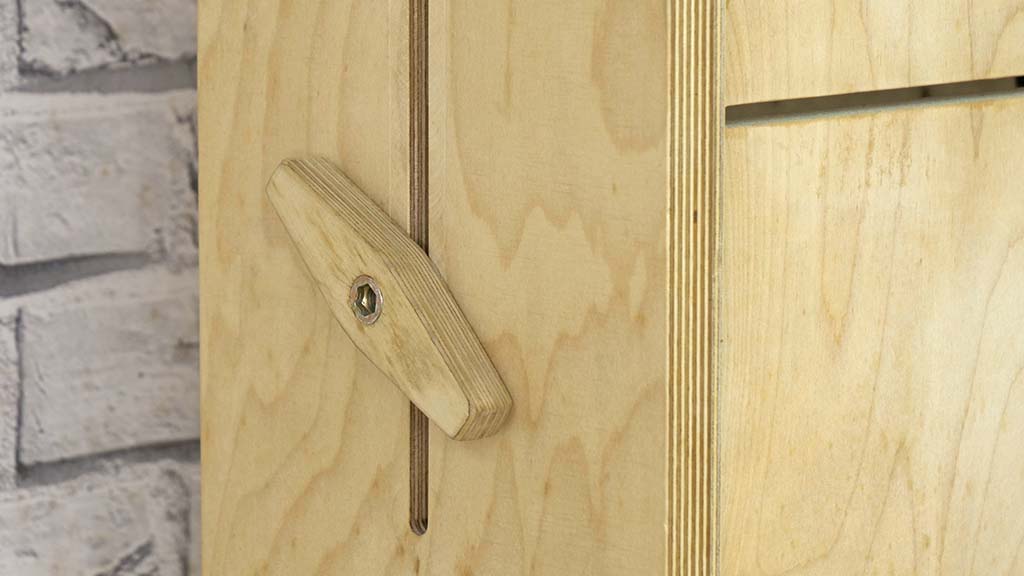
If you need a male knob, this is how you do it. It’s the same method, but instead of a threaded insert, we need a bolt with the required length and diameter.
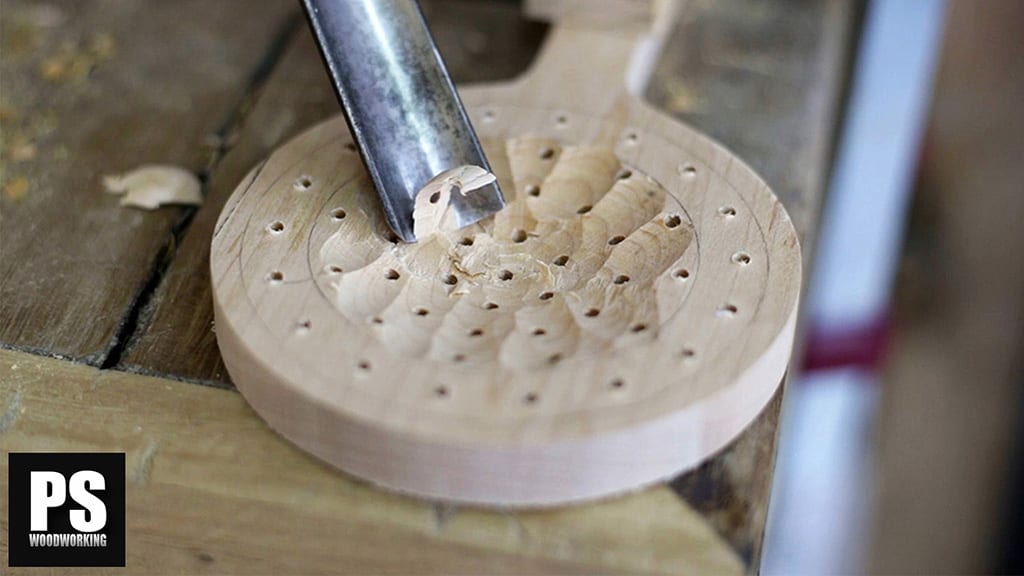
After drilling the knob with a bit with the same diameter as the bolt, we insert the screw in the hole and hit it a few times with a hammer to imprint the contour of the bolt head into the wood.
We remove the bolt and with a chisel, we trim down as required. We insert the bolt again all the way in with a hammer. It’s best if the bolt head fits tightly.
We cut a spacer with a cylinder shape from a 9mm plywood board. We can cut it using a hole saw or a band saw.
Normally I glue this spacer on the other side of the knob using wood glue or cyanoacrylate, and I use the bolt itself and a washer to apply pressure while the glue is drying. You can see how to make this knob in the video below.


How to make homemade knobs with plywood
printable template