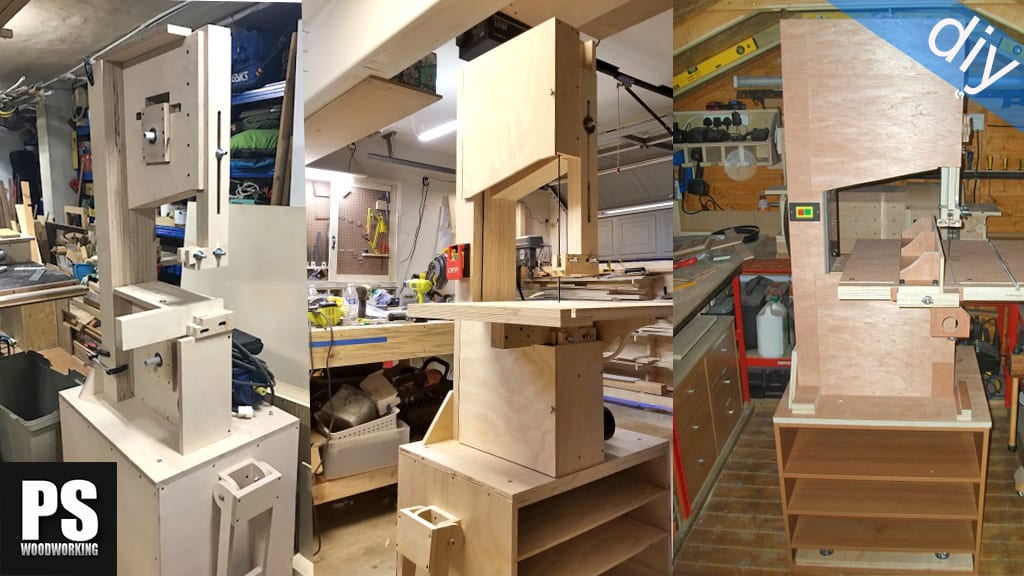
This is the second video-article in the series where I show you how I built my new band saw. This time I’ll show off how I made the saw’s wheels and the pulleys.

Here is the 3D model of SketchUp included in the plans that you will find on my website. If you are interested in collaborating with my web or building your own band saw, here you can download them:
DIY Band Saw Plans
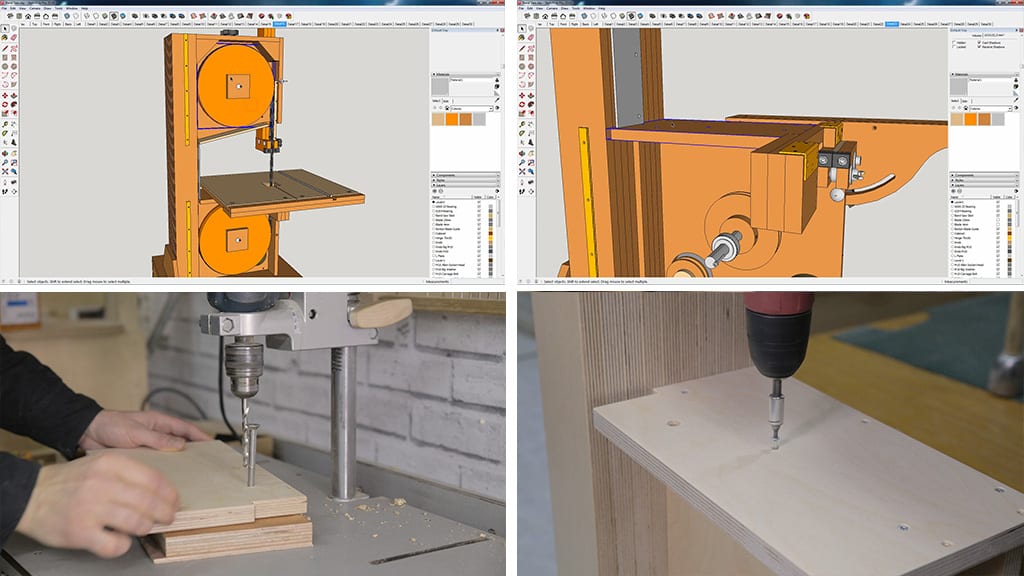
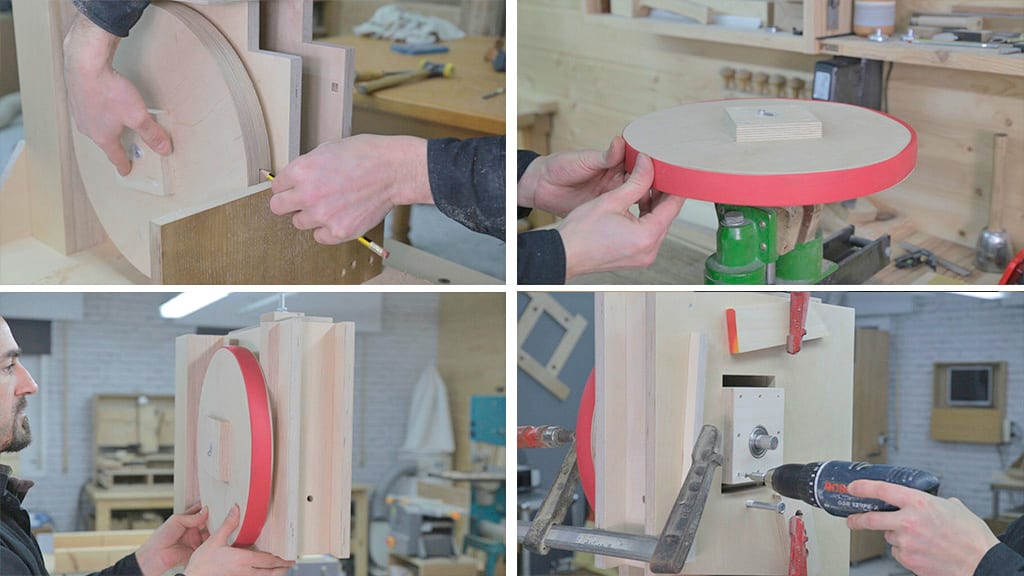
In the first photo we can see the wheels of the band saw in the SketchUp 3D model. First I’ll start by putting this part above the lower wheel(second photo).
I make a rebate for the blade and here I drill a hole for this screw that will allow me to align the saw’s table(third photo). I’ll use a bit half a millimeter smaller than the screw. Once machined, I can screw it in place.(fourth photo).

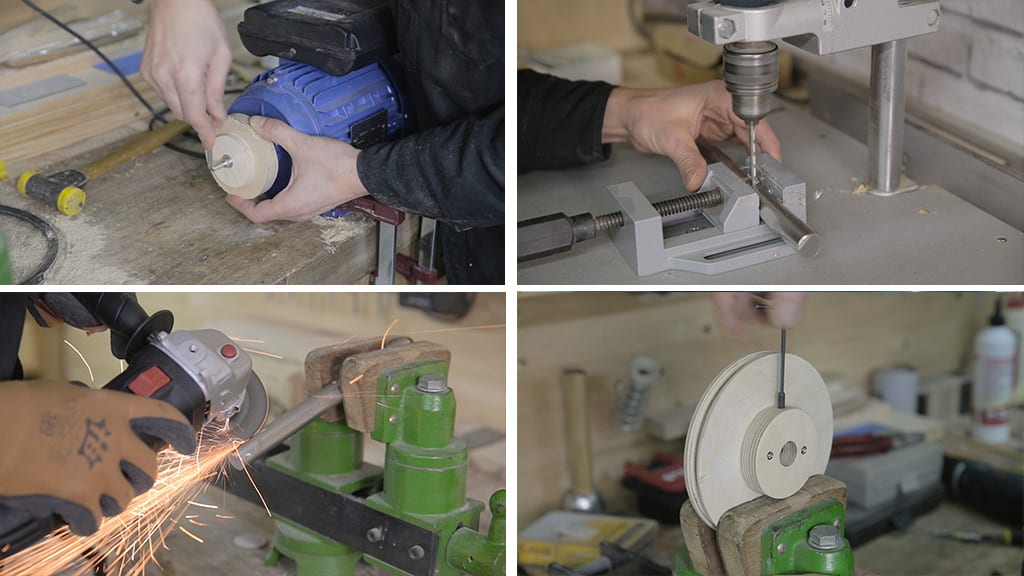
In order to turn the wheels, I must first make all the pulleys. I’ll start with the ones that will go in the lower wheel’s shaft(first photo). After cutting the two parts I need, I mark and drill the position of the hole for the headless screw that will allow me to lock the pulley onto the rod(second photo).
I make a rebate for the part of the motor shaft that sticks out(fourth photo). And now I can glue the two parts of the wheel’s shaft together.

The shaft is one millimeter smaller than the calibrated rod, so I make the gap smaller with PVC tape. The smaller part does not have a through hole, this way I can firmly attach the pulley to the motor.
After setting down the motor on the table, I shape the pulleys until they’re the right size. I mark the rebate for the V-belt I’m going to use and little by little I check to see if it fits in the rebate.(third photo). Now we have to machine the motor pulley(fourth photo).
I repeat the same steps as before. I insert the pulley being careful not to damage the motor and I glue the pulley’s cover while tightening the the motor shaft screw. Little by little I give shape to the pulley.
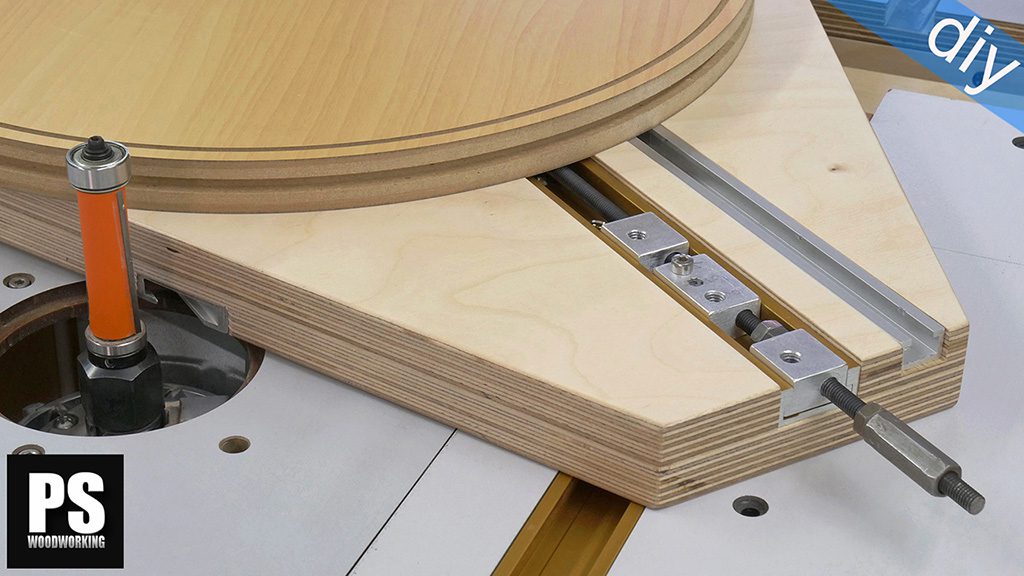
These calibrated rods are the two wheel shafts. I’ll machine both in the same way. First I drill a 3mm deep hole to insert a headless screw which locks the pulley onto the wheel, and on the contact surface I machine this rebate locking it onto the shaft. I’ll mark the exact position of the pulley so that I can later assemble the entire system more easily.
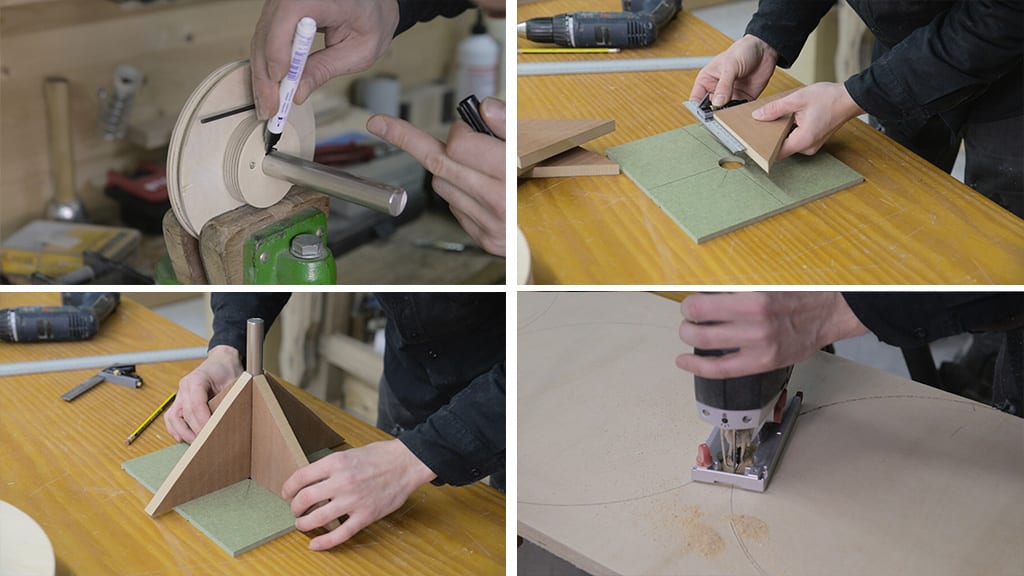
For that I’ll locate the hole, tighten the headless screw and mark both calibrated rods with a marker pen. Now I’m going to make a template that will help me glue the rods onto the wheels and leave them perfectly aligned. I make sure all the parts are properly arranged and screw them together.
I’ll mark the circumference of the wheels on this board. Each wheel is made up of two pieces. I’ll cut them two millimeters bigger with a jig saw. Once cut, I can glue in the wheels.
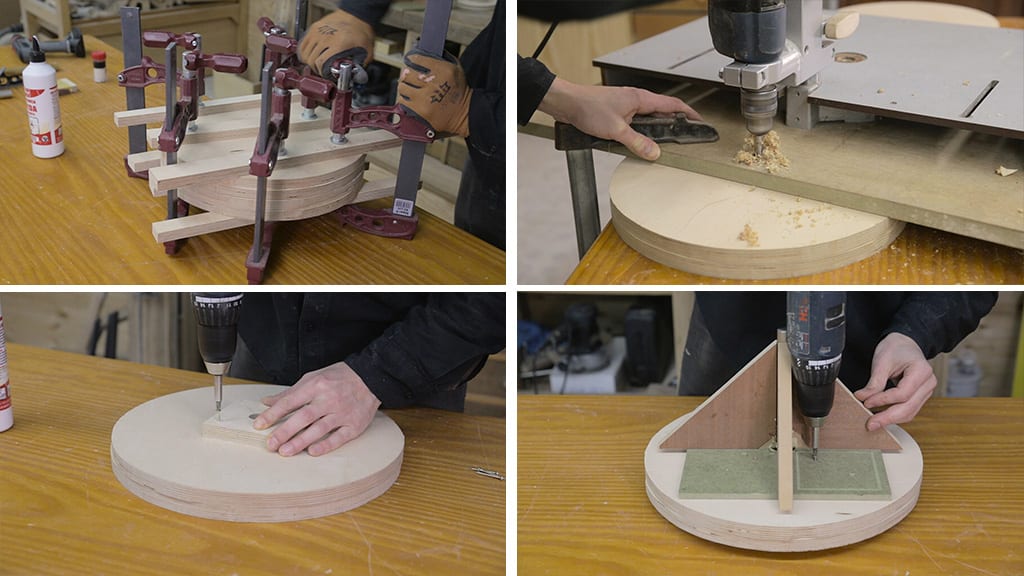
To make the hole in the center, I’m going to rotate my column drill. This way I’ll get a perfectly vertical hole. I’ll use a bit two millimeters bigger than the shaft’s calibrated rod.
I mark the position of this part which will make the wheels thicker and glue it in(third photo). Now I insert the calibrated rod in the template I had made, I put it on top of the wheel and once it’s in the center of the hole, I screw it to the wheel. I remove the rod for now and make grooves in it with a file so that the adhesive works better.
I apply polyurethane adhesive. It’s a really strong bonding agent that expands when it dries. Using this system the wheels are perfectly calibrated and perpendicular to the shaft.

After about 12 hours, I remove the template and wipe away any remaining adhesive. Although I don’t think it’ll be necessary, I’m going to put in the screws that will lock the shaft onto the wheels(second photo). And now I can finally place the wheels on the saw so that I can finally turn their edges.
Needless to say, I must turn both in the lower part of the saw. I’ll start with the upper wheel. I insert it through the bearing. I put in the pieces that will act as spacers. They will help me make the wheel perpendicular to the body of the saw. I put in the saw’s rear bearing, using only two or three screws for now(fourth photo).

I remove the wheel partway to insert the pulley and belt, I look for the marks I’d made before and put in the headless screw. Before moving on, I’m going to make the two rear stops for the wheels, using birch plywood again. I put it in the wheel shaft(second photo). Now I can install the motor. I mark the position of its holes and drill them using a drill bit 1 millimeter smaller than the screw I will use.
Now I have enough traction to turn the two wheels. I try to make the edge straight measuring the perimeter with a measuring tape, and finally, I mark the center of the wheel’s edge.
This will help me make the edge slightly curved. The sides will be two millimeters shorter than the center of the wheel. The wheel looks quite good, and although it’s slightly uneven when turning it, it’ll work just fine.
If your wheels don’t come out perfect even after using the template, you can turn them on both sides after turning the edges, just like I did with the disc sander of my homemade lathe. This will greatly reduce any potential vibrations in your band saw. You can also move slightly the position of the rear piece which holds the bearings.
We must also ensure the wheels are balanced. For that, we turn them slowly on their bearings and check whether they tend to turn more towards either side. If that’s the case, we only need to make some holes on the wheel from the front to remove some of the weight on the side the wheel is moving towards.
I remove the wheel to put in this elastic power band. It’s the kind of resistance band used in gyms. They come in many lengths and widths and they’ll work perfectly. This will greatly reduce the amount of noise the saw makes. I will use it instead of a rubber bandsaw tire, which are usually expensive.
Now I can put the upper wheel in its final position. I’ll also put its bearing in the rear just like before. I repeat the same steps with the lower wheel. This wheel will stay here. Then, you can place all the screws of the four pieces that holds the bearings.

I’m going to do some tests placing the blade on the band saw. I position it and tighten the lifting screw until the blade is slightly more tense. I turn the wheel to make sure it’s aligned with the lower wheel. As you can see, I have to tilt the upper wheel a little, and by doing so, the blade centers itself.
This happens because, when curving the edge of the wheels, the blade always tries to find the highest point.

I switch on the motor and everything seems to be working as intended. The blade moves smoothly and there don’t seem to be a lot of vibrations. I’m going to install an emergency switch. I drill a hole for the cable and put the switch in its gap.
I’ll also make a cover with a groove to hide the cables in. Finally, I’m going to install this acrylic and plywood protector(fourth photo). This will protect us against potential accidents when operating the band saw.


Hello, do you think the main frame would be stiff enough if made out of MDF instead of plywood? Thank you
hello Adam, as I specified in the first article, you can use Mdf perfectly! More info:
Love this series of the band saw. Clean, easy to understand and awesome design!!!
thanks!