Welcome back! This is my latest project, a modular workbench with great storage capacity that can also be used as a mobile tool stand.
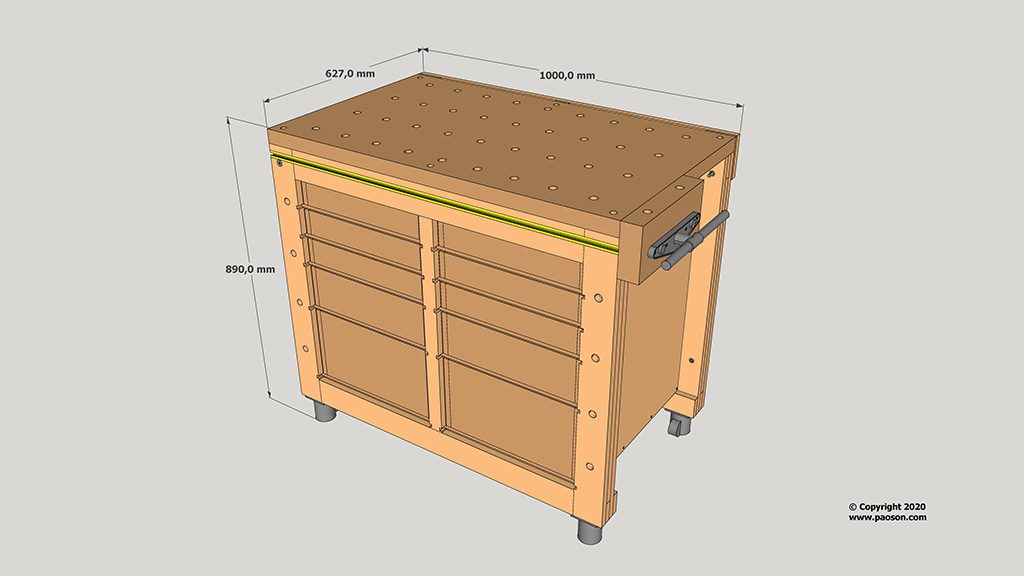
Here’s the 3D file you’ll find in the plans that you can buy on my website. It’s built using the same system as the Multi-Function Workbench I made, but this one is smaller, about 100cm long and 60cm deep.
Rather than making it by cutting away, we’ll be joining parts together. Making a modular bench was my first idea when I built the Multi-Function Workbench, and since some of you have requested plans for a similar but smaller bench that can be adapted for use in workshops with limited space, I’ve decided to go ahead and make one.
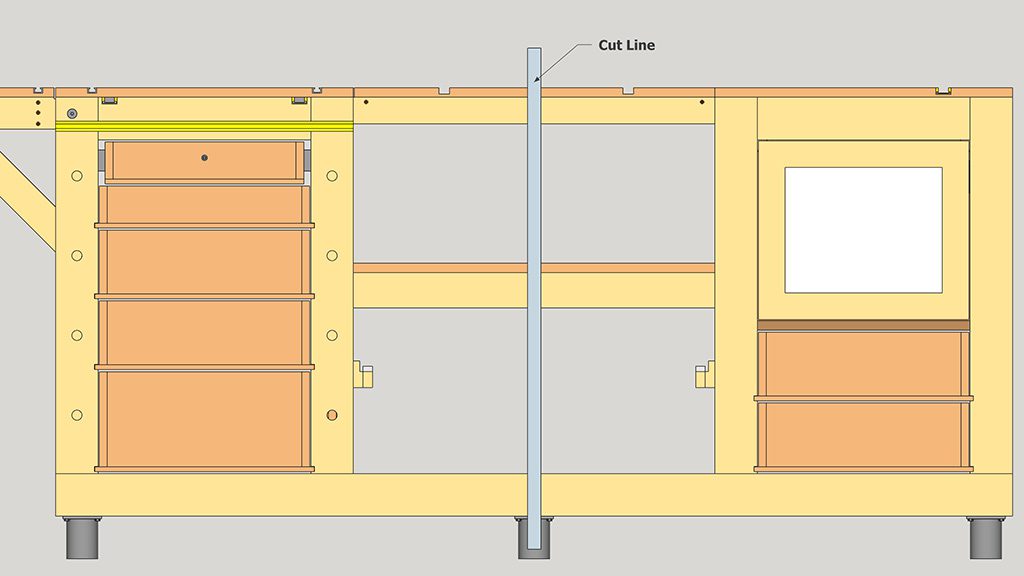
Since it’s modular, you can try different combinations. You can make just one, two that are separate or joined, three or even four. For now I’ll build two, though later I might make more.
Modular Workbench Plans

In this first article I’ll show you how to make the bench frame and cabinets. First I’ll cut all the parts for the frame following the cutting list with leftover pieces of hard plywood I had lying around in my workshop. I’ll mark them with a reference number to make the process easier.
Now I’ll glue together all the pieces that make up each part of the frame with the help of a piece of plywood acting as a jig to position the pieces and using a nail gun and clamps.

I’ll sand the inner parts now that it’s more convenient and drill holes for the bench dogs. I make sure the tenons and mortises are okay, and then I can put the frame together. I use some wood glue and put the clamps in place, without tightening them too much — I’ll do that once they’re all in place.

Finally, I wipe off any excess glue and make sure the frames are square. We needn’t tighten the clamps too much, as that could deform the frame. With a hand plane I shave down any excess wood on the tenons and sand down the frame edges.

I finished the frames, and now I drill some more holes for the threaded inserts, which will allow me to join the modules together. Now I’ll cut out the bench cabinets. I make sure they’re the proper size by introducing them in the frame.

I cut grooves that will act as slides for the drawers. This will take a while with the table saw without a dado blade or a router, but little by little, I cut all the grooves. I use a piece of laminate flooring as a jig to cut the ends of the groove.
I cut half of the grooves and turn the pieces to cut the other half. It would be dangerous to cut them on the same side because the disc would be too far from the saw fence. Before I continue, I’ll use this opportunity to sand down the inner surfaces, and now I can put the cabinets together.

I’ll use biscuits, though screws could work as well. Once the glue is dry, I can join the cabinets and the frame together. I’ll use wood glue this time as well, but, again, screws could work too.

It’s important to start placing clamps between the legs and the cabinets to avoid bending the legs. When the glue is dry, I remove the clamps and wipe off any excess glue….
Now I’ll glue together these pieces of hard plywood to make the legs thicker and to screw the wheels on. I’ll use the same wheels as in the bench I made a while ago, sent to me by Caster HQ. They’re the perfect complement for this kind of woodworking bench. I mark their position, drill the holes and place some hex lag bolts.
That’s all for today. In the next article I’ll be installing the top of the bench. I’ll use a beech finger joint board, which was sent to me the company Basic Madera, and a new kind of vise that works with gears named twin turbo vise and invented by the engineer Andrew Klein. See you soon!


I love this way you made the frame from strips of ply… I’m looking forward to the continuation of this build.
thanks Chris!
Very nice work. Nice to see it being done without a shop full of very expensive tools.
Great design! How did you set your table saw up to make the drawer grooves consistently from cabinet to cabinet? I kind of expected to see you using a jig or a sled. Did you just set the table saw fence up once and then cut the same cut on all panels sequentially?
hello Aaron,
yes, I cut them sequentially
Suso, This is awesome, I bought your plans a while ago and am finally getting around to this project. I am in the US and somewhat new to woodworking although I’ve made the Paulk table before. I’m wondering if you happen to have these in imperial measurements?
hi Bob,
I’m sorry that you are having trouble with the plans. You can use one of the several online applications to convert each of the measurements that you will find in the PDF file called “Cutting List”, that you’ll find inside the folder with the same name. Here an example. You should also watch this video-article: