This is the first part of a full, six-article instruction manual I’ve written to give you a clear and concise overview of everything you can find on this woodworking and DIY blog. I’ll explain the purpose of this site’s existence, as well as the reasons why I decided to start making my own homemade woodworking tools.
After reading this first article called “Viability of a DIY woodworking project” you can click these links to go to each of the sections in the manual.
2- Uses of homemade machines & woodworking tools
3- Knowledge required to make homemade woodworking tools
4- Which DIY woodworking tools should I start with?
5- Choice of materials and cost of DIY woodworking tools
6- Safety, estimating and organizing work time in woodworking
1- Viability of a DIY woodworking project
I think there are two reasons to make your own tools. First, you can do it just for fun. By that I mean there doesn’t need to be a greater purpose for the project other than the desire to make it. In these instances, the viability, time investment, and profitability of the project don’t matter very much, it depends on the interests of each person.
The second reason is more rational. It can be born out of the desire of benefiting from an idea or work. You may have to optimize the time you invest in it, automate processes, adapt an idea or piece of furniture to your needs, or simply because you want to get more out of your business and you can’t find what you’re looking for on the market or in your area.
One of my most vivid childhood memories is watching my father, a construction worker, making handles for the hammers and sledgehammers he used at work. I remember him sitting in front of his workbench, shaping the wood into a cylinder by cutting it with the edge a piece of glass. I believe these memories relate in some way to both of the reasons I mentioned before.
He was having fun and at the same time he was getting the personal satisfaction of making his own tools. Also, he was saving money on hammer handles. If you put a price to your time you’ll reach the conclusion that making your own handles doesn’t pay off if you take their market price into account but, again, it’s a personal thing.
Apart from that, when I was a child I started making my own projects, likely by imitation. I started making simple wooden toys or harmless toy weapons. Because I was keen on woodworking, I joined a carpentry course in a school. Not enough time was spent in the workshop and we were taught a lot of theory without any practical applications.
I still think a lot of that information wasn’t necessary to learn the trade, I only learnt to memorise all that info that I wouldn’t use in real situations. I believe that this is essential when it comes to opening your minds; seeing any trade from a different perspective and coming up with solutions on your own.
Finally I got discouraged and dropped out after four years. That course along with a few small computer-aided design courses were my only formal training.
When I was 18, having left school, I started working in small carpentry shops building all sorts of furniture and here is where I gained most of my knowledge. Towards the end of that period, I started working with CNC tools, which opened up a world of possibilities.
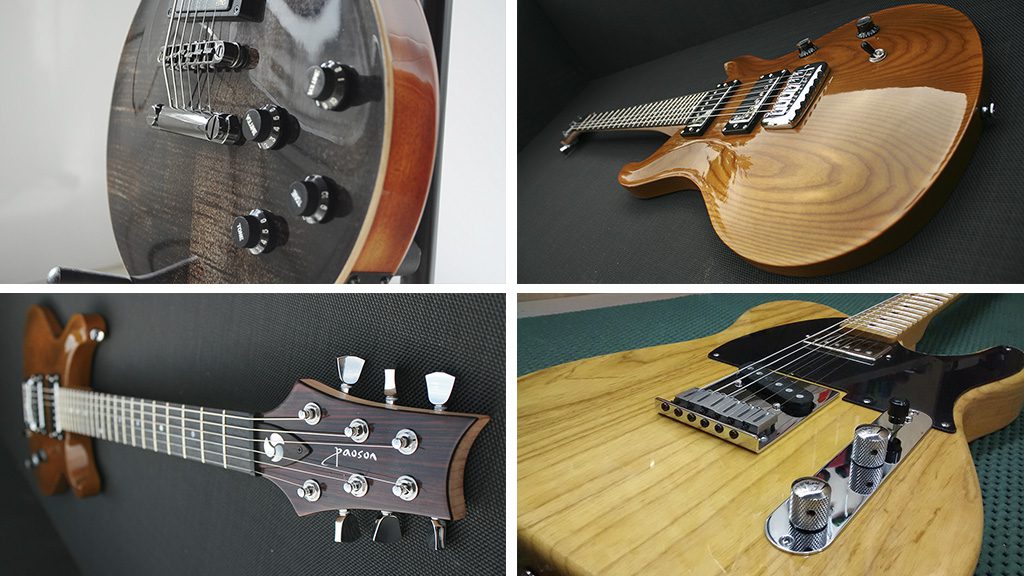
When I was around 18 I also started playing the guitar. Shortly after I thought about making one myself, since they were made of wood. Eventually I decided to give it a try and this marked a turning point in my career.
For one, working as a luthier provides you with a deeper knowledge of wood and manual techniques. And also, a lot of the tools I required either didn’t exist or were unaffordable for me so I decided to make them myself.
Making a guitar is no easy task. It takes a lot of precision, so you have to be very patient and thorough. Since I couldn’t join any training courses, I had to read up on the subject, search for information on the internet, and go through a lot of trial and error.
Many people told me all that time and work wasn’t worth it, and they were right if you’re only looking at profit – I was putting in a lot of time but barely made any money!
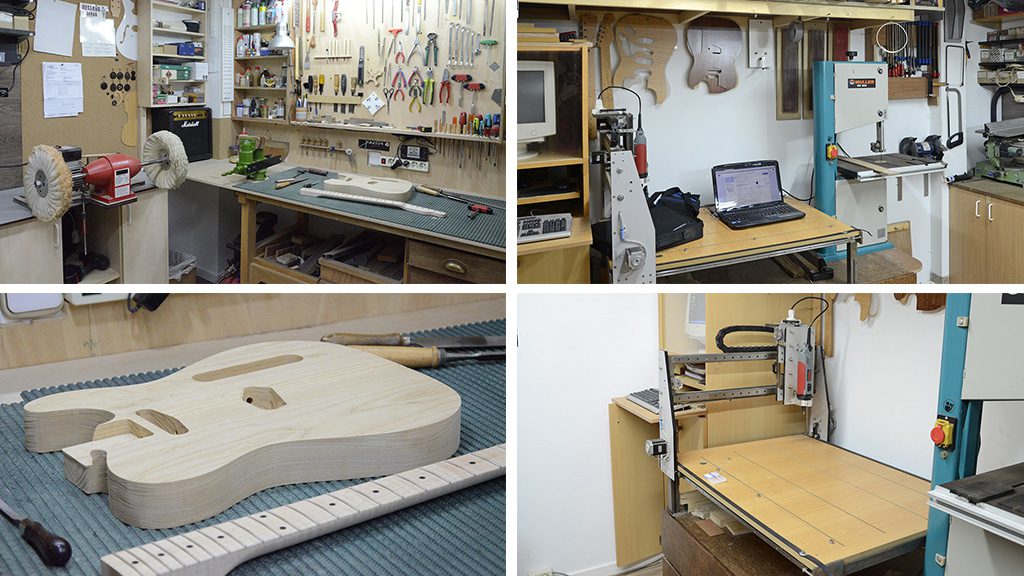
After all of those experiences, I reached a point where I had obtained all the knowledge required to make my own computer-aided designs. I could use CNC tools and I needed custom tools for my work as luthier.
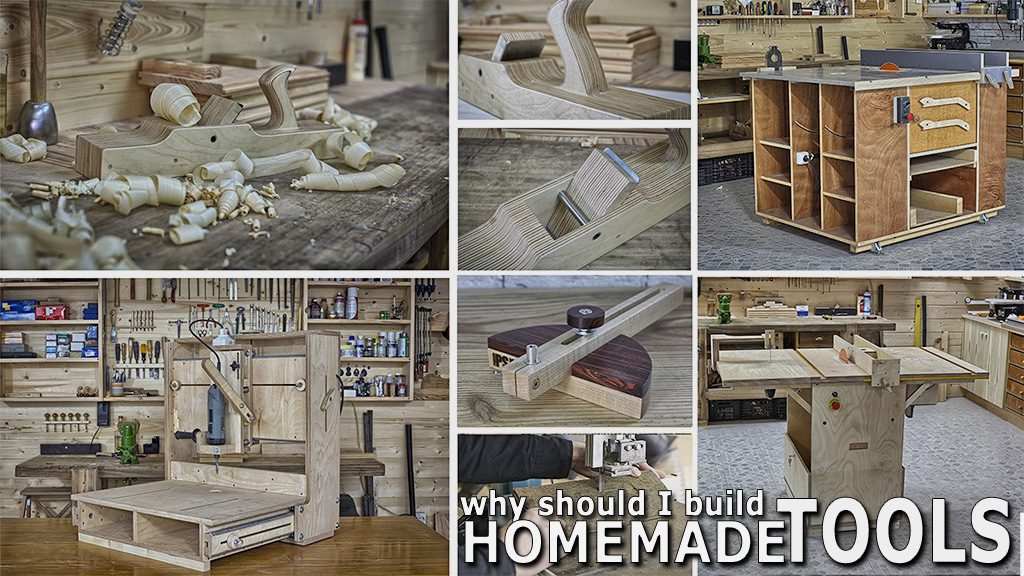
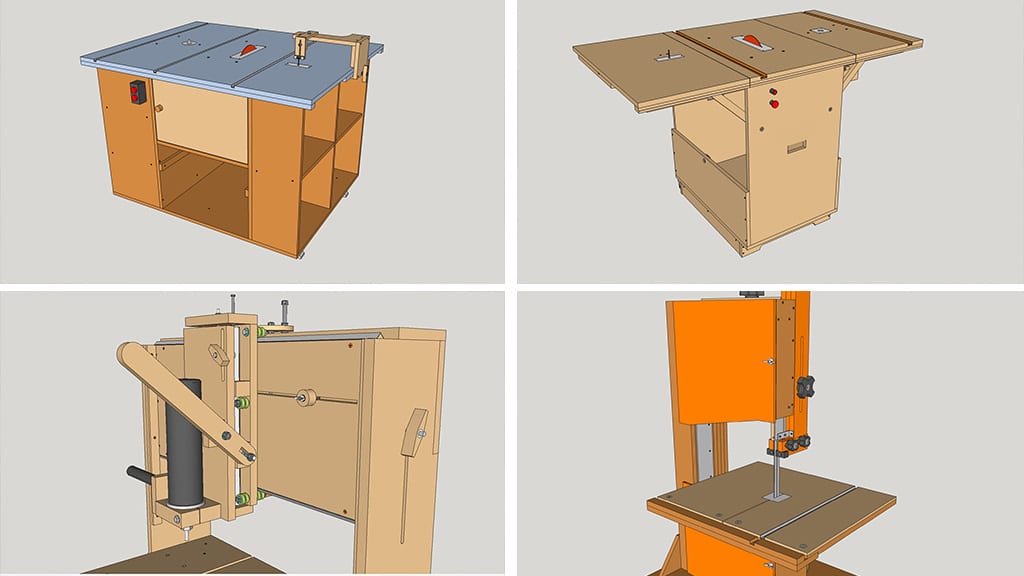
After automating many guitar-making processes and building several tools such as a homemade CNC, I decided to build my own table saw to upgrade the equipment of my little workshop.
The ones I found on the market were either too expensive or not suited to my equipment needs. Keep in mind that at the time I was working in a 15 sq m single-room shop so I needed to use space efficiently.
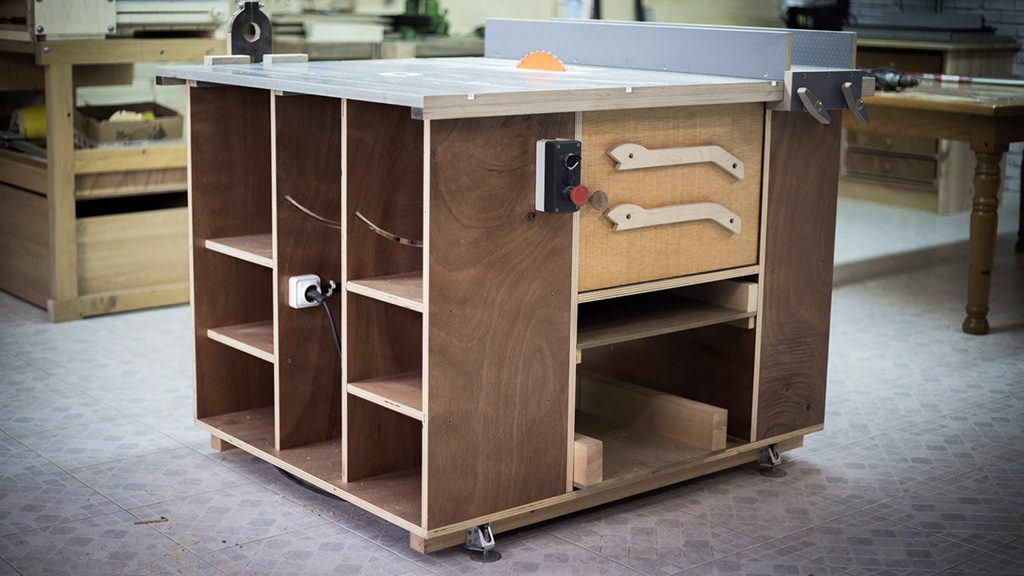
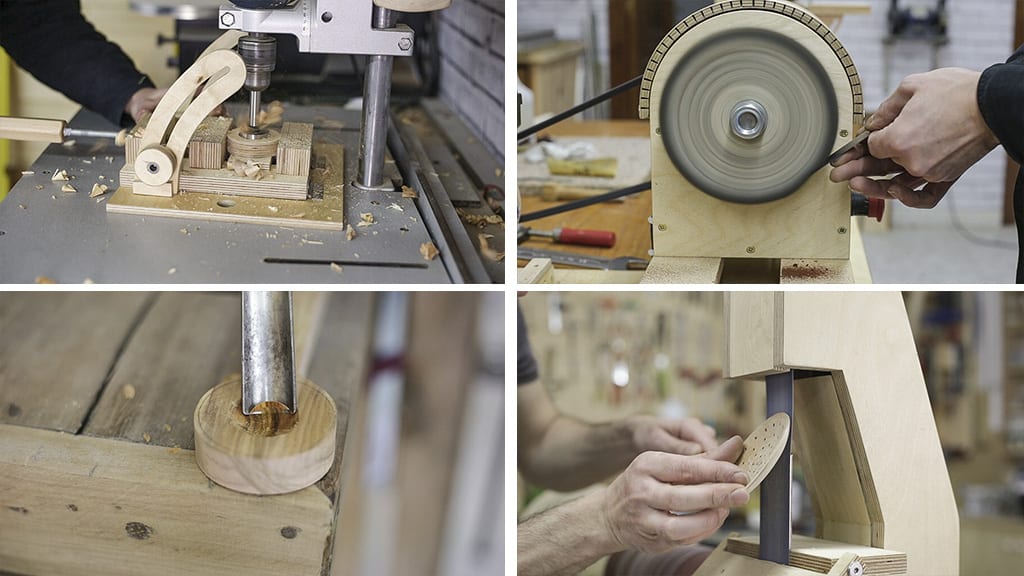
Using only a few hand tools and plywood I built my own table saw and router. A few days later I recorded a video showing its basic functions and shared it on my Youtube channel. What happened after that came as a big surprise to me. A lot of Youtube users asked me if I could make one for them or give them plans to build one.
Because I knew how to make 3D model of the design with all its measurements and a cut list I launched a small website where I shared the design at a reasonable price.
Finally, what once appeared to be a waste of time and money eventually became my way of life. I hope my words motivate and inspire you to create your own projects. As you know, everything is possible if you dedicate enough time to it.
1B- Support me so that I can keep creating
As you might imagine, designing and building these machines and the other projects on my website is an arduous task that comprises many stages.
1– Developing the project in my mind and making sure it’s viable. Once I have a rough idea, I have to model it on a CAD program. This takes countless hours of work in front of the computer. If I’m lucky the design will work on the first attempt. If not, I will have wasted hours of work and will have to start the design again.
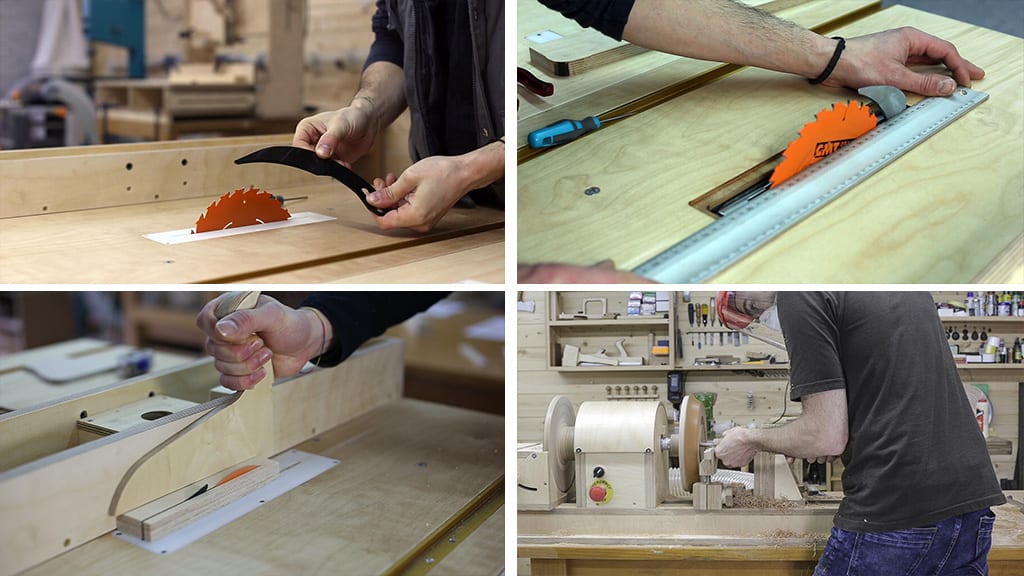
2– Simultaneously, in order to finish the design, I must get a hold of all the materials and components required. Some might be hard to find or some might be too expensive. I always try to use materials that are as cost-effective and widely available worldwide as possible. I also share the results of my online searches in my forum.
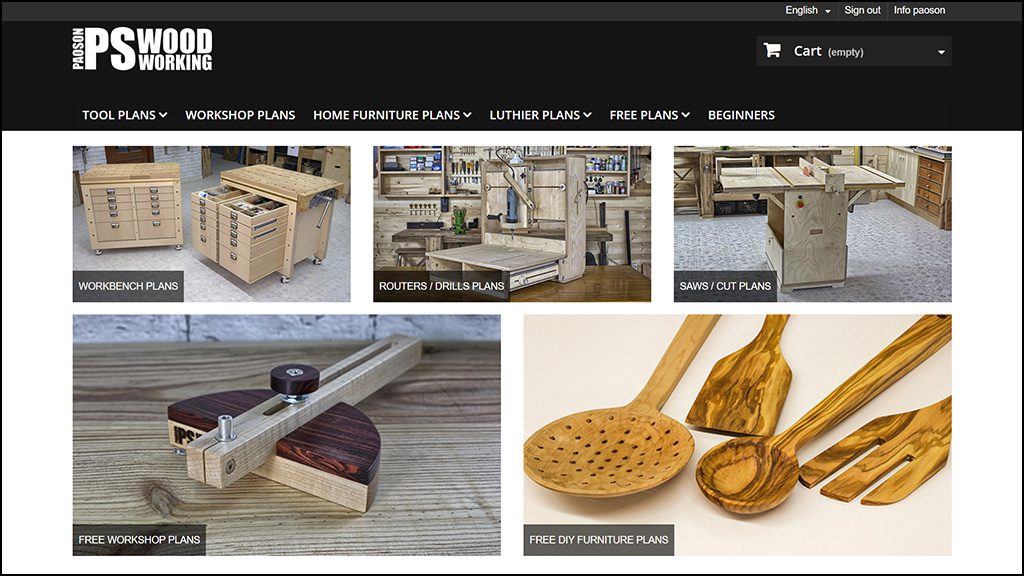
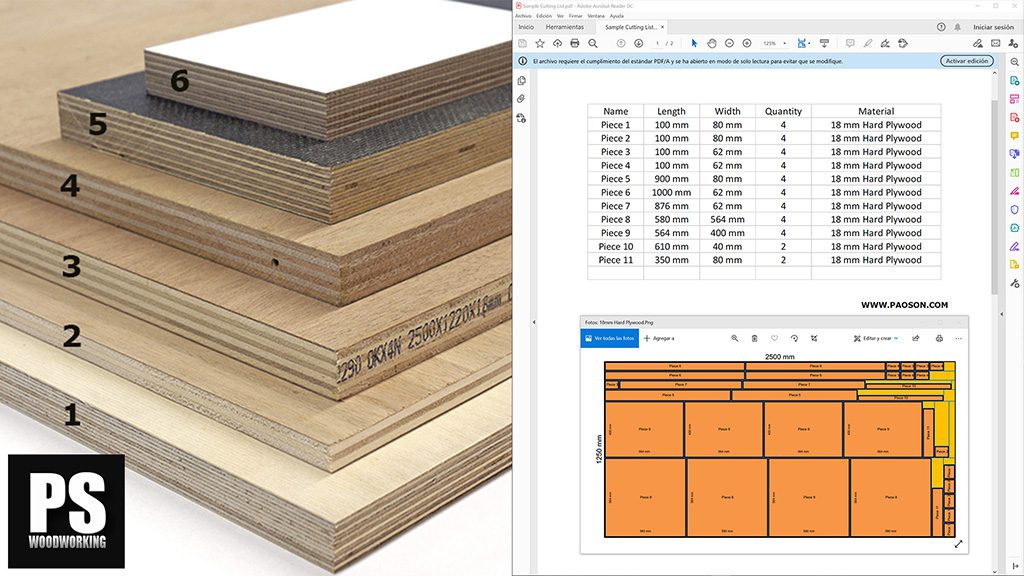
3– Once I’ve finished the model, I prepare all the annotated presentations, PDF sheets, pictures and cut lists that you can find in my plans. If you haven’t seen them yet, you can download some of them in the free plans section on my website.
The experience I obtained from my previous projects helps me understand what an user with average knowledge about woodworking needs and doesn’t need in order to complete any of the projects.
4– Finally I can start building the project although having to shoot video at the same time makes it more complicated! Just like when modeling on the computer, if I’m lucky everything will work first try. On more than one occasion I’ve had to scrap plywood panels and hours of work and had to start from scratch. Some issues aren’t noticeable until you finish building the project.
5– After completing the project, it’s time for yet another time-consuming process: editing and uploading the videos and pictures to social media. You can imagine how long it can take in some of the larger projects.
6– At the same time I have to manage all my social networks and my website, as well as replying to forum posts and preparing the articles. I also have to reply to the private messages many of you send me asking for help or advice doing your projects.
Managing all this work requires my full dedication. The money I get from Youtube barely covers the maintenance of my site. That’s why selling plans, my other source of income is so important to me.
Whether you want to build your own tools or are visiting my site for fun, I appreciate any contributions that will allow me to continue developing my ideas. You can support me by purchasing some of the plans sell for €3 on my site. It’s not much, but it adds up!
You can also help me by following me on my social media and sharing my work on yours. Also by sharing your homemade woodworking projects on my website you’ll help me and others who can see new ideas for their own projects.
Suso Caamanho.
Next article in the series:
2- Uses of homemade machines & woodworking tools


great article!
thanks Ben
Great article, thank you!
very creative, great projects. Thank you.
thanks mate!
Last visited around five years ago, so impressed with what you have accomplished. Sheer creativity
thanks Matt, I’ve made many more projects!
keep posting Suso!
Suso, I love you table saw/router design but cannot get dimensions changed. I’m not computer savvy and am even having trouble sending this. Help! Suggestions??
hello Vincent, here you will find information to change to imperial.
Hi Suso, your creativity and story is truly inspiring. You have created so much projects and associated content, this is very impressive. Also everything you share has a flabbergasting level of quality and details. I have already purchased few plans from you, and will definitely be getting some more after I finish the workbench 🙂
So I guess what I really wanted to say is thank you, I have started woodworking hobby classes 1 year ago, I am now addicted to wood :-0
Please keep doing what you are doing, there is a lot of woodworking channels and sites out there, but you are in my opinion one of the best, if not the best !
thanks for your kind words Laurent! here I am if you need help