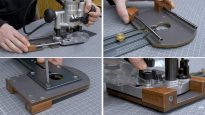
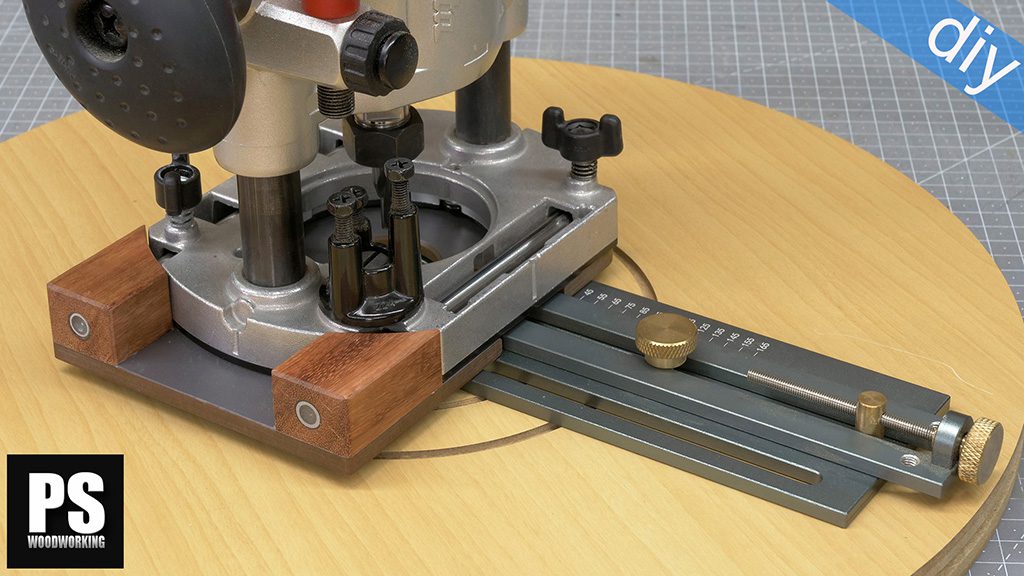
Back to work! And here’s my latest project, a plunge base that can be used with Dremel-type rotary tools. It will be very useful for future guitar making works. It will also be useful for other precision tasks.
The other day I made a few inlays with a small base I built years ago, but since it’s not a plunge base, it’s not very practical when doing these kinds of jobs.
Plunge Base Plans
This new design is much more precise and comfortable. I made it with scrap pieces of HPL panel from a carpentry shop that makes furnishings for swimming pools and gyms. It’s a hard, sturdy material which is also quite versatile since you can cut it, sand it and thread it with woodworking tools. We could also use hard wood or plywood of a similar thickness.
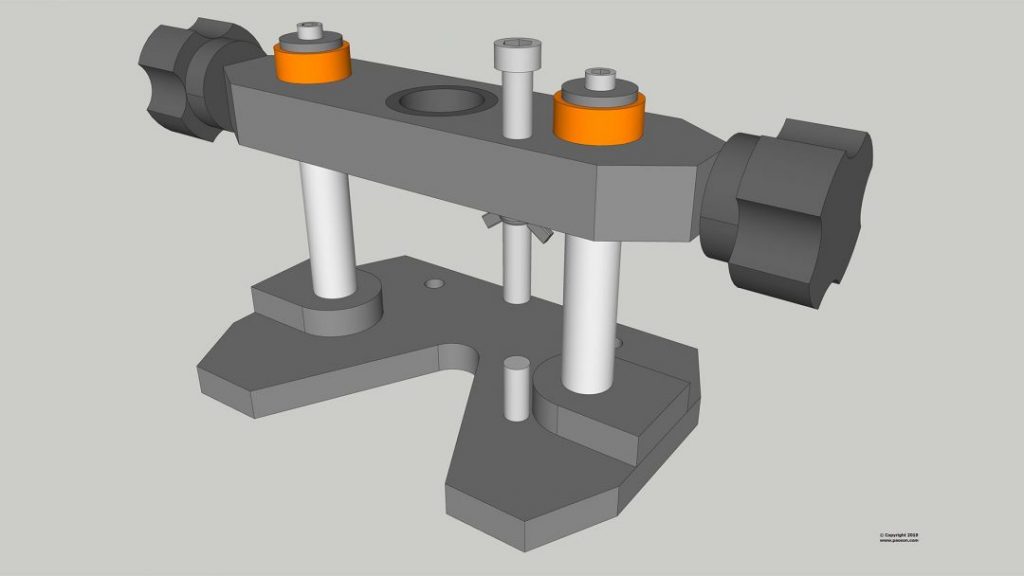
If you are interested in making your own plunge base or collaborating with my work, here you can buy and download the plans:


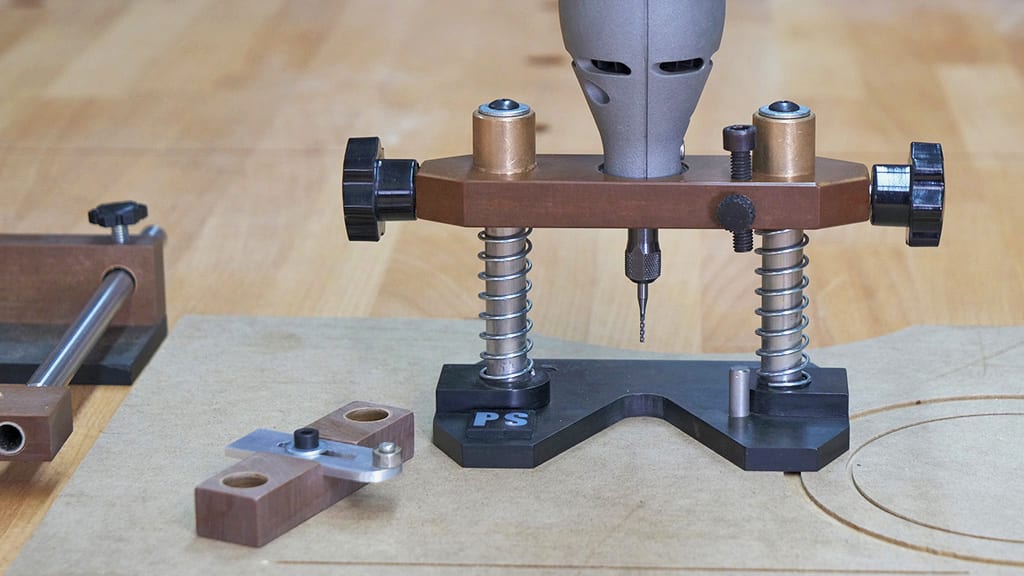
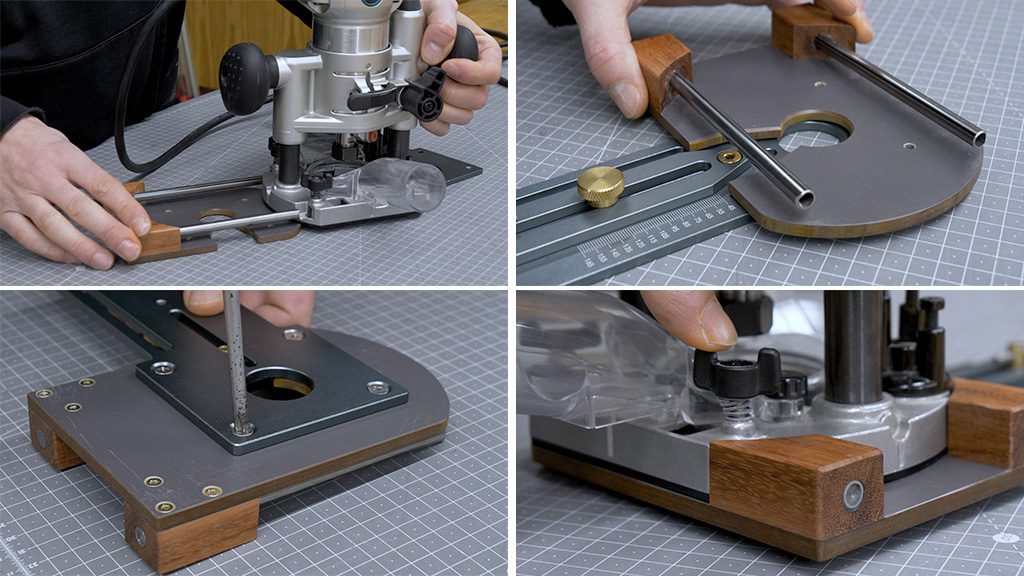
For the sake of aesthetics and in order to ensure the epoxy adhesive works better, I sanded down the melamine layer on both sides of the HPL. I’ve also used a calibrated steel rod, two brass sleeve bushings, two springs and some screws

In order to attach the multitool to the base I used this threaded piece of plastic from an old accessory I’ve never used, although with the right thread tap I could have threaded the HPL piece directly.
It has a precise cut depth system and the tightening knobs allow me to lock the multitool at the desired height. I’ve also built these accessories: an edge guide and a circle guide.
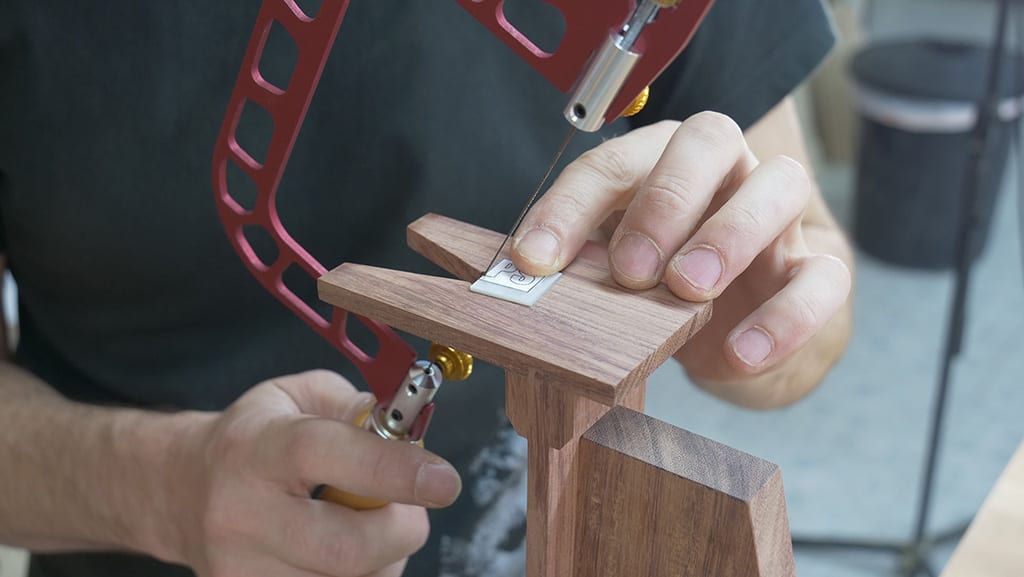
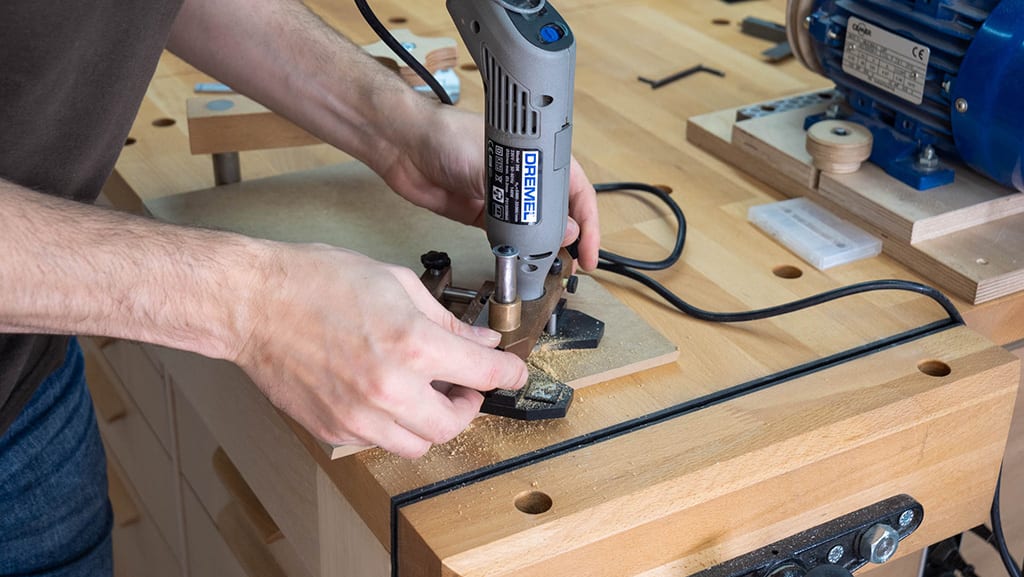
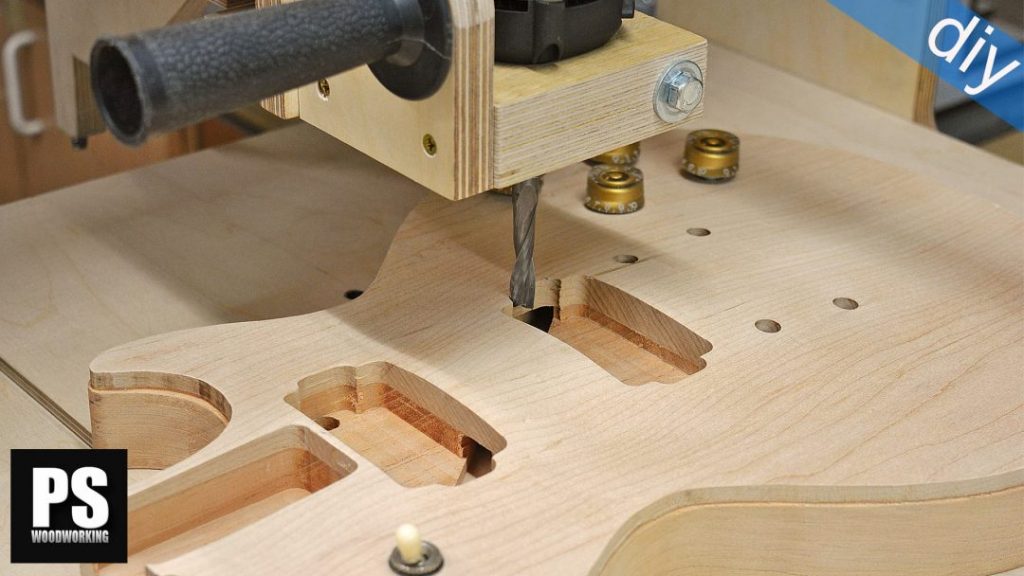
I’ll run a few tests to see how well they work. First I’ll cut the initials of my logo out of a piece of motherpearl. Once cut and adjusted, I trace their outline on a piece of wood. Now I mount the multitool on the base. I place a 2mm router bit and adjust the depth.
Then I’ll replace the bit with a smaller one to do the edges. The base moves smoothly and works perfectly, but I’ll need a lighting system and a sawdust removal system. Finally, I’ll glue the initials to the wood with epoxy mixed with black sawdust.
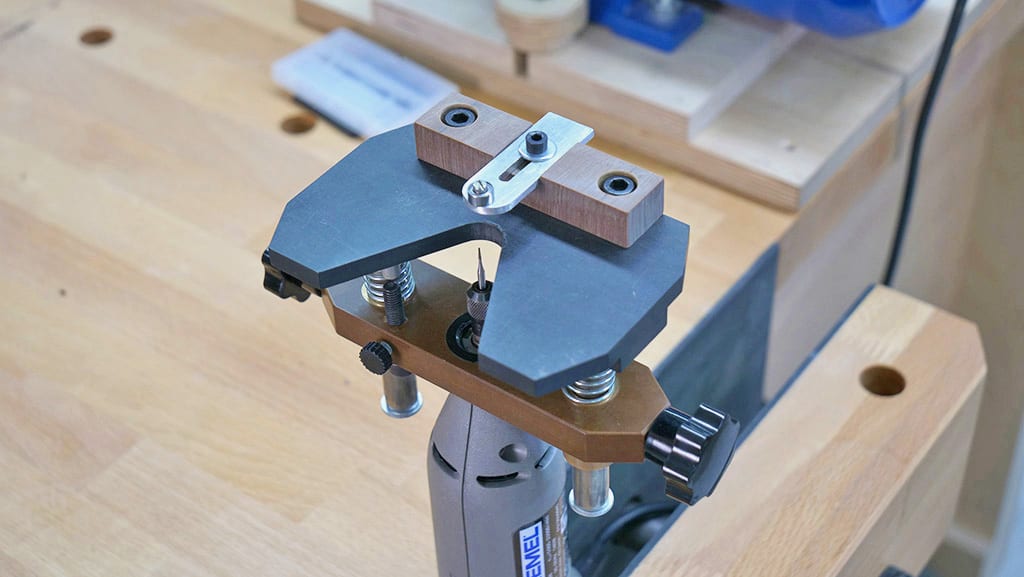
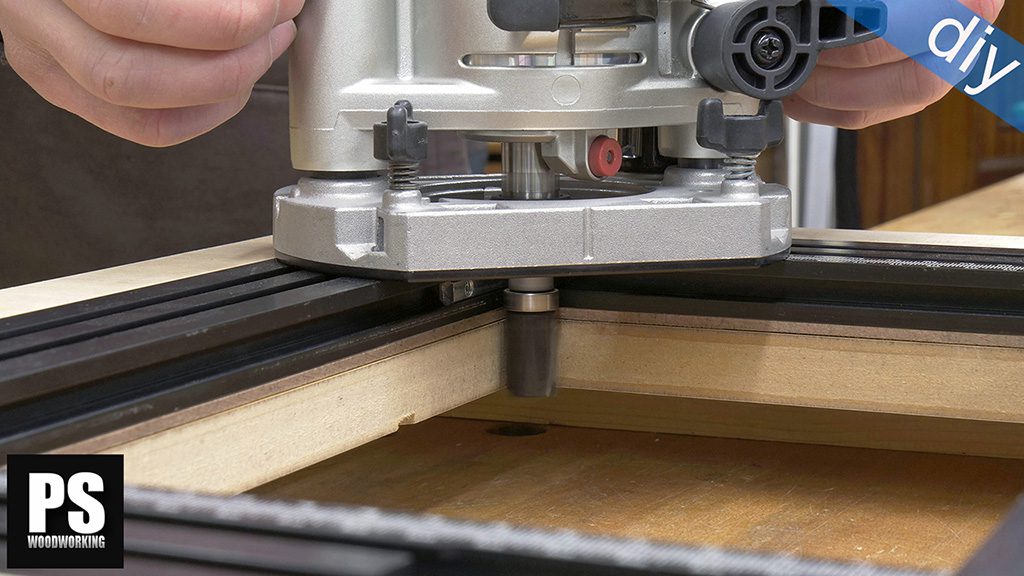
Now I’ll try the edge guide. It will come in handy to cut curved pieces, or pieces with irregular shapes. Lastly, I’ll try the circle guide. I drill a hole on the piece with the appropriate diameter to use as rotation axis. This guide will also double as a parallel guide.

Of course, I will also be able to use this inverted base to sand small pieces or do small milling operations.


Another inspiring project, thanks. I like the look of the HPL, it seems as though it can take a threaded hole on the edge, which makes it much more versatile than MDF, or most plywoods.
thanks John!