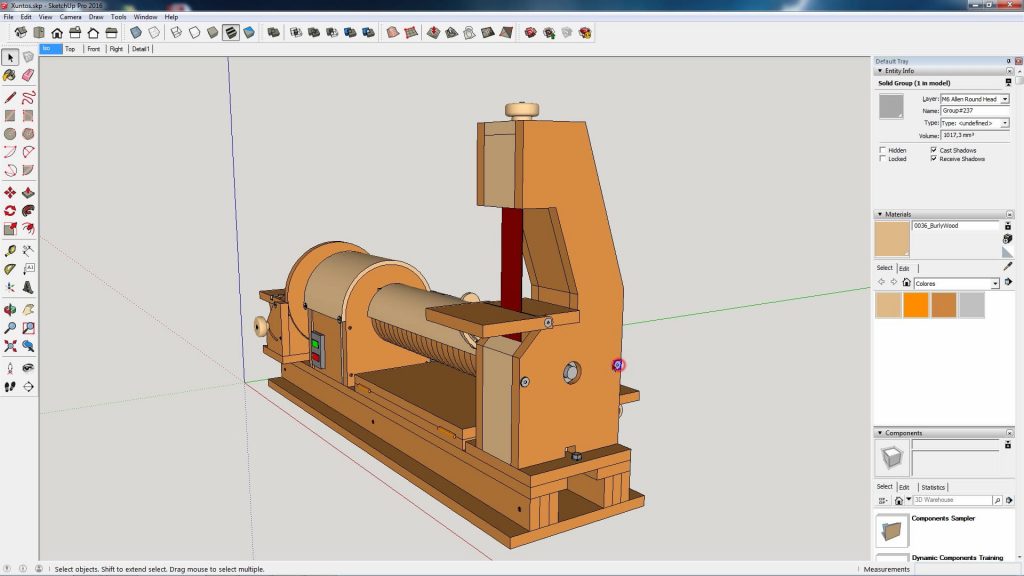
I’ve spent the last few days trying to develop a sanding station for my homemade lathe. Since turning is not a very common operation in my workshop, I’ve thought about getting more use out of the engine by adding a belt sander and a small thickness sander.
For both tools will be enough 800 revolutions, the slowest speed of the three options that I have on my lathe. If you are interested in collaborating with my web or building your own sanding station, here you’ll find the downloadable plans:
Useful dimensions of the thickness sander: 400x50mm
Length and width of the sanding belt: 915x50mm
Belt & Thickness Sander Plans
How to make a belt sander EP1:
It wasn’t easy coming up with a design that would allow for quick and easy detachment of the belt sander and the thickness sander, and comfortable sand cloth replacement and at the same time work smoothly without vibrations, but in the end, I believe I’ve achieved a good result.
In this way, setting up the sanding station is fast, and so is replacing the sand cloth in the drum of the thickness sander. Also, to replace the sanding belt on the belt sander I only need to remove these four screws.
Let’s take a look at how to make it. First we cut all the pieces according to the cutting list. This is the holding system for the belt sander. I will use the same system as before. I’ll also glue a couple of pieces of sand cloth to it to further ensure its attachment.
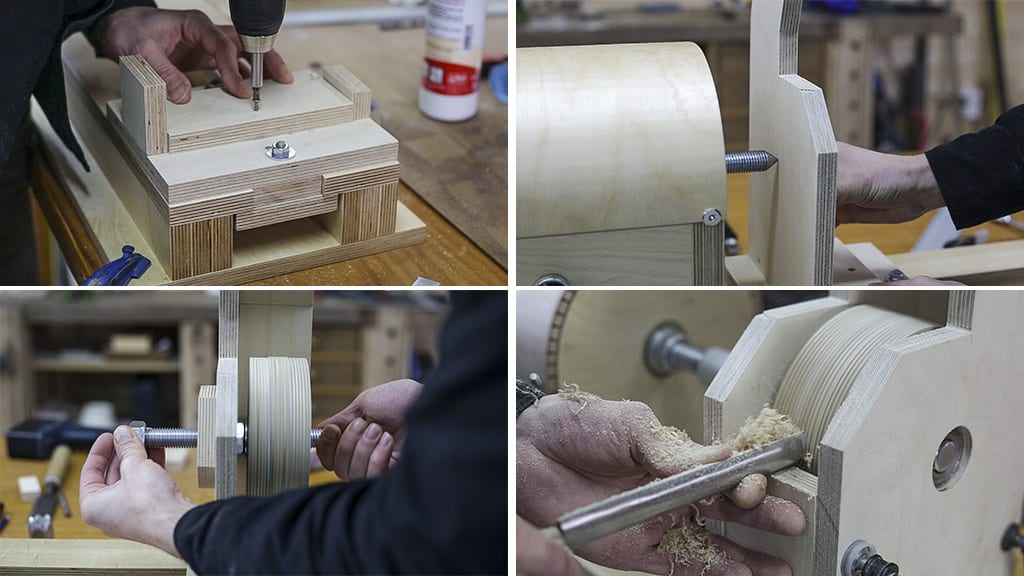
Now I’ll cut the sides down to size and into the appropriate shape with the table saw and the Inverted Jigsaw. I’ll attach one of the sides to mark the exact position of the bearing.
I drill holes on both sides and on the respective counterpart with an adjustable bit. The bearing must fit in tightly and just deep enough so that it is secured in its position.
I put the first bearing in its place. If the depth is not correct, we could make some wooden washers to make up for it. Then I make the hole allowing us to adjust the belt sander’s position from left to right. Now I’ll prepare the rest of the pieces, also I make the hole is for dust suction.
I cut the pieces for the big traction wheel. I drill with a bit 1 mm less thick than the threaded rod, although a hole of the same diameter could be made and glue the wheel to the rod, but by inserting them like this and bonding them together it will be enough. After measuring and cutting the rod down to size I put it in its emplacement.
I insert the bearing on the other side and secure it in its location. If we don’t need a thickness sander and we only want to use the belt sander, I won’t have to attach this second bearing, but doing this I can achieve a more aligned, resistant shaft.
With a union nut I’ll achieve enough traction to turn it and trim it down to size. With this operation I’ll avoid unwanted vibrations.

Now I’ll start with the elevation system for the small upper wheel. I will attach this metal plate to it to avoid damaging the plywood with the screw head. Then I’ll machine the pieces for the small wheel. First the hole for the bearings, and then with a bit 1 mm thicker than the screw I’ll use as shaft
I insert the bearings and glue the three pieces together. Once the glue is dry, I’ll use the disc sander to obtain a perfect wheel. Then I’ll attach the elevation system. This last nut is a locking nut and must be a little loose to allow the bearings to turn.
How to make a belt sander EP2:
To begin this second video I’ll finish setting up the upper wheel’s elevation system which will allow me to tighten the sanding belt.
I screw this piece in place, as well as the other two that will serve as guide…then I’ll mark the position of the side lid screws, and I’ll use a bit 1mm less thick than the screw so I can thread the plywood later. (photo 3).
Now I’ll continue working on the the sanding table. I cut the two pieces….and, having tilted the router, I do this milling that will allow me to tilt the table up to 45 degrees. Then I’ll do the shaft drilling using a bit the same diameter as the screw I’ll use as shaft. I mark the other hole and drill with a bit 0.5mm less thick than the screw. (photo 4)
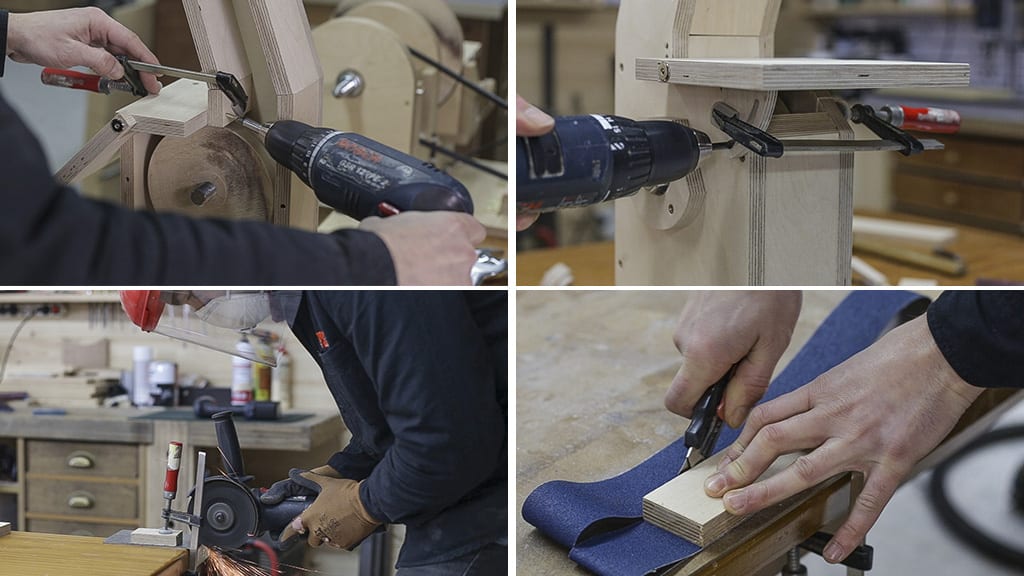
Now I’ll lock the table in place with a screw on the top, a metal bracket and this other screw in the back. This is the piece that will lock the table at an angle. I mark its position and screw it in to the sanding table.
Having made sure the table is aligned with the belt, I drill this hole. I introduce a threaded insert and its screw.
Now I cut and drill this L-shaped metal angle that will act as a stop for the sander. After taking the sanding able out, I make a rebate and screw the metal angle in.
I cut the sanding belt in half like this and put it in its place making sure the direction is correct.
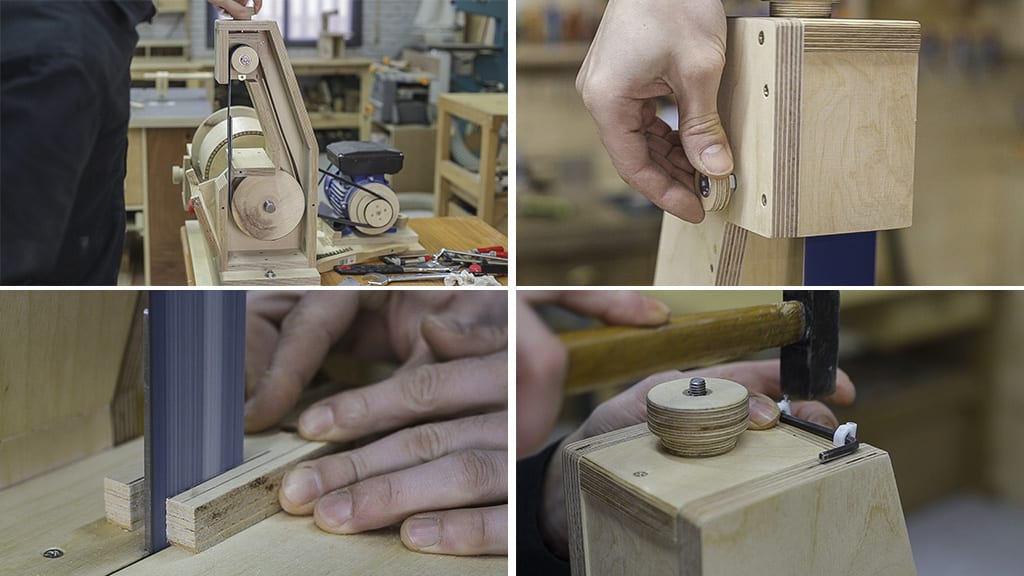
I tighten the upper knob a little. We needn’t tighten the belt too much. I check if everything turns as it should. With this other knob I can correct the position of the sanding belt.
Having made sure the sanding belt is in perfect alignment with the table, I’m going to run a few tests…and it looks like everything is working smoothly. This kind of sander is very useful when it comes to sanding this kind of pieces. And by tilting the table I can make bezels.
To avoid wasting time looking for the Allen key, I’m going to place it here like this. And now I’ll check how fast we can replace the sanding belt. First I loosen both screws on the table, now I loosen the belt and the two other screws on the side lid. The operation is pretty fast.
Will the plans for the drum and strip sander be included with the lathe/disc sander?
no, here you will find all my woodturning plans:
hi. what kind of drill bit do you use on 2:45?
hello, it’s an adjustable spade drill bit, check this out: