After one year of use, it’s time to perform maintenance on my 3D Router. I’m going to focus on the bearings and the aluminium profiles. As I said back in the day, aluminium wasn’t the wisest choice. Some grooves have appeared because the bearings are made of a harder material.
3D Router Plans
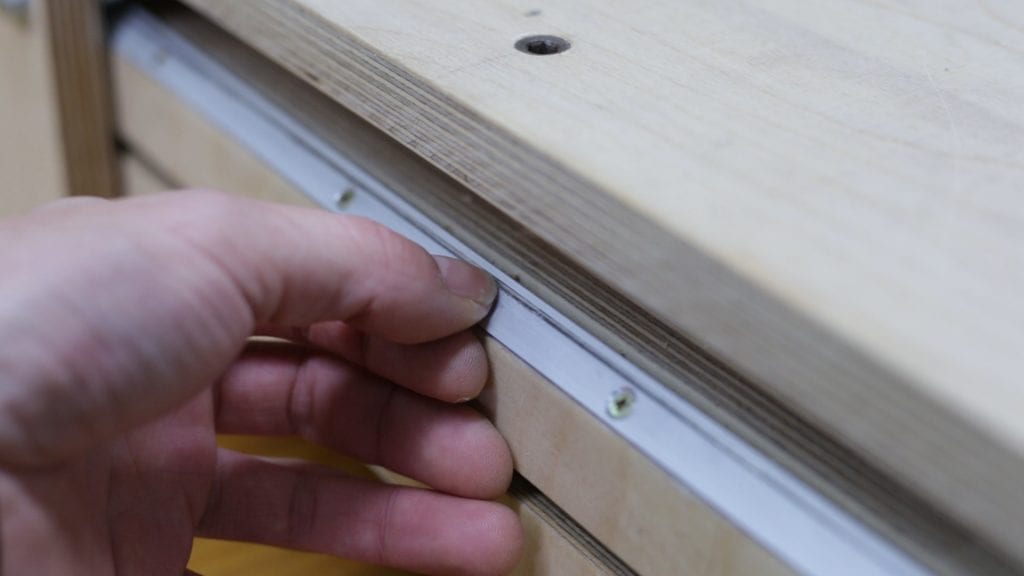
After having a closer look, the grooves haven’t got much bigger, and I could have continued using the router without making any changes. However, I’ve decided to go ahead and solve the problem, also because the bearings
I installed back then were of poor quality, so the balls inside are worn and loose, creating some backlash, easy to see at first glance. Some of the ones I had used were of good quality. When we disassemble the machine, we’ll appreciate the difference.
The point I’m trying to make is that if we want to use this system, we’ll have to use a steel profile, rather than aluminium, as well as some quality bearings.
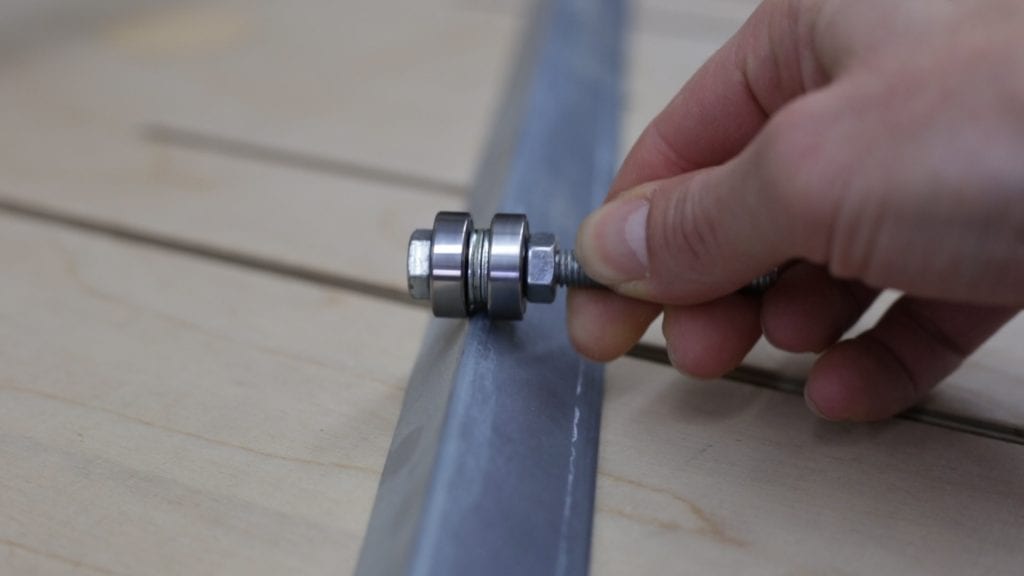
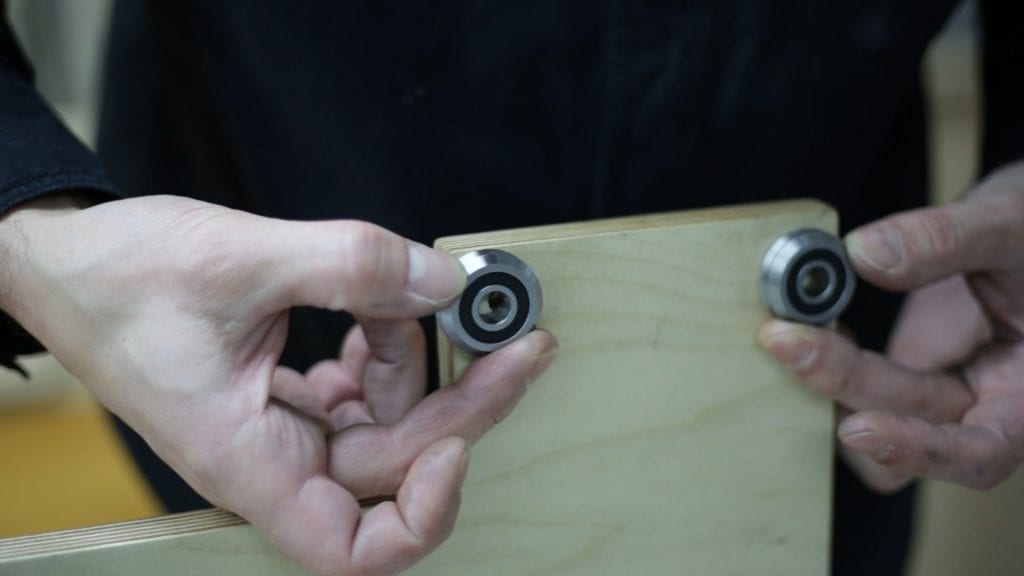
However, there is another solution. After searching around and doing the math, I realised that all the necessary top-quality bearings would cost too much, but I’ve found these so-called V Groove bearings for a reasonable price.
Thanks to their 90 degree groove, they will fit perfectly in the aluminium profile, and I only need half of them. I’ll have to make some simple adjustments.
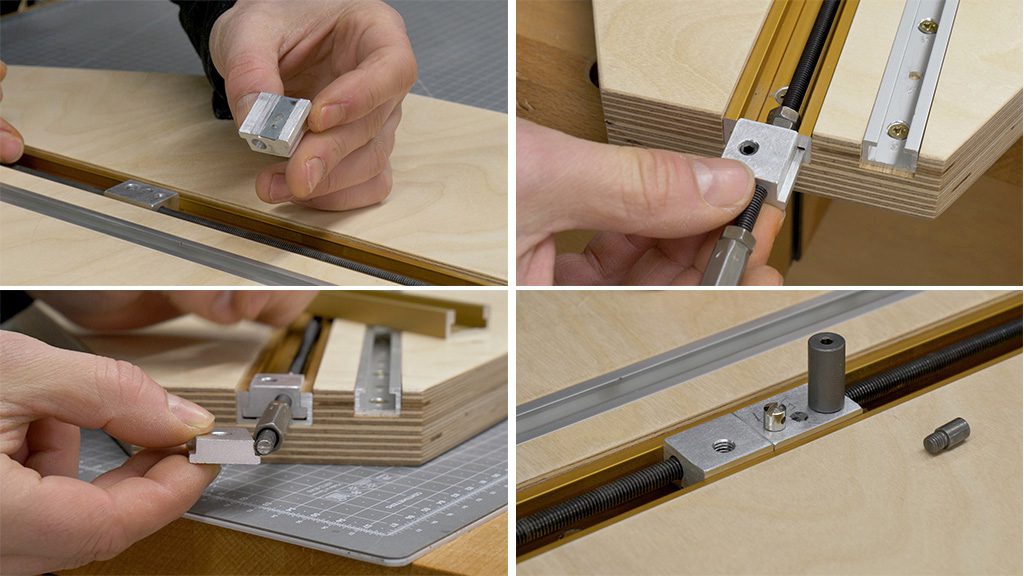
Now I’ll start by disassembling all the pieces, marking them if necessary, to make the reassembly easier.
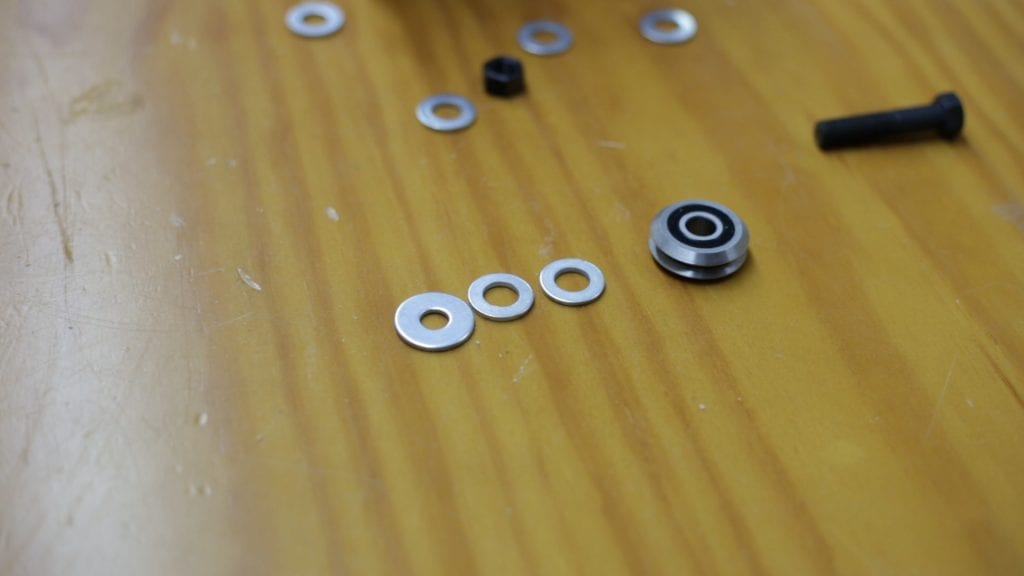
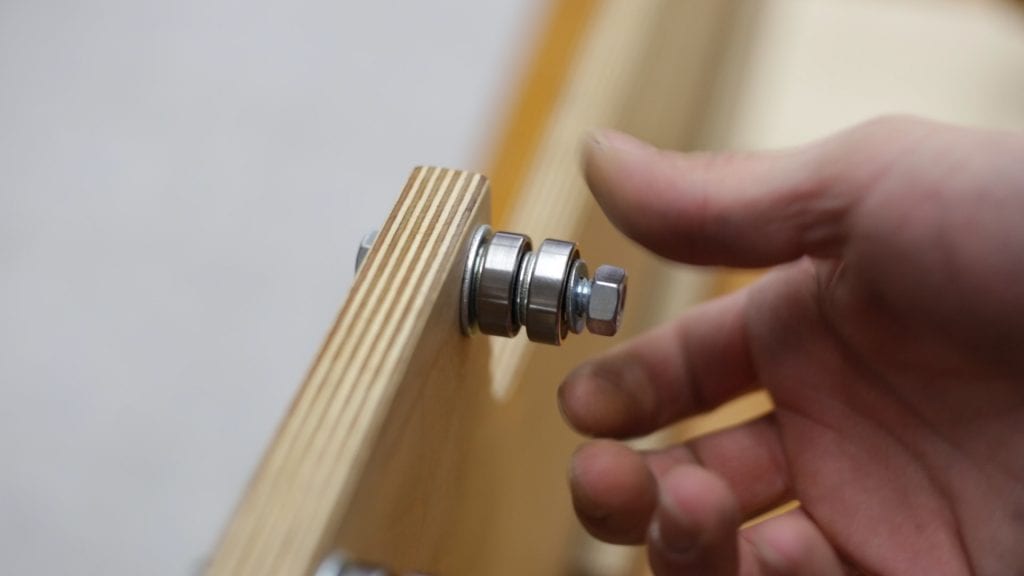
I’ll use these three washers so that the bearings are at the same distance as the old ones, as you can see here.
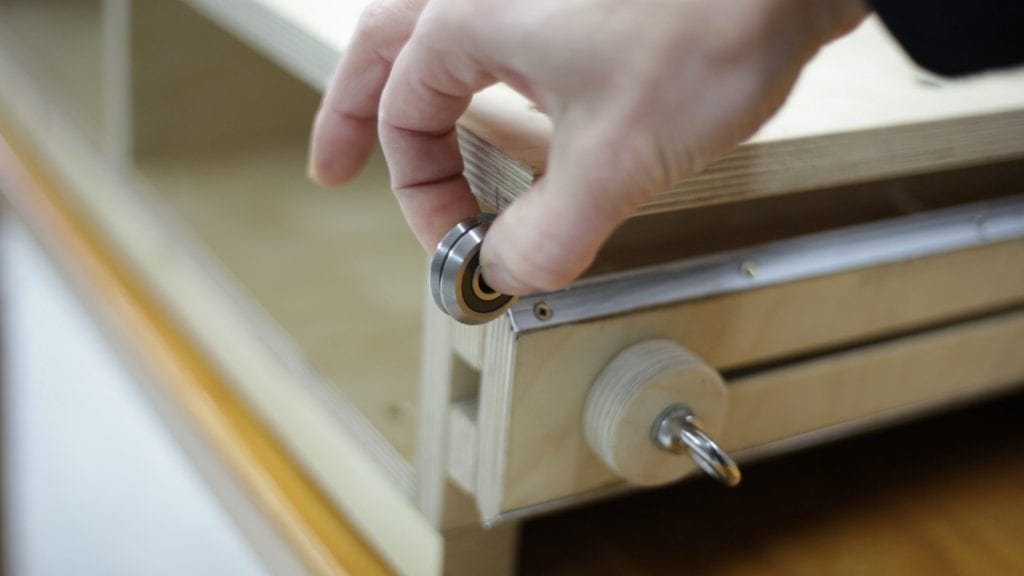
I remove the old bearings and we can really see the backlash I mentioned. This is one of the cheap bearings, you can immediately notice the wear and backlash.
Because the new bearings are wider in diameter, I have to increase the spacing between the holes a little bit, 6mm to be precise. Also, these have to be secured with a 3/8 inch screw, which means I’ll have to use a wider bit. I haven’t found this kind of bearings in metric.
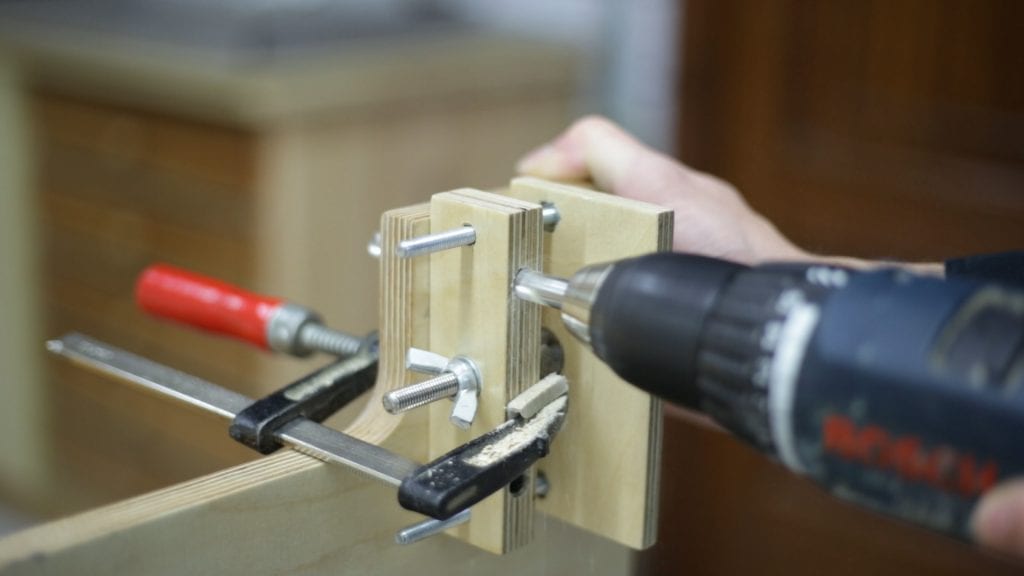
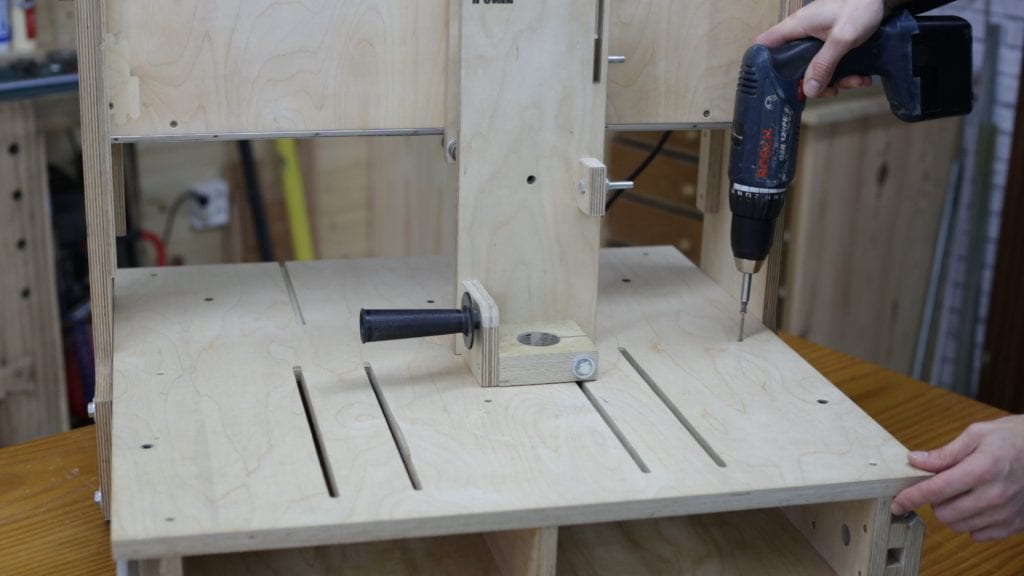
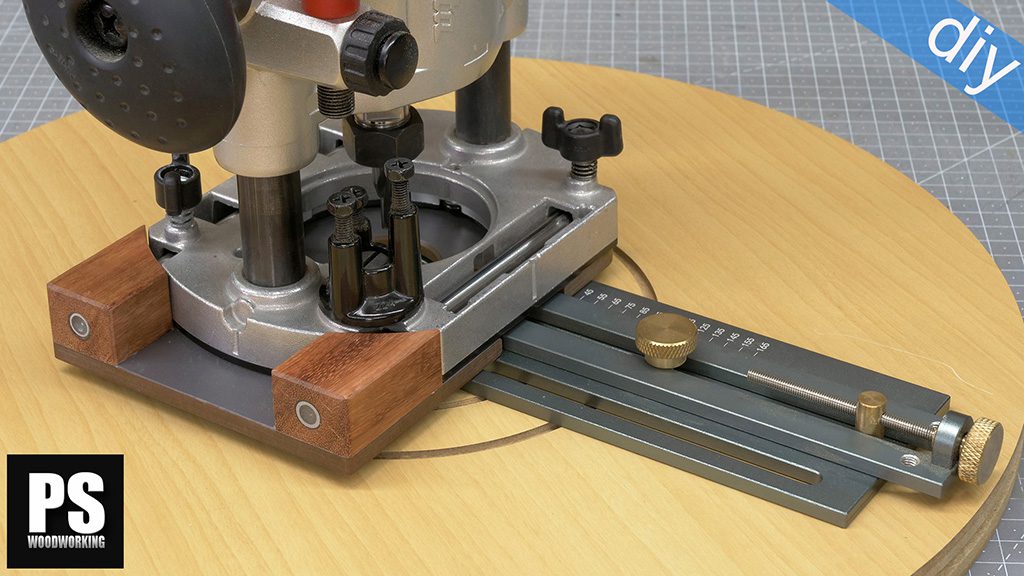
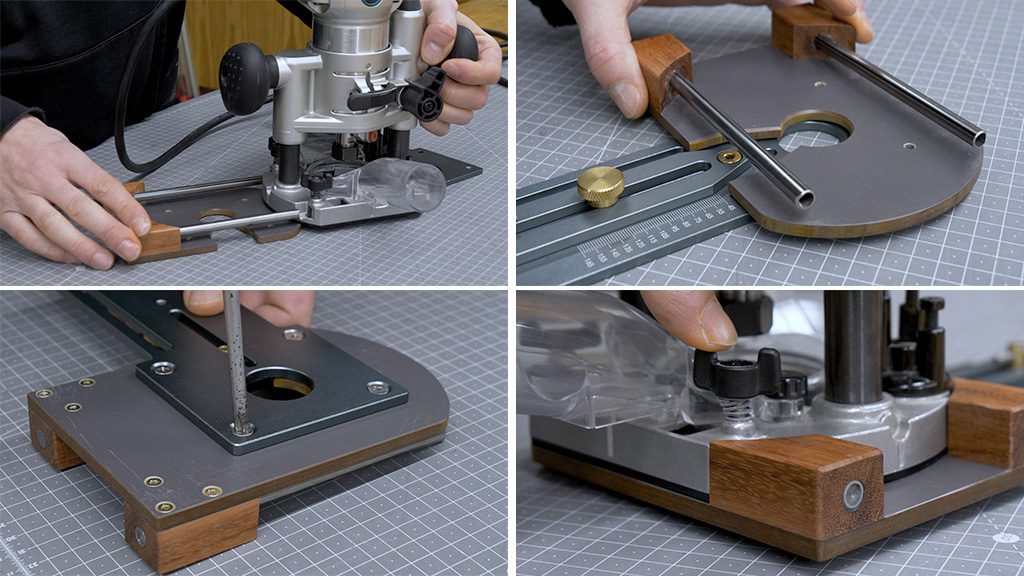
I’ll use this template so the holes are perfectly straight, and I start attaching the bearings.
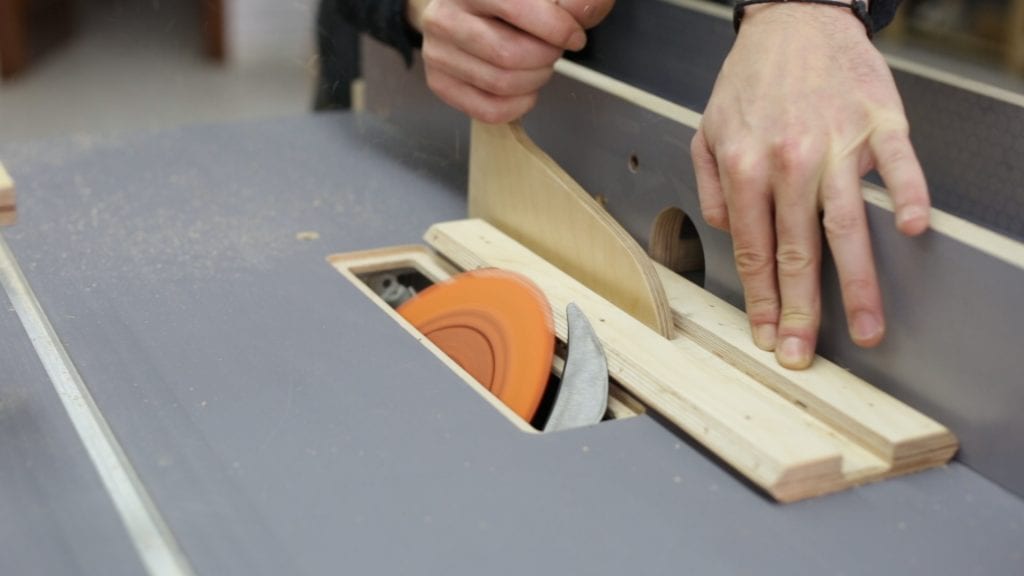
The X axis is ready, and seems to be working correctly. Now it’s time for axis Y and Z. Since there is little space available here, instead of moving the holes, I’ll trim this piece down to size with my table saw. I adjust all the bearings making sure they move smoothly without any backlash.
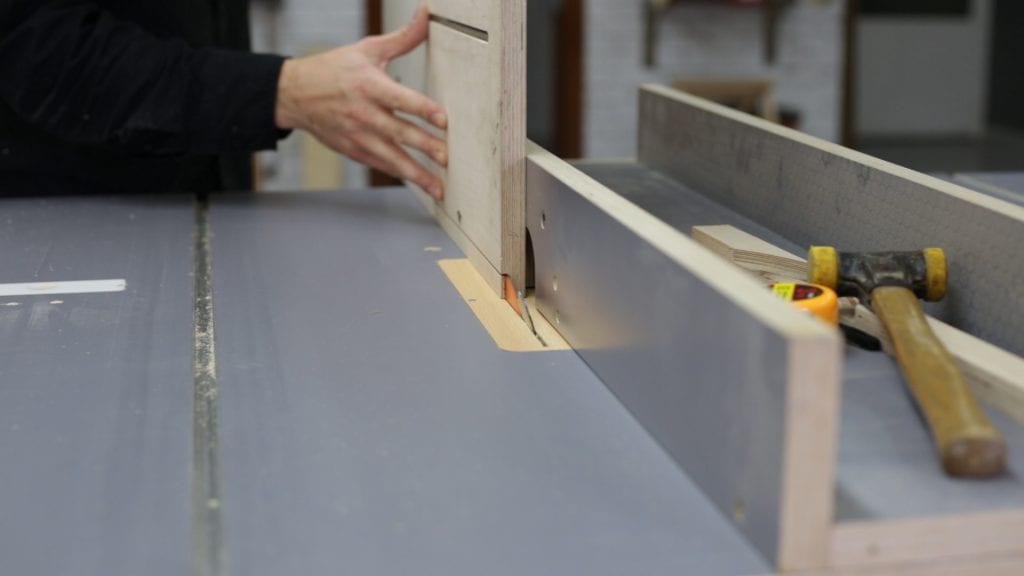
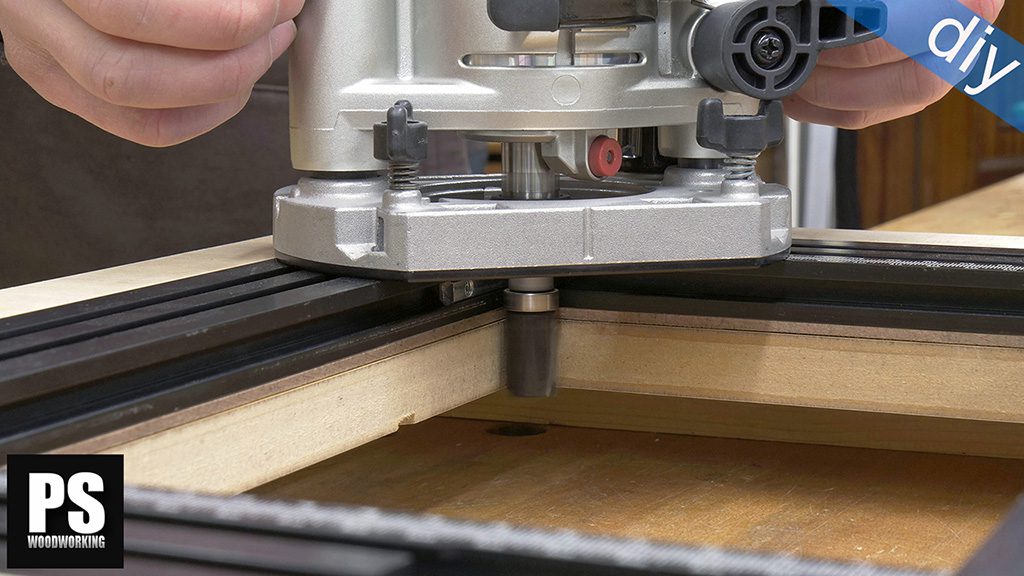
Here I’ll have to make a rebate on the table so that the bearings can run underneath.
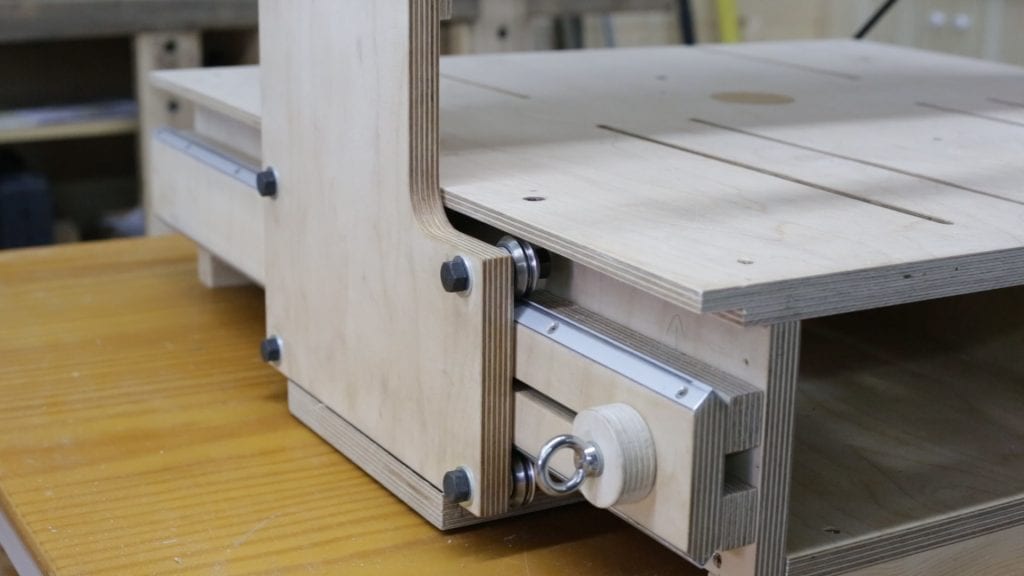
I’ll finish assembling the last pieces and check if everything is working as intended, you can really see the difference. It looks more stable and backlash-free. Those cheap old bearings aren’t fit for this kind of work. Hope you liked it and see you next time!
Note: I’m not planning to update the plans of the 3D Router because, as you can see in the video, hardly any modifications are necessary and both systems are good if made correctly and with the right parts. You only need to separate the bearings 6mm on axis Y and X, and lower the Z axis part another 6mm as seen in the video.


Hi, what layer thickness do you use for plywood?
hello about 1.5mm
I did not know those V bearings, great!
Hallo, kannst du mir die genauen Maße geben zu den V Rillenlager, kann keine dieser Lager finden !
Gruß Bernd
hi Bernd, check this out: