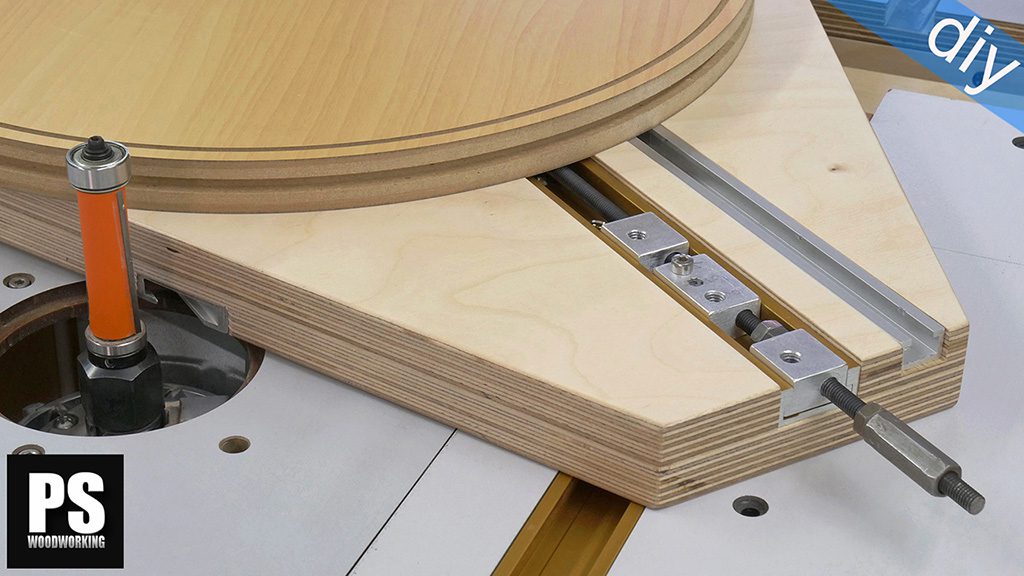
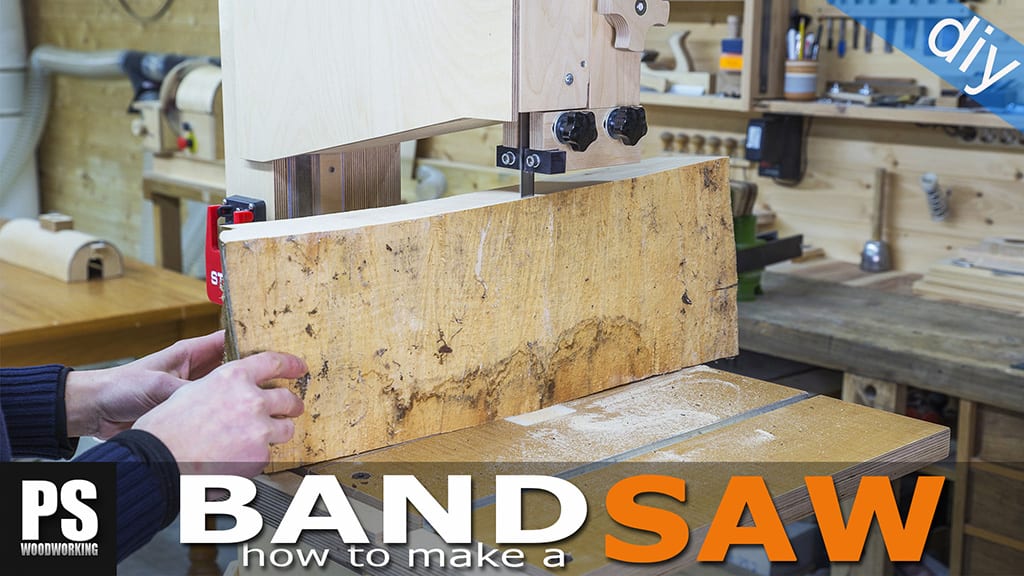
Today I’m going to show you how I built a fence for the band saw I finished building a few days ago. If you still haven’t seen the band saw, check out this article.
DIY Band Saw Plans

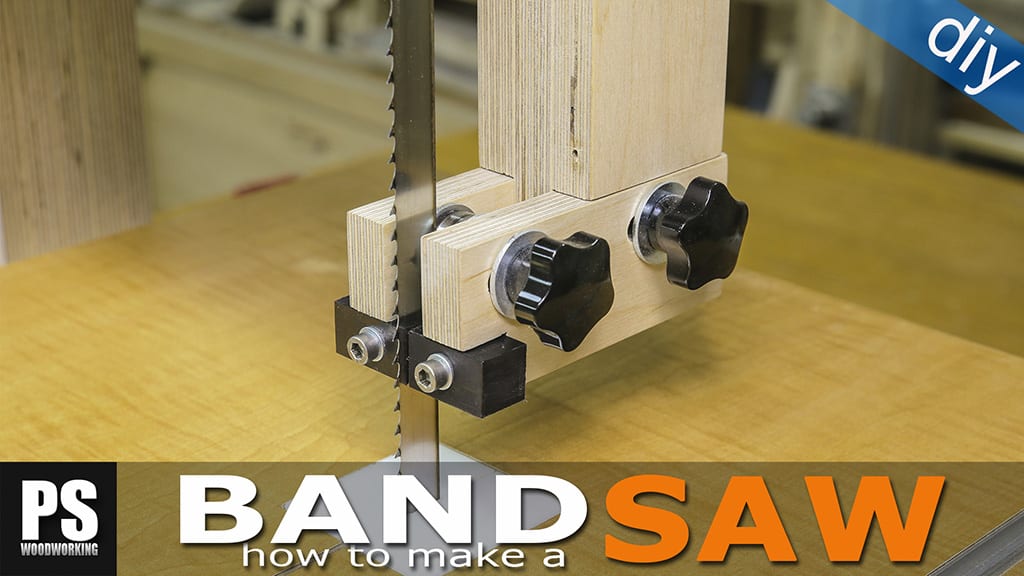
In the first and second pictures we can see the 3D SketchUp file included in the plans. This locking system will allow me to set it down and lock it to the table easily. It’s a very simple system but I think it’ll work. By tightening the knob, the thinnest piece will bend and become thicker, locking the fence to the band saw table(second photo).
Building it is quite easy. First I’ll cut all the pieces to size with the table saw. I mark the position of all the screws and use the column drill to drill holes. I’m going to use a countersink drill bit to avoid warping the wood when putting the wood screws in.

Using a round file I’ll make this hole bigger in one direction so that I can adjust the fence once it’s been placed on the band saw table. Now I screw together the two parts that make up the fence’s L(second photo). I’ll cut and attach some reinforcements in the rear. They’ll also help me align the fence.

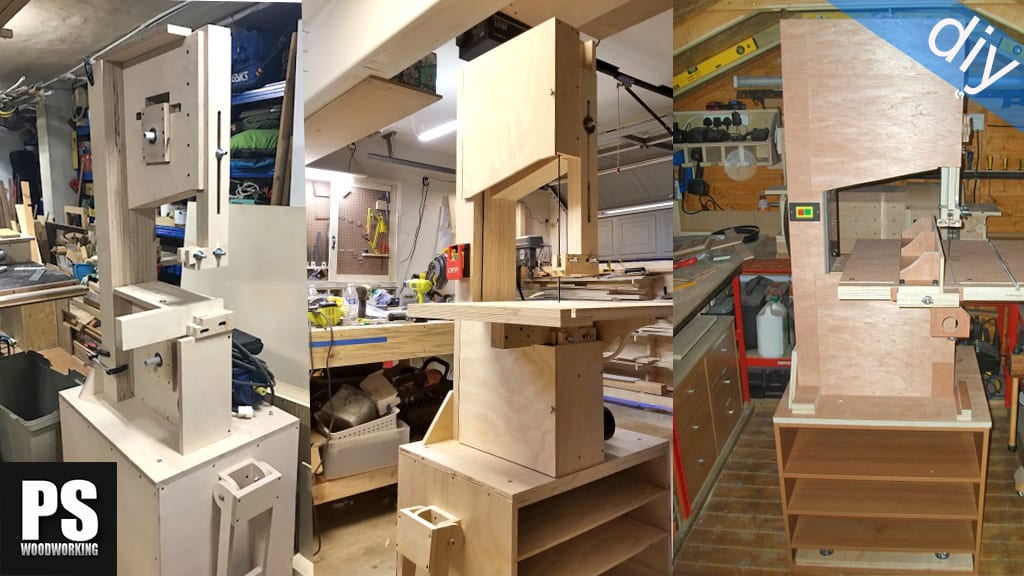
I’m going to machine the locking system. I glue the two plywood parts together. Once the glue is dry, I use the band saw to cut a rebate that will allow me to bend the other part and tighten the fence.
I mark the position of its holes with a bit and finish drilling the holes with a bit 0.5mm smaller than the screws I’m going to use. I also bore a hole for the handle’s screw(second photo).
Then I drill and countersink the thinnest piece that will bend. I set up the system and check how far the part bends when tightening and loosening the screw. It’s not a whole lot, barely a millimeter(third photo). That’ll be plenty to lock the fence, but we’ll have to be very precise when cutting and machining all the parts. Then I screw the locking system to the fence(fourth photo).

Now I’ll cut the piece that goes in the slot in the band saw table. I’ll use this piece of HPL board, although any other kind of hardwood or a material with a similar density could work as well. After checking the measurements are correct, I mark the position of its screws(second photo).
I drill the holes with a bit 1mm smaller than the screw I’ll be using, and thread them using a tap. Now I can screw it to the fence fence and try it. It seems that it works!

To finish this article I’m going to make the tightening handle with plywood scraps. After gluing the printable template in, I cut with the band saw. I make a hole in the center and place the threaded insert.
I’ll also glue a piece that will act as a buffer making the handle more comfortable. I place the handle in its place and try the fence out. It works very well. I’m surprised by how sturdy the fence is even in its other end, which is where they usually fail. I think I may use this locking system again in future designs…

I’m going to check if the fence is properly aligned with the band saw blade. I’ve a made a line on a piece of plywood that’s parallel to one of its edges. I cut free hand along the line until the halfway point. I fasten the piece onto the table with clamps, being careful not to move it.
Now I move the fence closer to the edge of the piece so that there is a certain amount of imbalance. I loosen the adjustment screw and turn the fence until it’s parallel to the edge of the piece. Finally, I tighten the adjustment screw once more.


By far this is the best home build of a bandsaw I have seen! A pleasure to watch.
I noticed when you ran the resaw blade you can hear the weld skipping when it passes over the thrust bearing, this can be fixed by using a sharpening stone. While the blade is running press the stone against the back edge of the blade, this will grind it smooth.
you’re right Rick, the welding of the blade is poorly done… thanks for your advice, I will try it.
Another little pearl for all of us! I love this new fence tightening system: very simple, elegant and efficient! Whatching the video it seems to be more sturdy compared to the one you’ve used into the portable workshop… What are your impressions? Do you think this one can be used with the portable workshop?
hello Gianluca! You’re right, surely I’ll use this system in future projects. Thanks
Very nice. Simple, elegant and very functional. I’ve been looking for a way to add a good fence to my very “adequate” old craftsman band saw. Trying to make it work better than just go buy a new one. Any chance I could get my hands on the Sketchup file?