As I said in my previous article, this time I’m going to show you how to sharpen a chisel and also plane blades using my homemade grinding wheel and my sharpening jig. Sharpening a chisel is an easy task if we take into account several factors.
This operation comprises two steps: smoothing down the tools on a grinding wheel and then sharpening them with stone or sandpaper. But before we begin, we must take the state of our chisels into account. If they’re not jagged or uneven, we can skip the first step entirely.
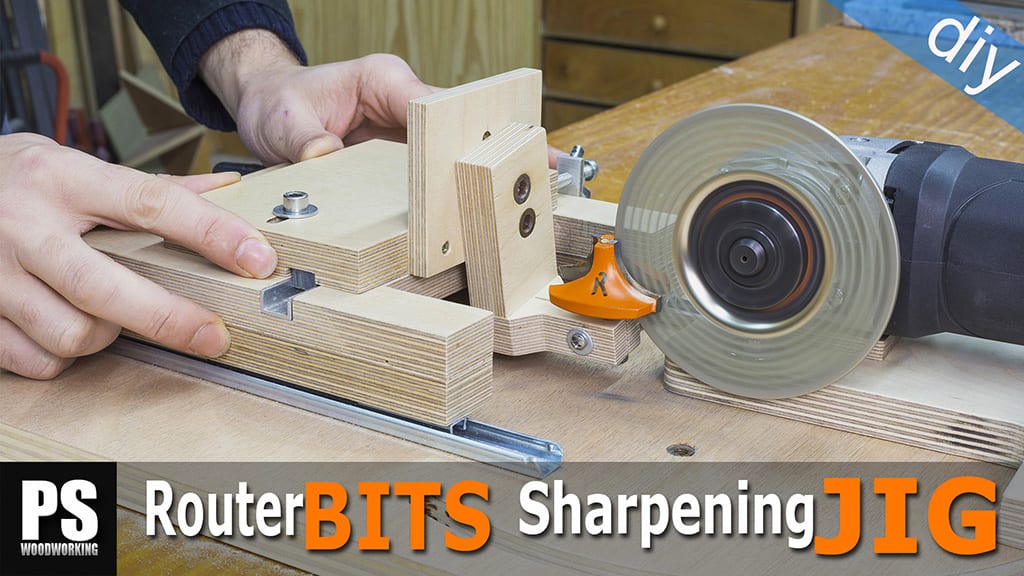
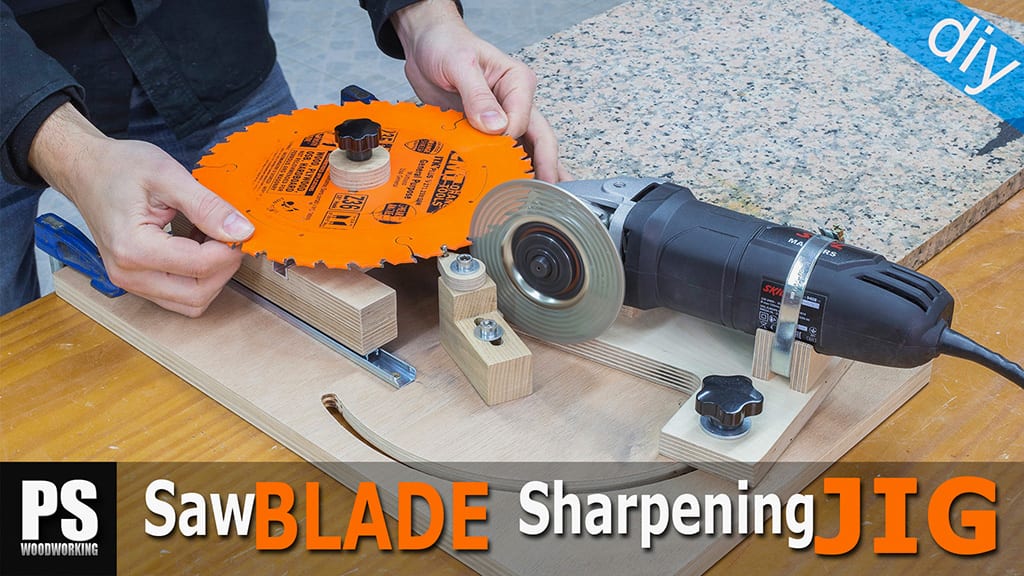
Sharpening Jig Plans

Here you can see how some of my chisels are jagged and need to be ground on an emery wheel, whereas some others, don’t.

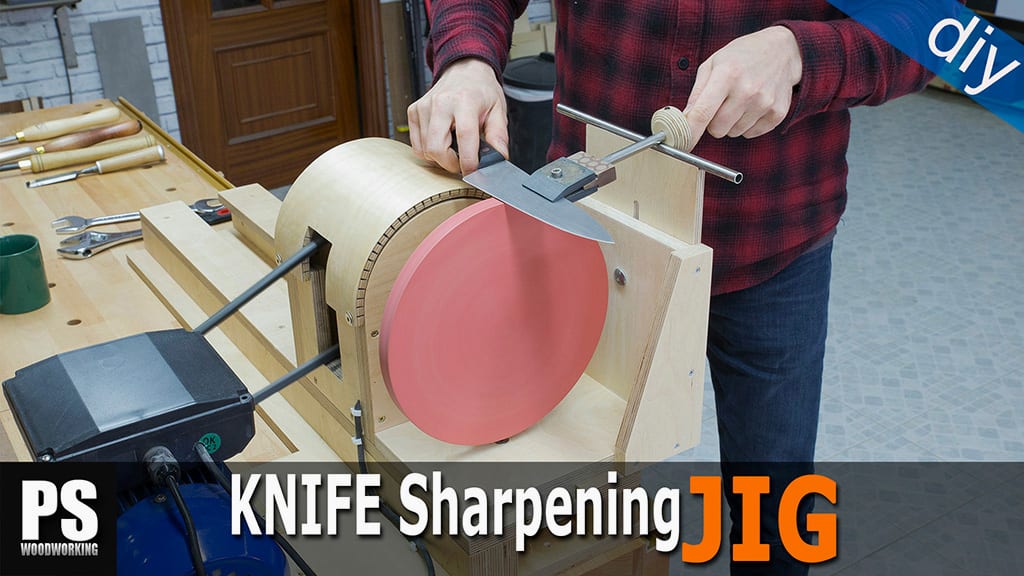
I’m going to mount the grinding wheel and set the speed to 1500 rpm. I’ll also change to P220-grit sandpaper, which will be more than enough.
Then I look for the appropriate angle. The contact point between the wheel and the chisel should be slightly above the center of the wheel.
Ideally we should record in some way the toolrest’s angle for future sharpening jobs and so that all of our chisels and plane blades have the same tilt angle. By doing this, besides making sharpening easier in future, our tools will last longer because we won’t wear down the metal so much trying to find the exact angle every time. This angle is usually at around 30 degrees.

This operation requires some practice. In my case, I mark the distance to the wheel with my right index finger, and with my left thumb I move the chisel back and forth.
We could also make a jig to put on the toolrest to make the job easier, although a little practice should make it unnecessary.
With this homemade lathe’s sharpening wheel, the operation could take a little longer than if we were to use the standard wheels grinders are equipped with. However the advantage of using this wheel with cloth sandpaper is that the metal barely heats up and needn’t be cooled down with water to avoid ruining the metal’s temper, which is a concern when using emery wheels..
Every so often, we should make sure the edge is properly aligned, and when the wheel touches all the cutting edge of the chisel, as we can see on the last pic, it’s time for the next step. The steps we need to take to sharpen our plane blades are exactly the same.

As a base for the sharpening process, we will use a flat stone slab, although a thick glass sheet could do as well.
For sharpen our chisels there are several options. We could use an oil stone such as this one you can see on the second pic, with two different types of grit, but these kinds of stones tend to deform over time, making it difficult to obtain good results when sharpening. Besides, water is better suited for lubricating and washing off metal shavings, whereas oil has the opposite effect.
There’s also this type (third pic), made of metal with a diamond surface. This can be lubricated with water and works quite well. However, they are rather expensive and we would need three or four different grits. That’s why, after many years, I decided to stick with waterproof sandpaper. I normally use four grits: P320, P800, P1500, and finally P2000.
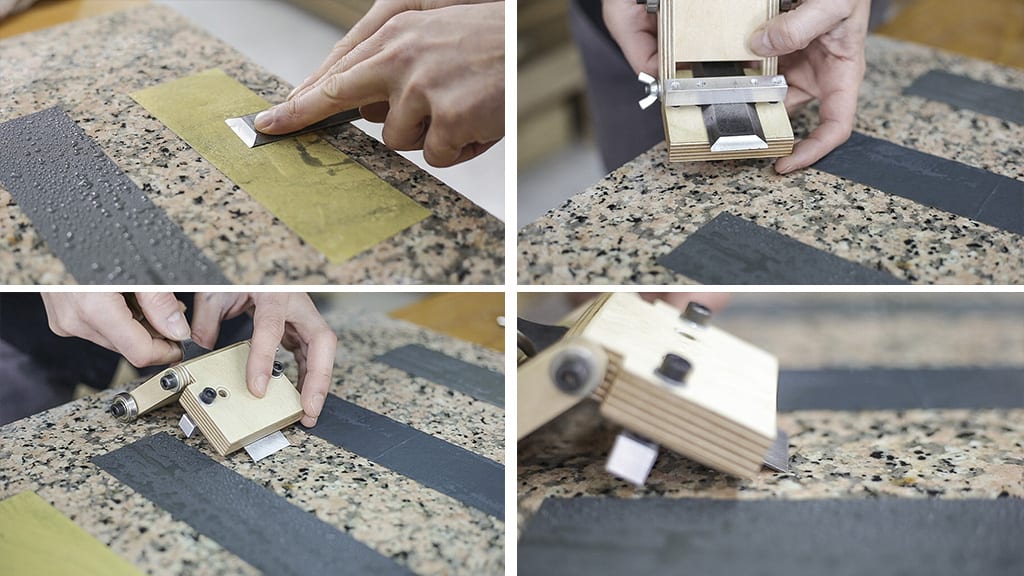
Some models are self-adhesive, but failing that we can use double-sided tape or spray adhesive. First I sand the backside of my chisels with the P320, using plenty of water for lubrication.
Then I place the chisel in the sharpening jig I built a few days ago. It’s important that the chisel be parallel to the surface of the sandpaper at the appropriate angle, usually about 30 degress.

I make a few passes with the P320 grit and check whether the sharpening jig is set up correctly, which seems to be the case. As you can see (second pic), the sandpaper is touching the entire edge, and logically, there is a point with no contact in the middle due to the curvature of the sharpening wheel.
Having made sure everything is working properly, the process can continue. About 30 passes with each grit should be enough. And at the end, a few passes with the finest grit on the backside of the chisel. Once the jig has been adjusted, the process is quite fast. You can sharpen one chisel per minute.

Here you can see a properly sharpened chisel. The process is the same for plane blades and narrower chisels. All that’s left is to run a few tests. Nothing like starting a project with chisels honed to perfection!


I will do it this way tomorrow. About 20 blunt chisels, look out!!! Thanks mate, Stewie South Western Australia.
thanks!
And to think that I was toiling over what whetstone(s) to buy, and the cost of them overall because of the various grits to have. After watching this video, you have eased my mind and offered a quick and easy solution to sharpening my timber frame chisels.
The beauty of this sandpaper process is, that you never have to spend time re-flattening caused by hollowing of the sharpening motion of the various sized tools. Plus, your surface (glass or otherwise) are always flat. Then, you just discard the used strips and start fresh the next time. Love it! Thanks for sharing! Cheers!
I’m glad you like this sharpening method James