Today I’m going to make this olive wood cutting board for my kitchen. As you can see, I’ve made it with end grain so it will be sturdier and more stable than if I had used face grain as are usually other cutting boards.
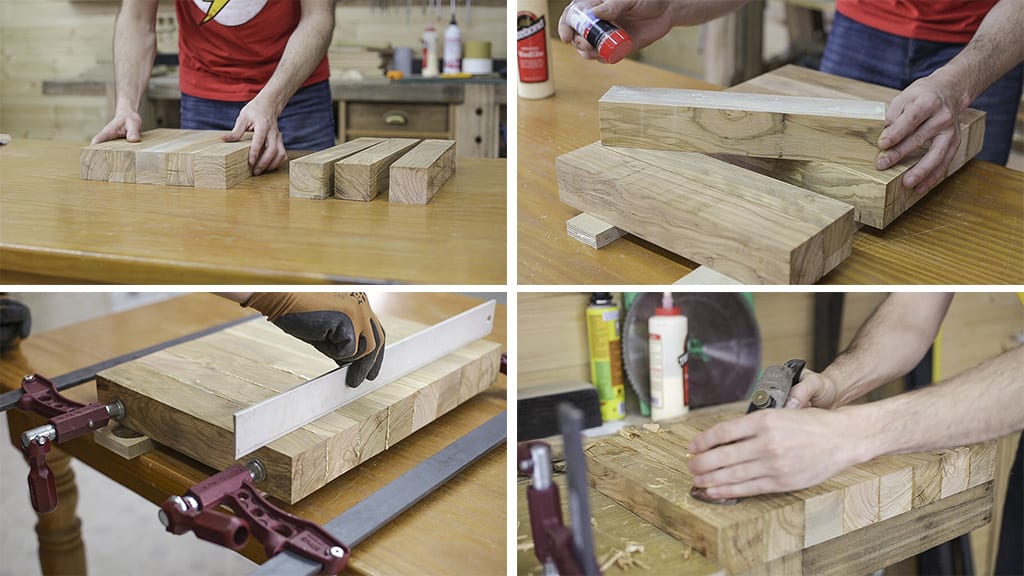
I will use these eight olive wood blocks whose dimensions are 50x50x300mm. As I said in previous videos, they come from pruning and clearing operations in the Mediterranean, where the trees are harvested for oil production. I’m going to make sure they all fit together perfectly and also make their best-looking surface face up.
I make all preparations and get hold of all the necessary materials and start applying glue. I’ll also sprinkle some salt to stop the wood from moving when tightening the clamps because of the glue’s viscosity. There are special bar clamps for this purpose, but since I don’t have any, I’ll use this long kind, which can also exert a great deal of pressure.
It’s very important to ensure all surfaces are flat. This will save us a lot of work later. After leaving them to dry for eight hours, I remove the clamps and finish flattening the faces using a hand plane.

I even out one of the edges with the table saw. This disc is not big enough, so I’ll make two passes. And now I can cut all the necessary parts as shown. I’ll make the board 50mm high, 450mm long, and 330mm wide.
Now’s the time to decide how to glue the pieces together. I could every second one half a square, I don’t think it would look bad. I could also flip some of them to achieve these grain patterns (third pic). But in the end, I decided to stick to the original form and have them fit together like this. I’m going to apply glue just like before, again, making sure the faces are flat.

Once dry, I remove any leftover glue with a chisel and now I use the thickness sander to make all the faces flat and perfectly straight. I’ve mounted P80 grit sandpaper on the drum. It’s quite thick but still, I’ll proceed slowly and make several passes. I made about ten on each face.
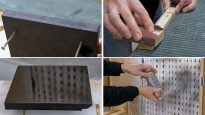
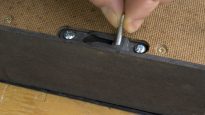
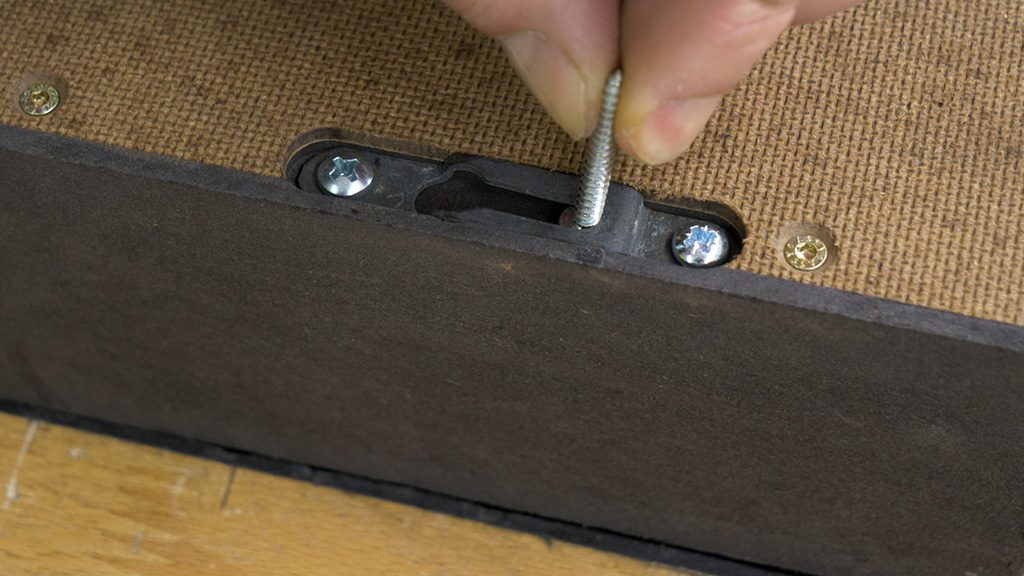
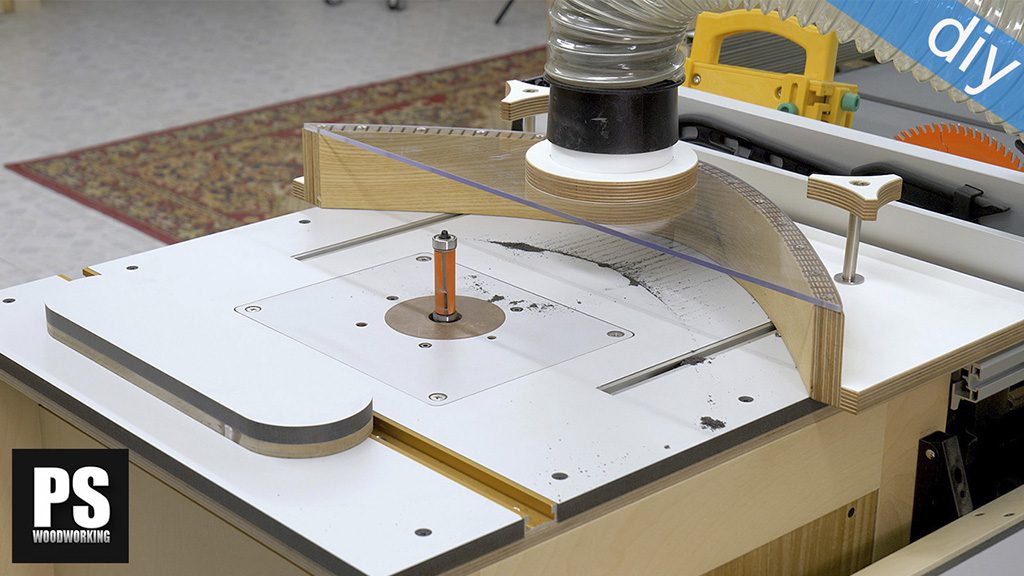
Everything seems to be okay, so now I’m going to even out the board with the table saw and make a couple of handles with this router bit. I mark the height and place a couple of stops that will make the process easier. I’ll need to make three passes to make each handle.
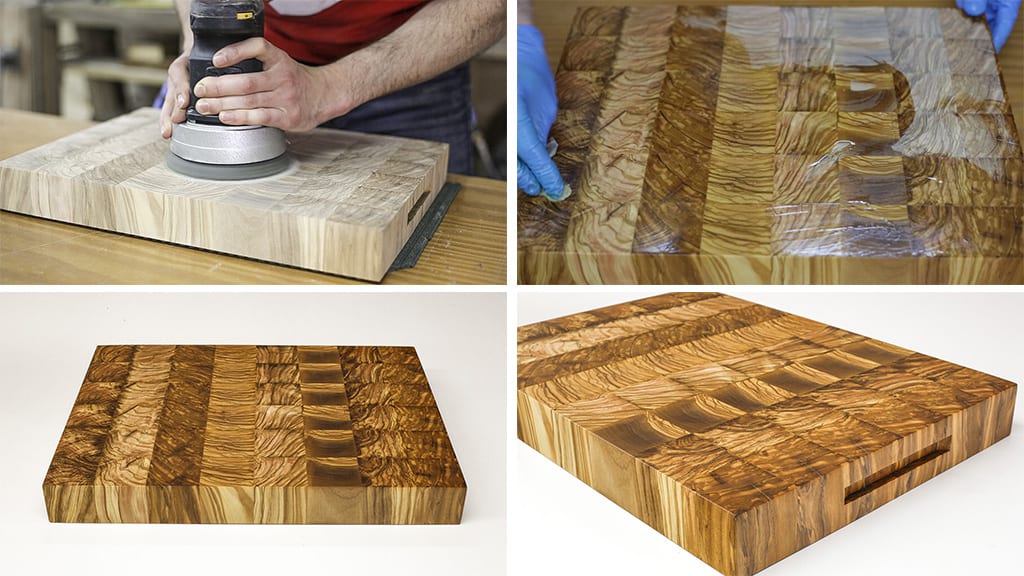
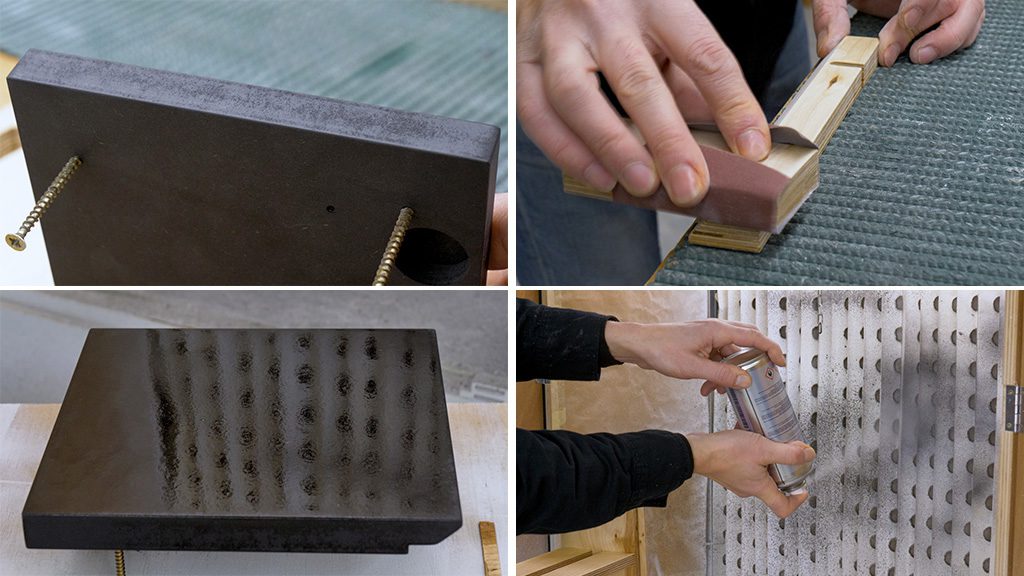
Now all that’s left to do is sand all faces and edges with P120 grit and finally apply some pure linseed oil all over the board. It’s important that the oil be pure, because some linseed oils you will find in the market are cooked and treated with toxic substances to make them dry faster.
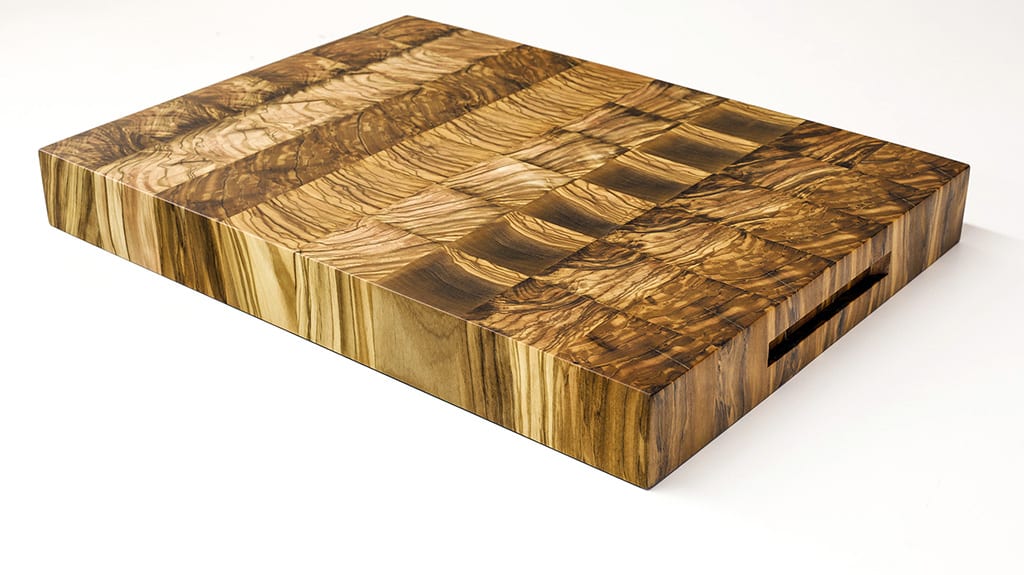
We could also use mineral oil. As always, olive end grain looks impressive! This board will make a nice addition to my kitchen… Take a look at this other article to see the cutting board in action!


The eight pieces you started with, what were their dimensions?
hello Richard, its dimensions are 50x50x300mm