As I said in my previous article, I’m going to turn a bowl using my lathe equipped with an adjustable chuck, as well as the table saw. For that I will use several pieces of olive wood obtained from Mediterranean olive trees, which are pruned yearly.
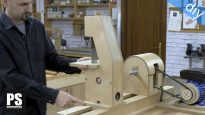
Lathe & Disc Sander Plans
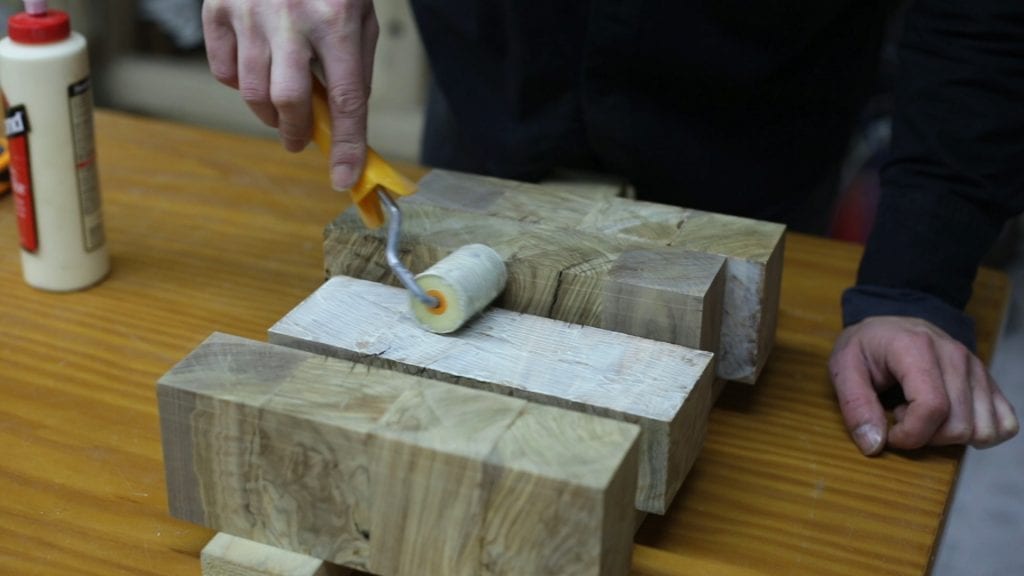
First I’ll glue the wood to be able to make an end grain bowl, which gives it a more ornate look. Once it’s dry, I’ll cut it with the table saw to obtain the desired thickness. I apply glue again making sure the cut lines in the wood blocks don’t line up as you can see.
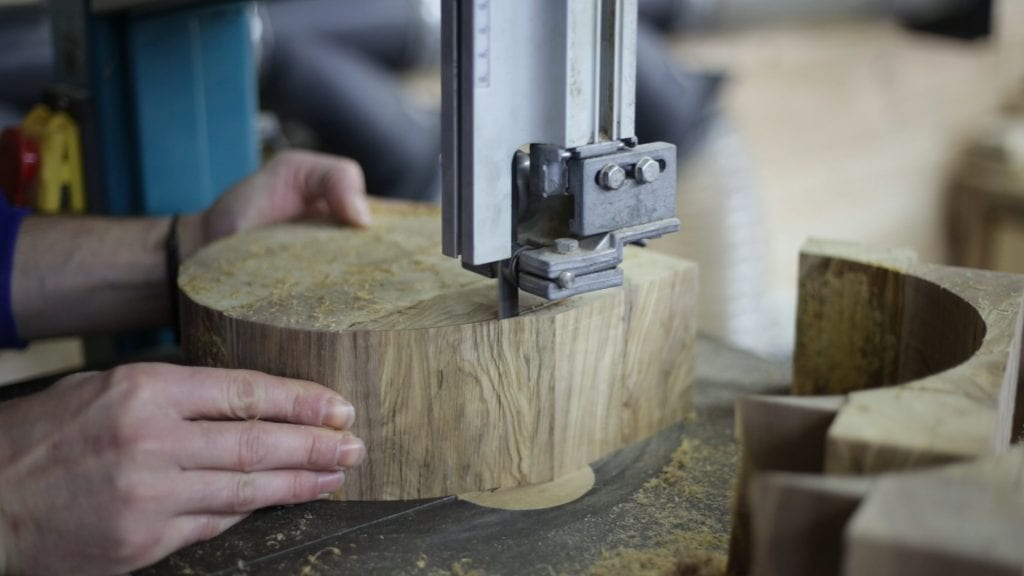
Now I’ll mark the outer diameter to cut with the band saw.
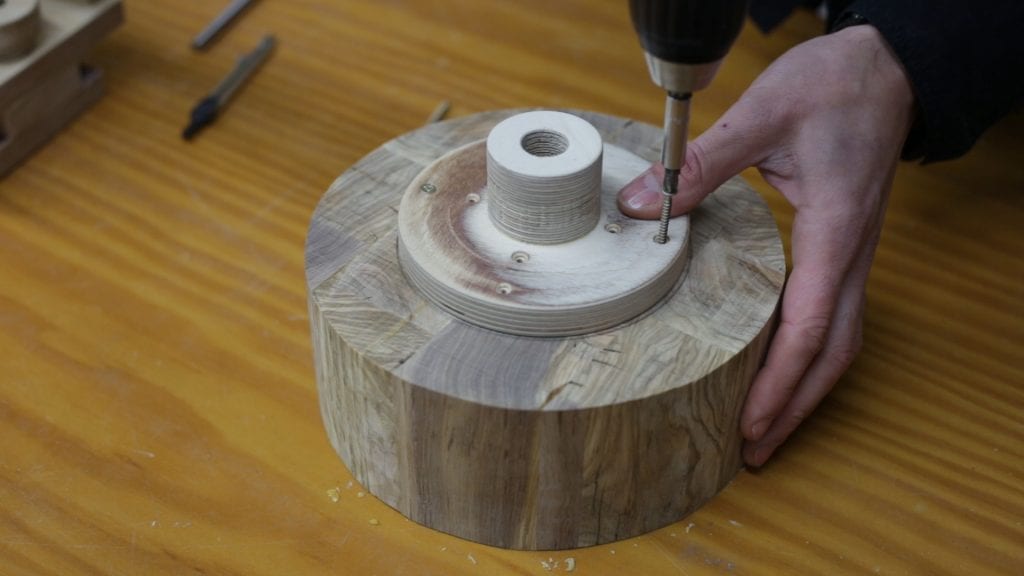
Using the same center, I will mark the diameter of the faceplate to place it in the center. I screw it in and put it in the lathe to start the machining process.
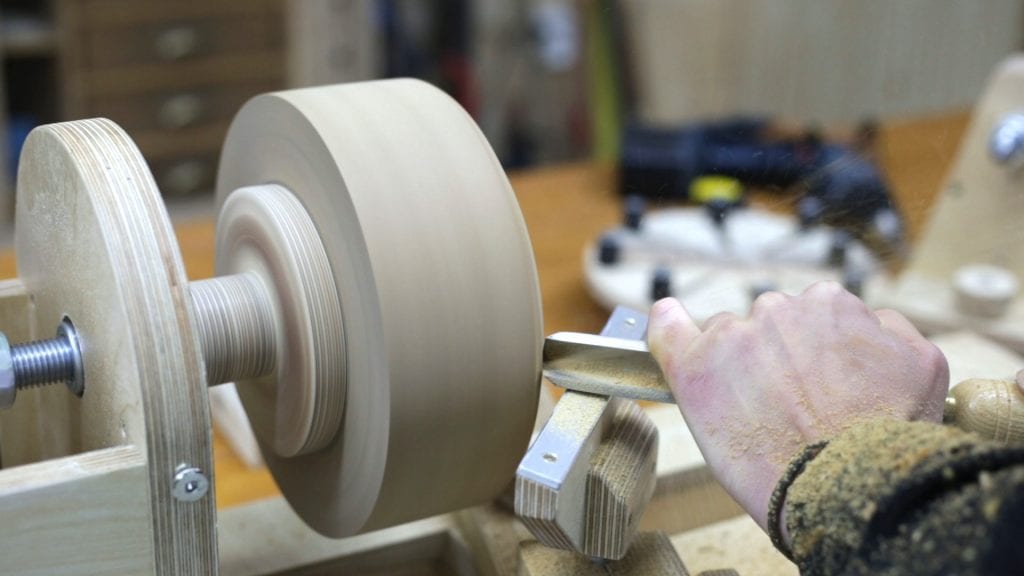
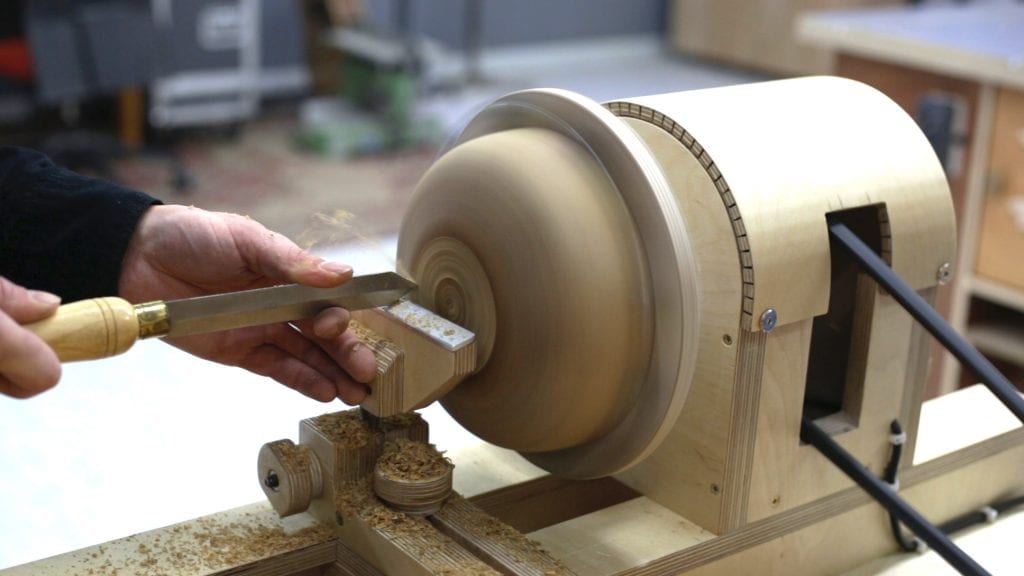
Since the bowl is quite wide, I will use the slowest lathe speed and a roughing gouge. Olive wood is less than ideal for turning. It is quite hard and its grain swirls, and since we’re turning against the end grain, this is made even more difficult. Still, little by little I turn the bowl into shape.

I’ll mark the center with a small protrusion that I will later use to hold the bowl on the table saw.

I’ll also take the chance to sand the bowl’s exterior. Before removing it, I’ll mark the center of the bowl on the bottom with the tailstock.
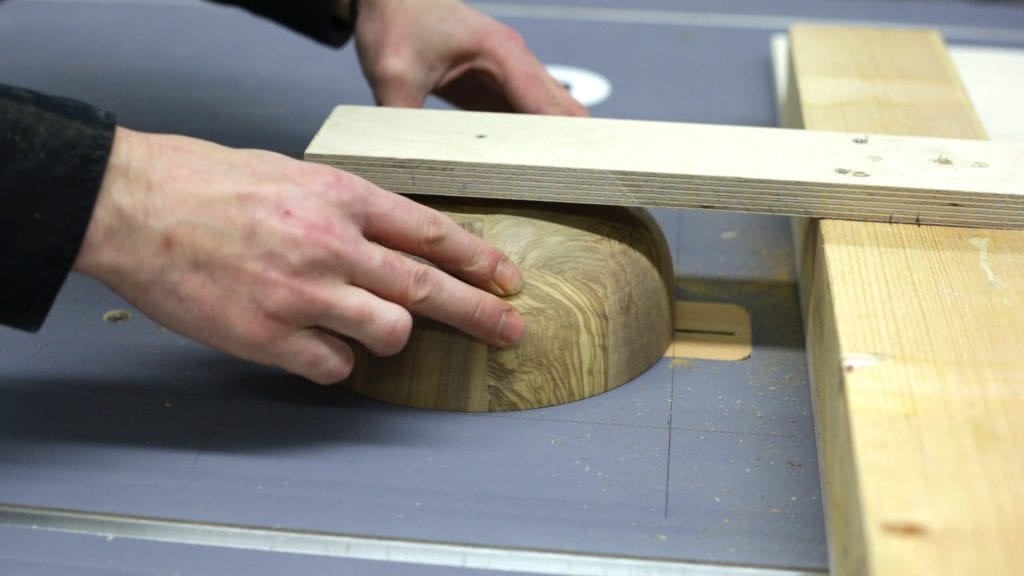
I’ve marked a square on my table saw to help me place the bowl and I’ve prepared this template to machine the interior. We must make sure the center is marked properly so that the disc doesn’t cut through the bowl at any point. It could be dangerous if that happens.
I move the disc up gradually, in 3mm increments, making each cycle slowly, every so often I will detach the template to see if it looks good and wipe off the sawdust.

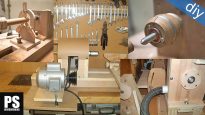
Now I’ll attach the adjustable chuck on the lathe and put the bowl on it. To center it, I’ll put the tailstock in the center of the bowl again.
Using a good metal chuck, we could machine the bowl on the lathe. I thought about making one, but I believe it’s too complex to make. Besides, it would be very dangerous if it came loose. That’s why I’ve decided to buy a chuck which I’m going to adapt to my lathe’s shaft.

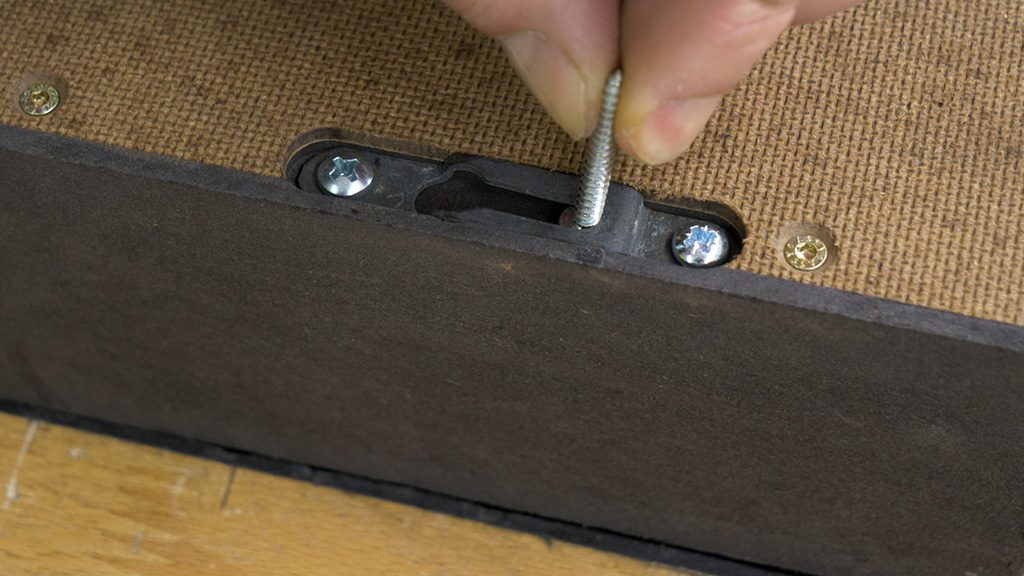
I tighten the silent blocks gradually and make sure the bowl is firmly held.
I finish machining the bottom part of the bowl, making a little rebate to avoid unsteadiness when putting it on a table. Then I will also fill in the cracks on the exterior with a little red epoxy and take advantage of the rotation to do a little more sanding. I’ll fill the cracks on the inside with black epoxy.
Some of you have asked me about the toxicity of epoxy and depends on the type of epoxy, even some metal food cans contain an epoxy layer inside… Anyway, I prefer to use a small amount, in this case there are only a few small cracks outside.
If you have doubts about the epoxy you are using, it is advisable that you contact the manufacturer’s customer support service.
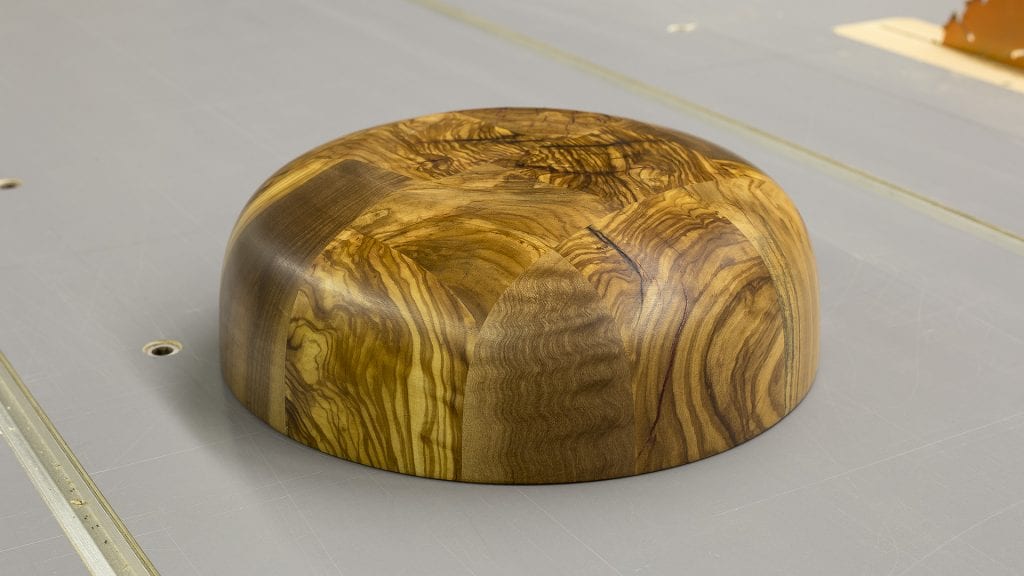
I also apply a little mineral oil or linseed oil, here you can see the bottom… It is important that the linseed oil be pure because some linseed oils you will find on the market are boiled and treated with toxic substances to make them dry faster.

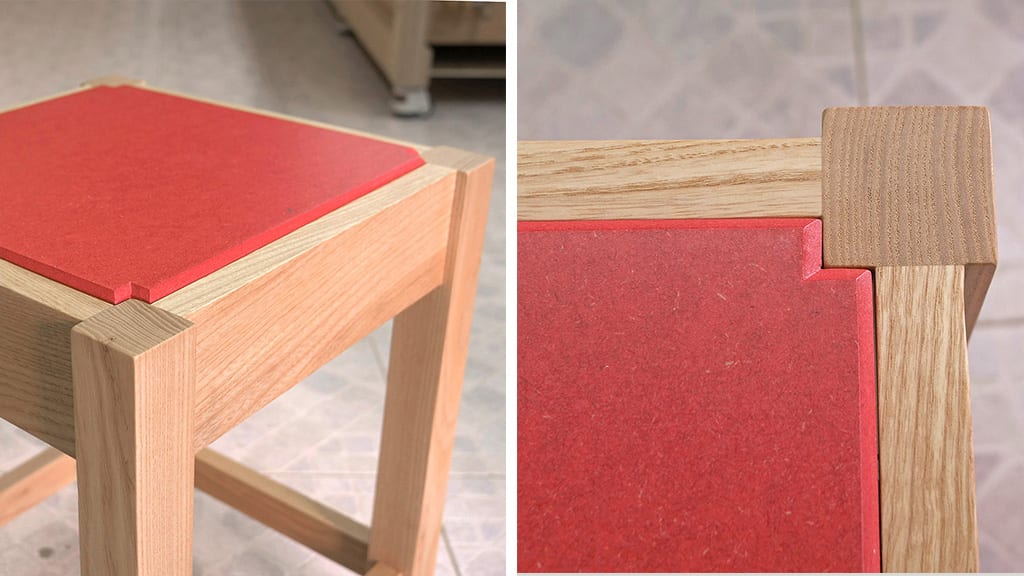
The end grain on olive wood never ceases to amaze me. It’s hard to work with, but the result more than makes up for it! Take a look at this other article to see the bowl in action!


Nice work for sure. I have a Question, how often do I need to treat it? I have a olive wood Mortar and it is used for spices and Smashing Garlic, what kind of oil do I use? and how often? Thanks.
it depends on the use, in my case once every 2 years
What kind of paint do you put into the epoxy to colorise it? Can you give me any link? Thanks and keep up the good work, your desings are very good!
hi, any stain for varnish will work!