Page 1 of 2
Improvements to the original design
Posted: Thu Sep 09, 2021 2:46 pm
by Suso
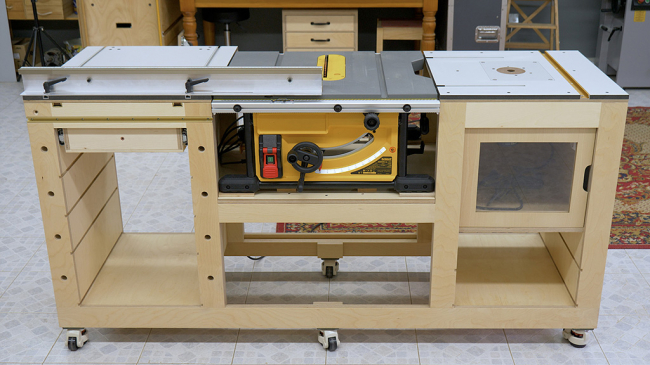
In this post I will be publishing all the improvements that I have made to the original design of the
mobile bench with table saw and router table
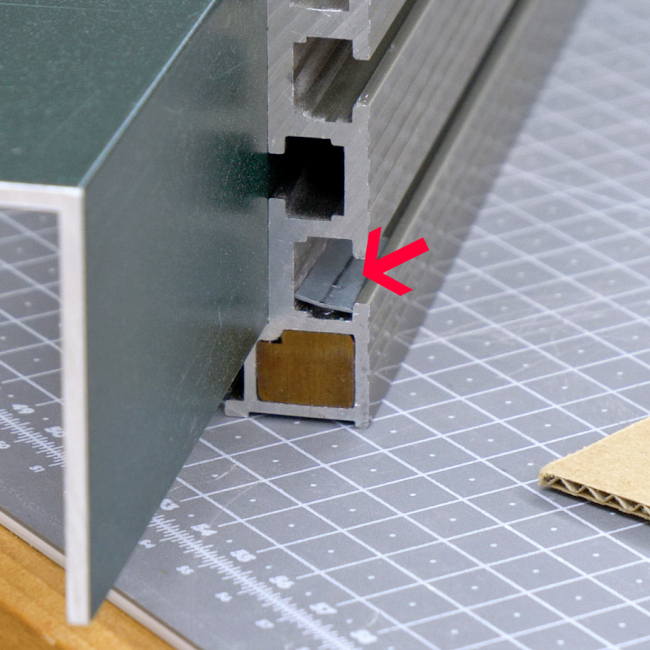
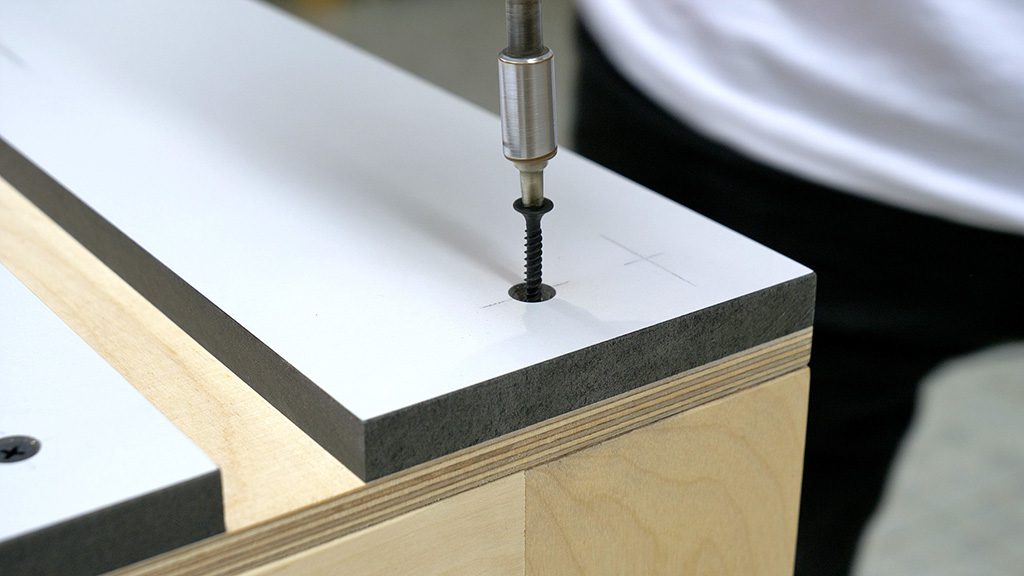
I've glued a thin 0.5mm metal plate with epoxy on the part where the screw comes out in order to lock the sliding carriage extension fence. This way I won't damage the steel pipe when tightening the screw:
Re: Improvements to the original design
Posted: Tue Sep 21, 2021 3:25 pm
by Suso
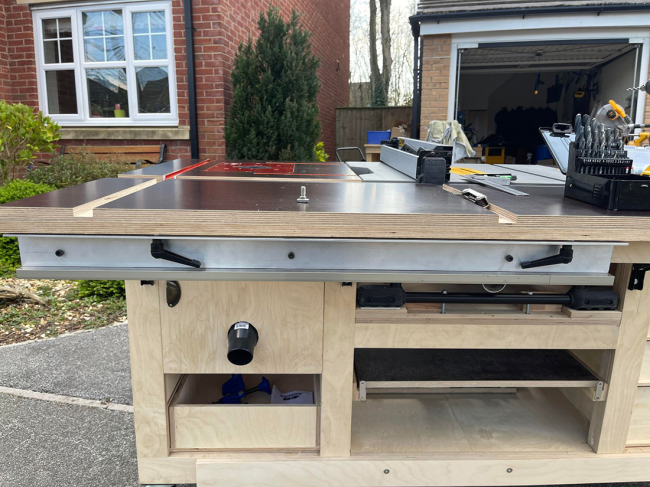
I have also installed two more wheels in the center of each frame.
Re: Improvements to the original design
Posted: Wed Sep 22, 2021 1:54 pm
by Suso
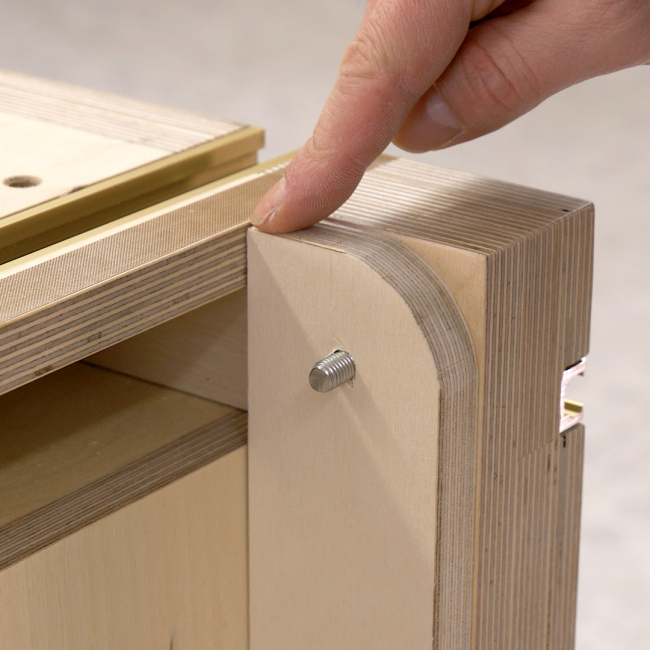
Be careful with the expansion of the board you're going to use as benchtop due to moisture. If you use boards that are very susceptible to changing size, such as MDF, you will need to make the holes for the screws holding the top to the cabinet a little bigger, and avoid tightening them too much to allow for wood movement.
If you use plywood, you won't have that problem.
If you use the same method I followed, screwing the two boards together for added thickness you won't have any problems as long as they're the same kind of board and keeping in mind what I explained above.
If they're two different types and behave differently when exposed to moisture, you may have problems getting smooth, straight worktops. In my case, both the plywood and this MDF-like board barely change size in response to moisture and I haven't had any problems. If it was normal MDF, I'm sure there would have been
Re: Improvements to the original design
Posted: Sat Oct 16, 2021 3:40 pm
by Suso
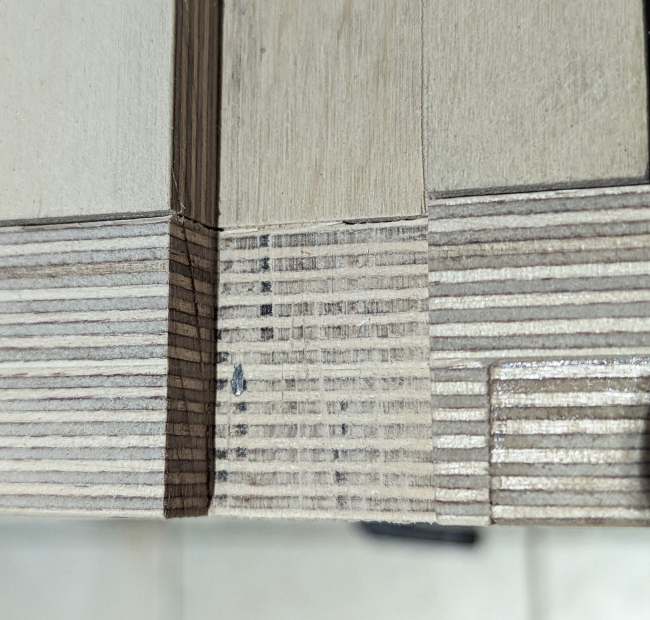
Making the folding table I found a small mistake in the original plans. As you can see in the photo, it is necessary to make the same curved cut on the back of this piece in order to open the folding table.
Re: Improvements to the original design
Posted: Thu Oct 21, 2021 3:29 pm
by Suso
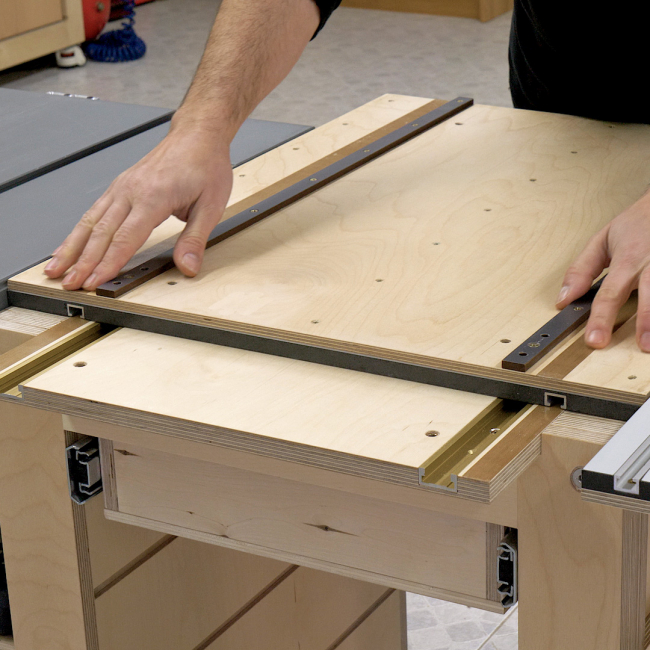
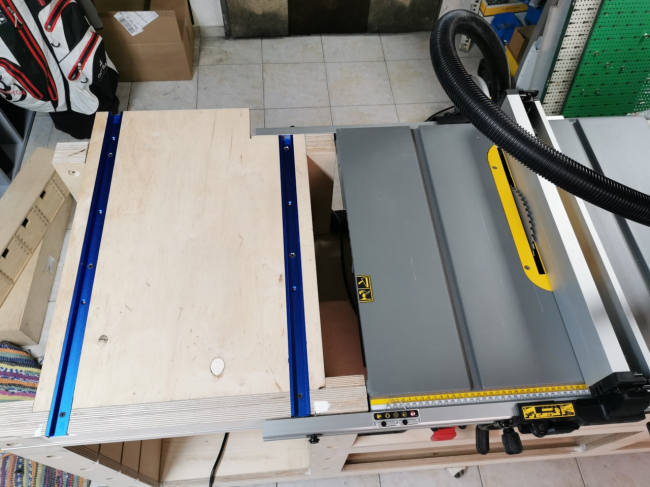
Here's a clip from the video I posted yesterday on my YouTube channel. After installing the sliding carriage, I've been thinking how I could make it slide more smoothly. In the end, I decided to use teflon adhesive tape, one of the materials with the lowest coefficients of friction. The result couldn't be better. And neither could the sound it makes as it slides!
Re: Improvements to the original design
Posted: Mon Jan 03, 2022 12:09 pm
by Suso
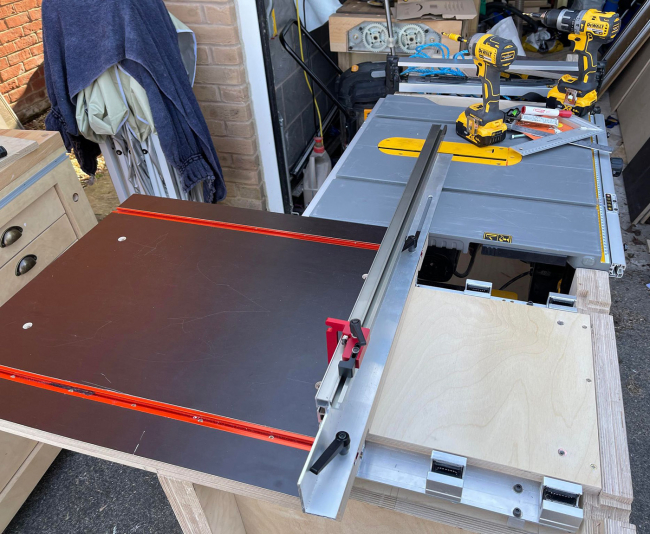
Some interesting modifications made by Dan Cobley on the Mobile Workbench with Table Saw.
He has installed a different lock for the sliding carriage and for the extendable fence of the carriage itself. He has also made a recess in the lower part of the carriage to be able to
bring the fence of the bench table saw closer to the blade.
Re: Improvements to the original design
Posted: Tue Jan 04, 2022 9:28 am
by Suso
Here's another idea to solve
the problem with the saw fence and the sliding carriage. In this case the user has cut the back of the carriage:
Re: Improvements to the original design
Posted: Tue Jan 04, 2022 12:09 pm
by Suso
If you use nails to assemble the frames, try to place them like I do in the
video. You must place them close to the edges of the rails and legs, not in the middle. This is important to avoid them getting in the way in machining processes such as drilling holes or cutting rabbets.
In this photo you can see the problem!

Here you can see nails placed almost to the center, this is what you should avoid.
Re: Improvements to the original design
Posted: Wed Mar 02, 2022 11:01 am
by Suso
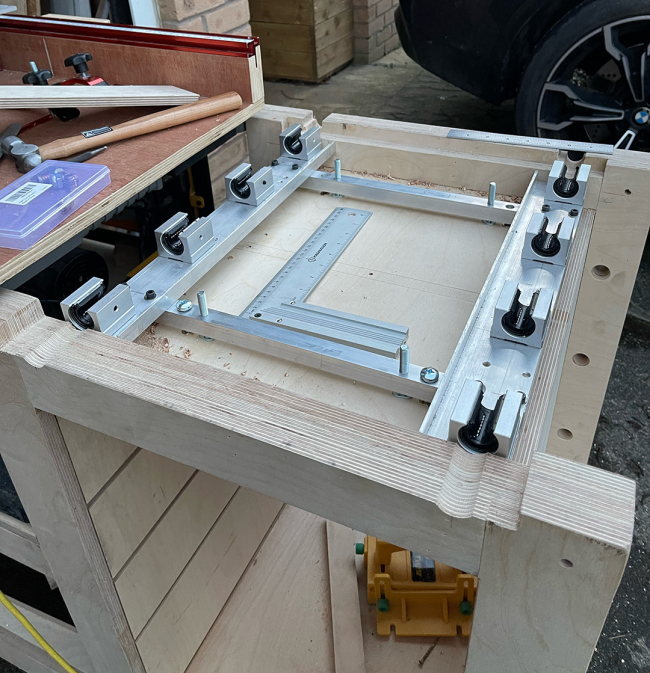
If you are interested in seeing other options to make the sliding carriage, here is a
good example. Louis has used linear bearings:
Re: Improvements to the original design
Posted: Fri Mar 04, 2022 8:24 pm
by Suso
Fence stored under the outfeed folding table. Idea by
Louis: