Today I’m going to show you how to make this open wardrobe. I tried to make it as simple as possible, using cheap materials that are easy to find in large stores, but at the same time I made it consistent with the aesthetics of my house, where I’ve tried to obtain a sense of brightness and openness using open light-coloured furniture.

This is the 3D model of SketchUp included in the plans that you will find on my website. If you are interested in collaborating with my web or building your own open wardorbe, here you’ll find the plans:
DIY Open Wardrobe Plans
Open Wardrobe measurements: 2000mm wide and 1850mm high.

To make the frame of the bottom unit I’ll use these melamine particle board strips with edge banding on the longer edges. I’ll cut them to the right thickness with my table saw and then I’ll turn one of the pieces to cut out the side and middle parts.
The part of the board where the saw teeth come out isn’t going to look great, but I’ll make it so that those parts are out of sight when the wardrobe is finished, so the end result will still look good.
I drill the required holes with a countersink bit to avoid deforming the board. This kind of board can deform or break very easily!
Now I can put the parts together. I’ve cut another piece of the board with the exact measurements of the gaps in the wardrobe, which will make it easier to make them all the same size.

I’ll use leftover bits of board to reinforce the top part of the wardrobe. I screw them on in such a way that the melamine edge faces forward. I’ll also build the bottom of the wardrobe with leftover board parts.
I cut the back parts of the wardrobe from a 5mm Mdf board and screw them in place.

These are the drawer slides I’m goint to use. They’re quite simple and cheap, but they can bear the weight of the clothes. I’ve checked the height at which I have to attach the top slides and made a jig to install the rest of them.
I’ll cut the parts for the 10 drawers out of another strip of particle board with edge banding. I’ve set my 3D router to make all the required countersunk holes on the sides of the drawers. I’ll use this jig I made to put the drawers together with screws. As you can see, the jig speeds up the jointing process.
I’ll use 5mm MDF again to make the drawer box bottoms. Before attaching them, I make sure the drawers are square. I’ll use the holes in the slides themselves to attach the bottoms and the slides to the drawers.

With this laminated pine board I’ll make the top of the botton part. I cut it to size and screw it to the unit from below. With this MDF board I’ll make the drawer faces and the visible sides of the wardrobe. The drawers will have recessed handles.
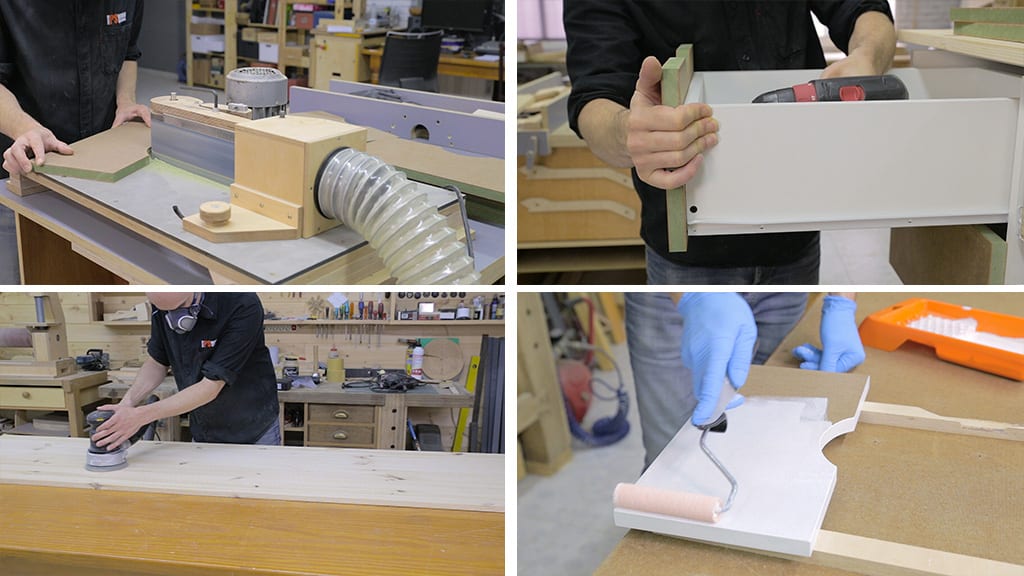
I’ll use my belt sander to sand down the handles and the rest of the front edges of the drawers with P120 grit. Using a simple jig, I predrill holes for the screws that will hold the fronts, I place two of the screws so that they stick out just a little.
Now I only have to find the exact position of the front and tap the screws. This way they will stay there until I finish placing the screws. I’m not going to fasten the other two screws, I’ll leave them out in case I need to readjust the front again at home.
I remove the fronts to paint them with white lacquer, but before that I’ll mark them with numbers to make the assembly at home easier. Then I sand all their surfaces with P120 grit and smooth down the edges a little.
I also use the same sandpaper to sand the two pine boards and apply two coats of matte water-based varnish, also used this kind of varnish for the fronts and sides. I applied three coats, sanding them with P320 between each coat.
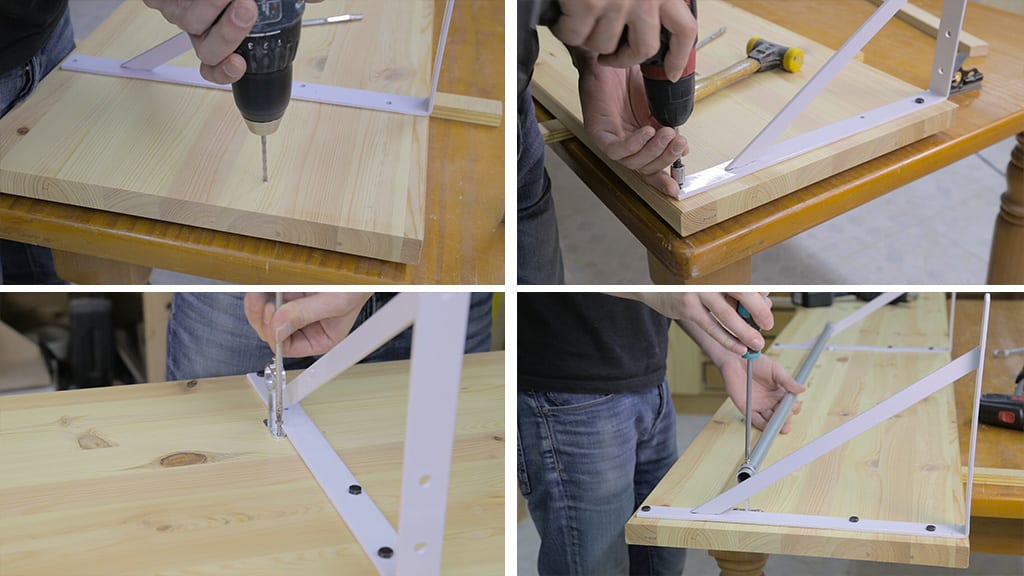
Now all that’s left is to make the top shelf of the wardrobe. In order to do that, I screw the three metal brackets to the pine board using black hex lag bolts. I also screw on the brackets that hold the hanging rod and now I can assemble at home.
I made a wall from OSB, against which I’ll install the wardrobe. As you can see, since the wardrobe is semi-assembled, it’s quite easy to install.