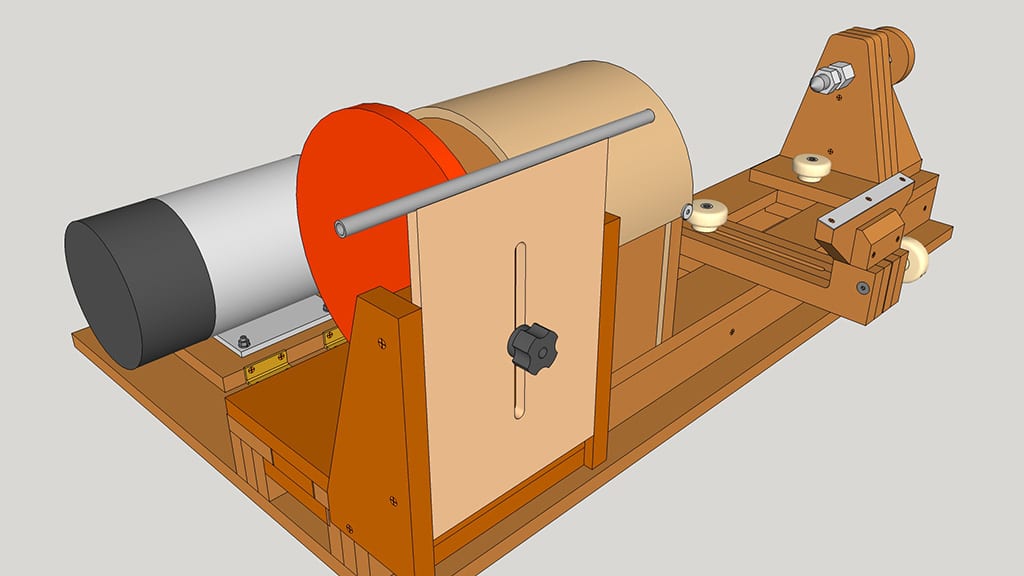

I’ve wanted to make a knife sharpening jig for some time so that I can sharpen my knives more comfortably and accurately, and I’ve finally finished it. I’ve made two wheels that can be attached to my homemade lathe, one to straighten the knife edges, made out of hard plywood, and an MDF honing wheel. Here you’ll find the plans:
Knife Sharpening Kig Plans
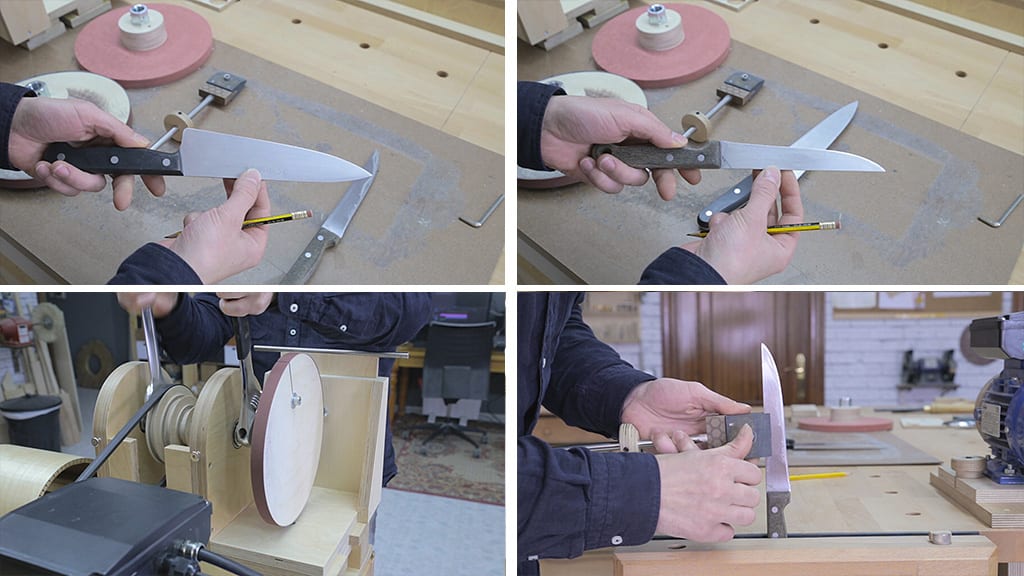

I’m going to show you how to use this jig. First we need to assess the condition of our knives. I’ve got two here, this one’s edge is in good condition, so it only needs a couple of passes on the honing wheel. This other one is old and has always been sharpened by hand. As you can see, the cutting edge is completely deformed and has some nicks, so first of all I’ll straighten the edge.
First we place the jig on the lathe, and then attach the straightening wheel to the lathe spindle. I’ve put P240 grit sandpaper on the wheel, which is enough for this job. I’ve also built this knife holder that will secure the knives while I sharpen them, to ensure the edge is straight and has the proper angle. Attaching the knife is easy. I only have to insert it, but not completely, and tighten the screw. We must ensure the knife’s edge is perpendicular to the knife holder handle.
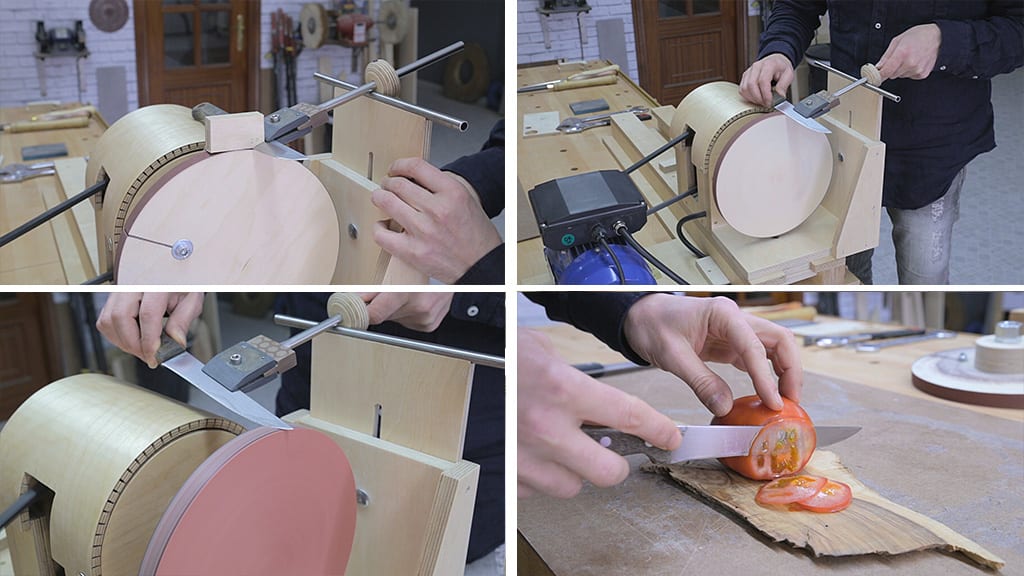

I set the lowest speed on the lathe. 800 RPM are more than enough. Now I rest the holder on the jig and set the height until I find the proper angle, which is usually around 20 degrees. At last I have installed a three position switch on my lathe to change the turn when I need it, like now.
I switch on the lathe and start sharpening like this, grabbing the holder with one hand and the knife handle with the other. Two or three passes on each side will be enough. I raise the knife a little to get to the edge at the end of the blade. We should keep in mind that we should sharpen in the same direction as the rotation of the wheel, otherwise the knife might get caught in the wheel and be shot towards us.
Once the edge is straight, I swap the straightening wheel with the MDF wheel. I apply some polishing paste. The kind used to polish car paint could be used instead. I repeat the same steps with the honing wheel and the knife is now sharp. Now I’ll sharpen the other knife. They definitely cut much better now. This sharpening system can be used to sharpen other tools such as carving knives and switchblades.
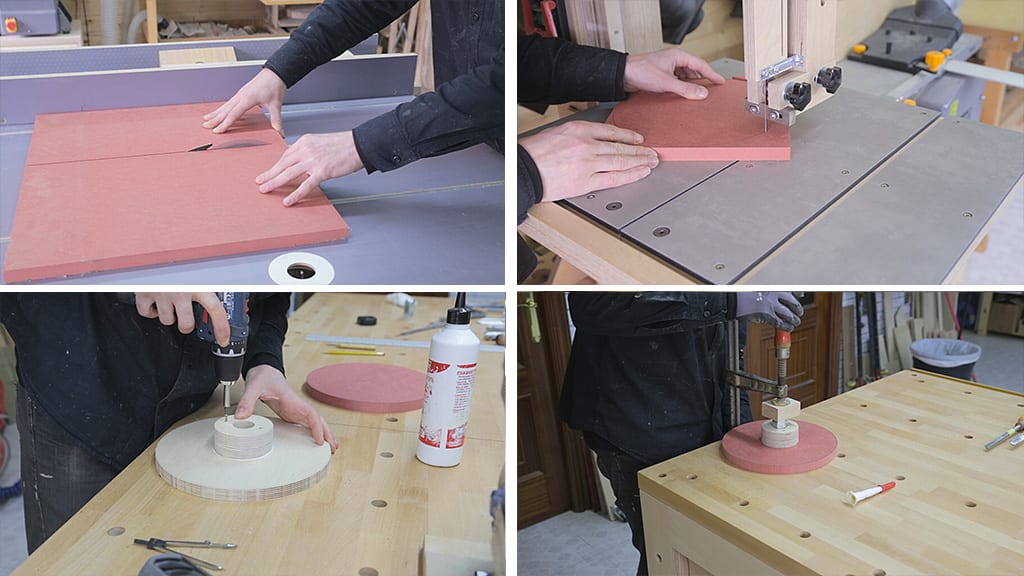

Now I’m going to show you how I built the jig. First I cut the material to make the wheels. I glue two pieces of plywood to make them thicker around the axis and glue the coupling nuts on with polyurethane adhesive.
Once the adhesive is dry, I mount the wheels on the lathe to even them out and give them the same diameter. The plywood wheel is too uneven, but this can be fixed by filing down the coupling nut a little.
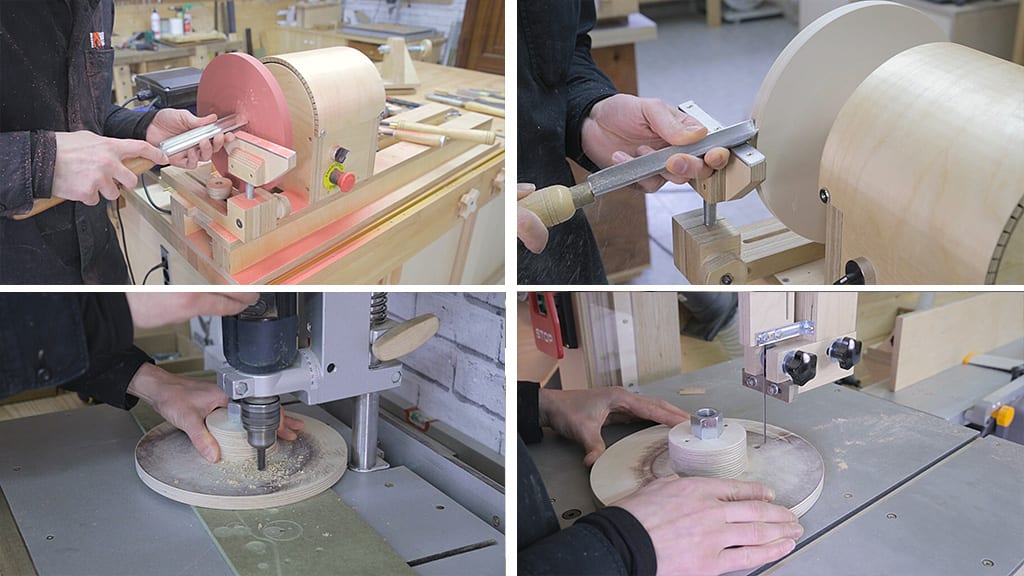

With a roughing gouge I turning the wheels to leave them balanced. I make a canal for the sandpaper with the band saw in the plywood wheel.
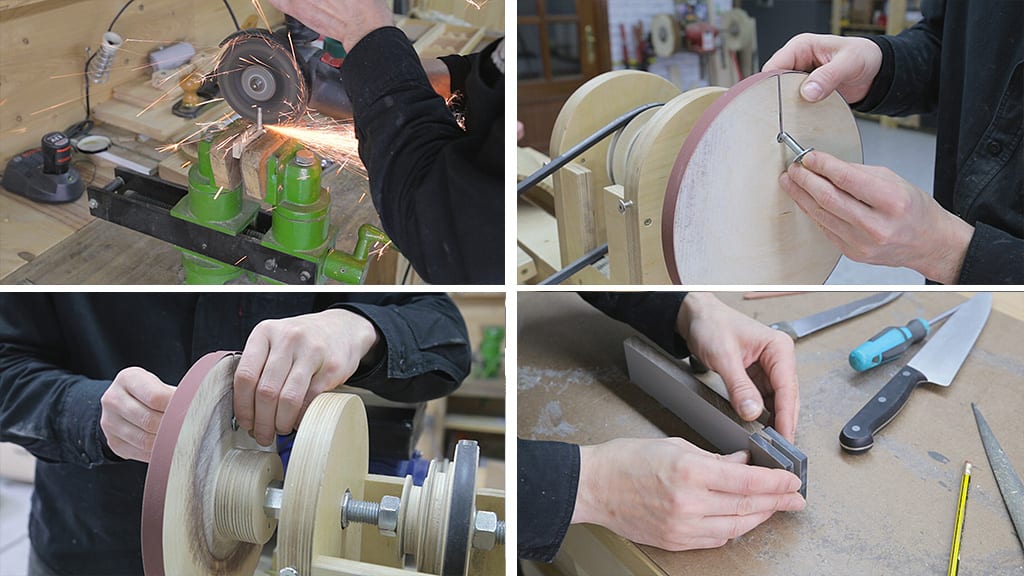

I cut the sandpaper to size and prepare the screw that will fasten the sandpaper to the wheel and I try out the wheel.
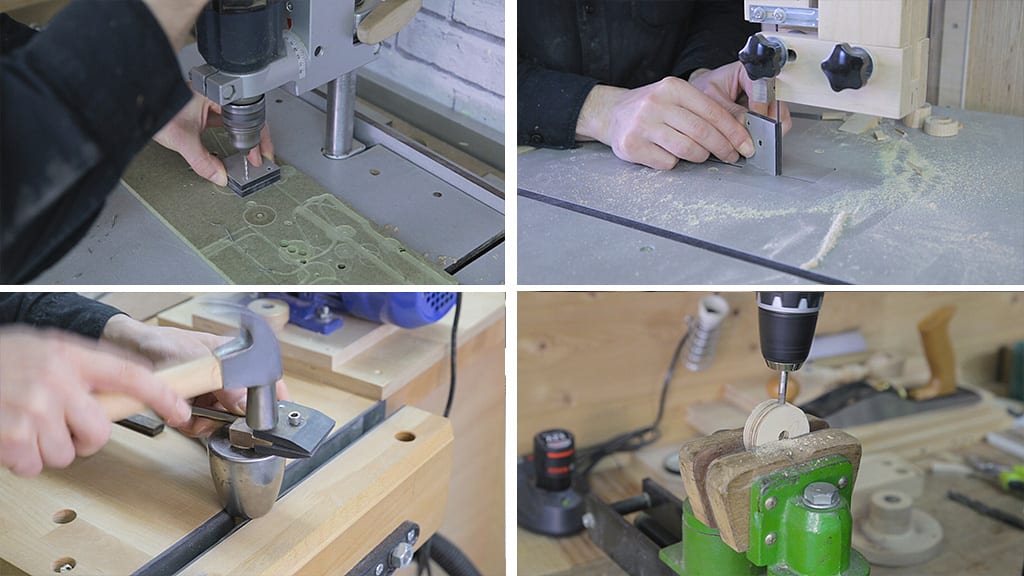

Now I’ll make the knife holder out of pieces of HPL I have in my workshop. I cut them to size and shape them with the sander. It’s important to have a good grip on the knife to prevent it from flying off while sharpening it.
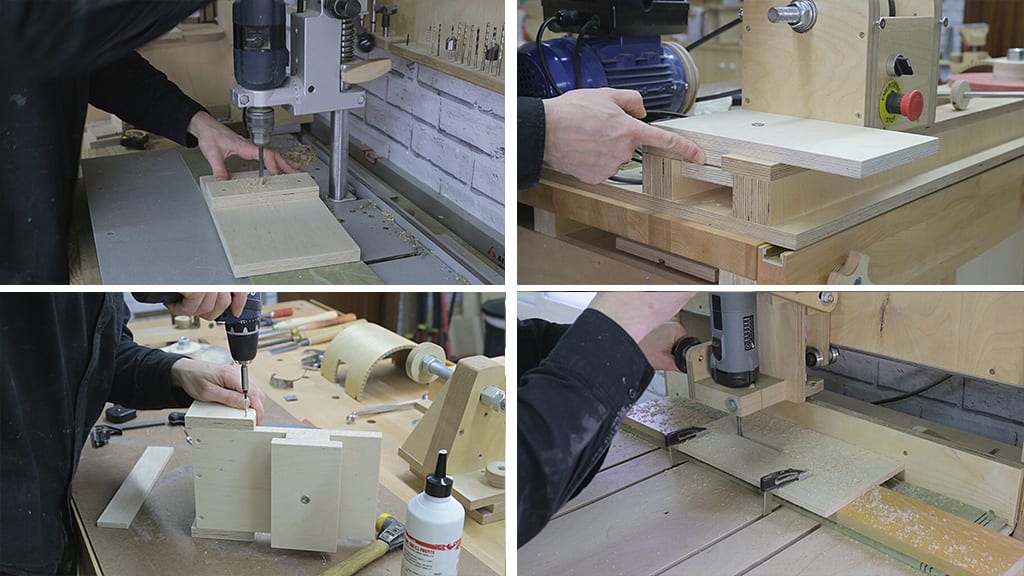

And finally, all that’s left is to build the jig. I’ll use birch plywood. I cut all the pieces and put them together with wood screws. Remenber that you can download the plans for the lathe and the jig from my website. See you soon!
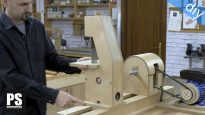

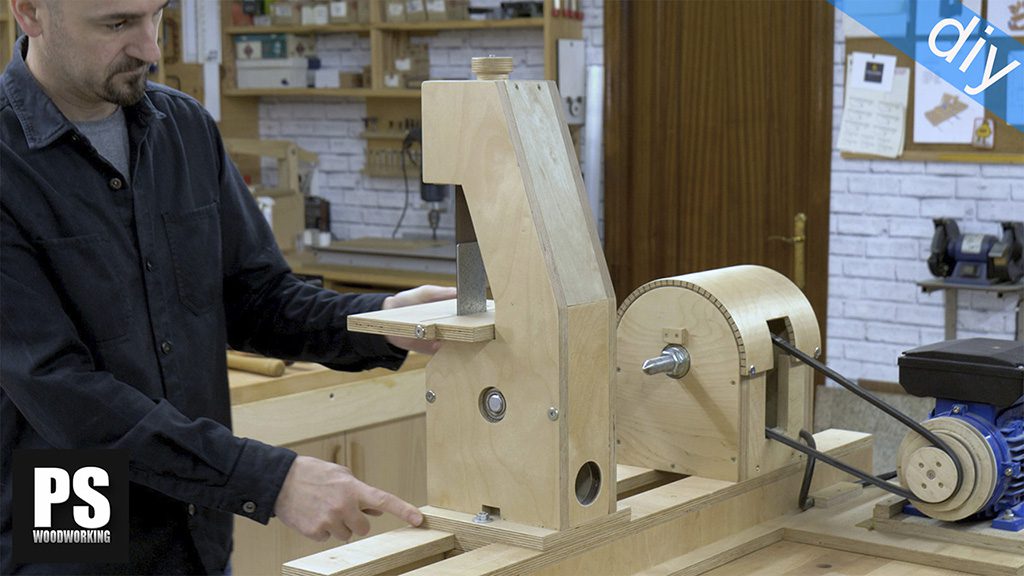


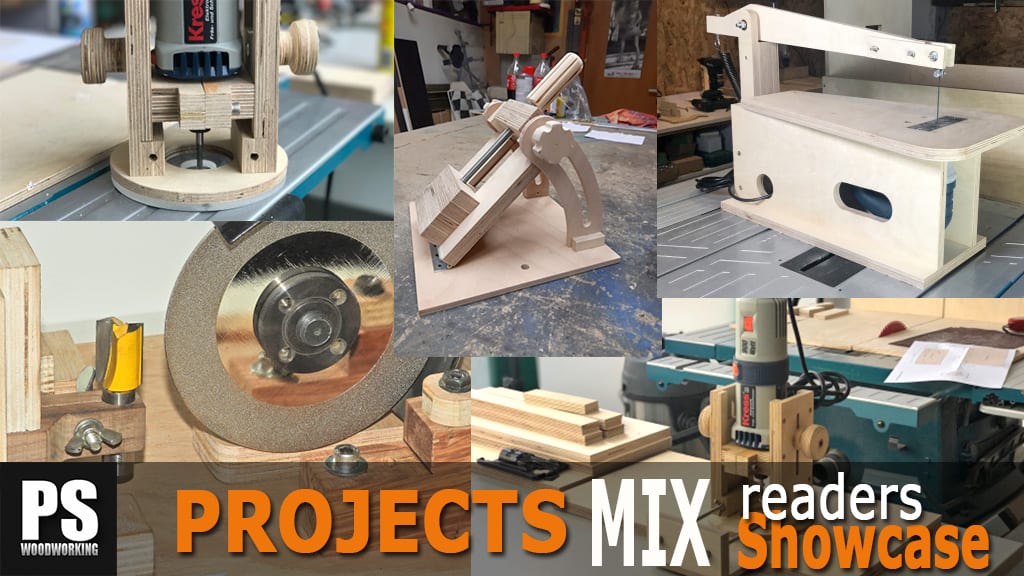

I wish I had the smarts like this man to make my own stationary tools instead of paying out thousands to companies to get a lathe or making my own sharping system. To me people like this are genius.
thanks!
Very convenient device for sharpening knives, my respect.
If you want, in my kitchen I use Japanese knives made of aogami super steel, of course, I will not advertise the brand. From the moment of purchase I didn’t sharpen them even once, just straightened it on ceramic musat. They need to be handled very carefully and then you will get real pleasure from working with them. Best regards, from Russia.
May I ask is there a difference between the red & green MDF I’ve seen you use? Does the red wheel have any grit on it? Also, is the edge of the wheels to narrow to sharpen chisels and plane knives? Thanks for sharing another interesting video. I would love to have you design and then build me a new shop. I love all of your home-made power tools!!
hello, it’s just a decorative dye, you can use any type of MDF. I have another jig to sharpen chisels:
Where do I just get the part holding the knife? Will it work with 1/4″ thick blades?
I’ve made it out of pieces of HPL I have in my workshop. You can also use aluminum, some plastic material or hard wood.
Can you provide a little more detail on how the screw holds the sandpaper.
Thanks for the detailed walkthrough on creating and using the knife sharpening jig. I noticed you used P240 grit sandpaper for the straightening wheel. Have you experimented with different grits, and if so, how do they affect the sharpening process? I’m curious to know if a finer or coarser grit would make a significant difference.