To show you how my new scroll saw works I am gonna create a shop sign using 3mm opal methacrylate and transparent of 5mm to stick on the wall of my workshop.

Here is the 3D model of SketchUp included in the plans that you will find on my website. If you are interested in collaborating with my web or building your scroll saw, here you can download them.
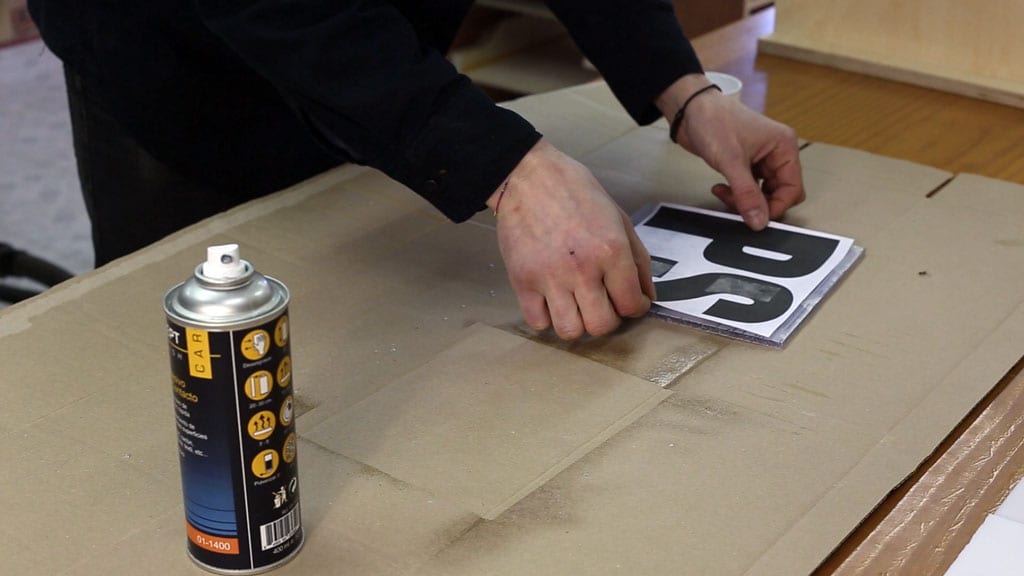
For this I printed the logo on 3 A4 sheets that I am gonna cut and glue them in the plates using spray adhesive.
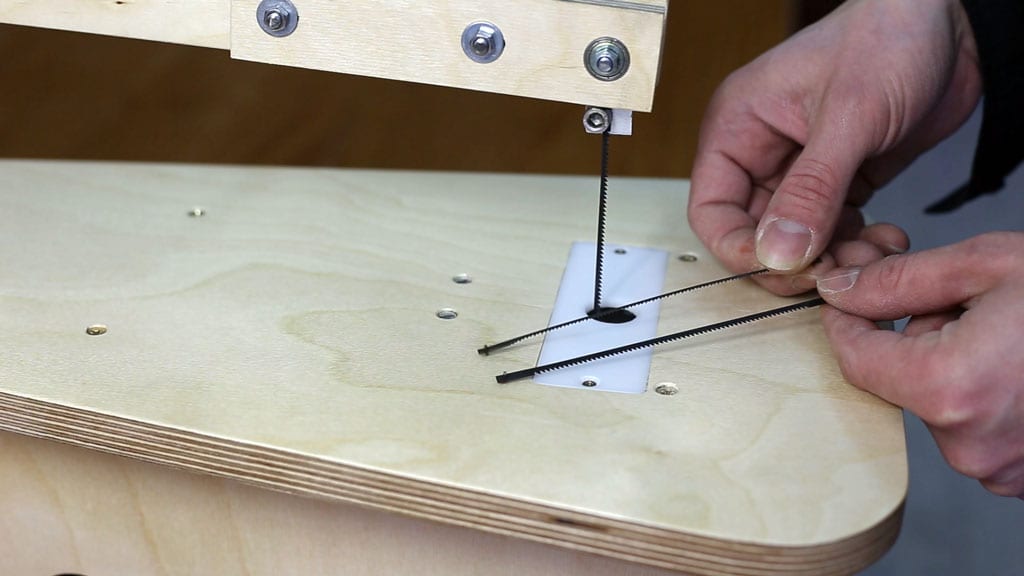
I’m using two different blades, a fine one to easily turn with internal cuts and a wider one for the rest.

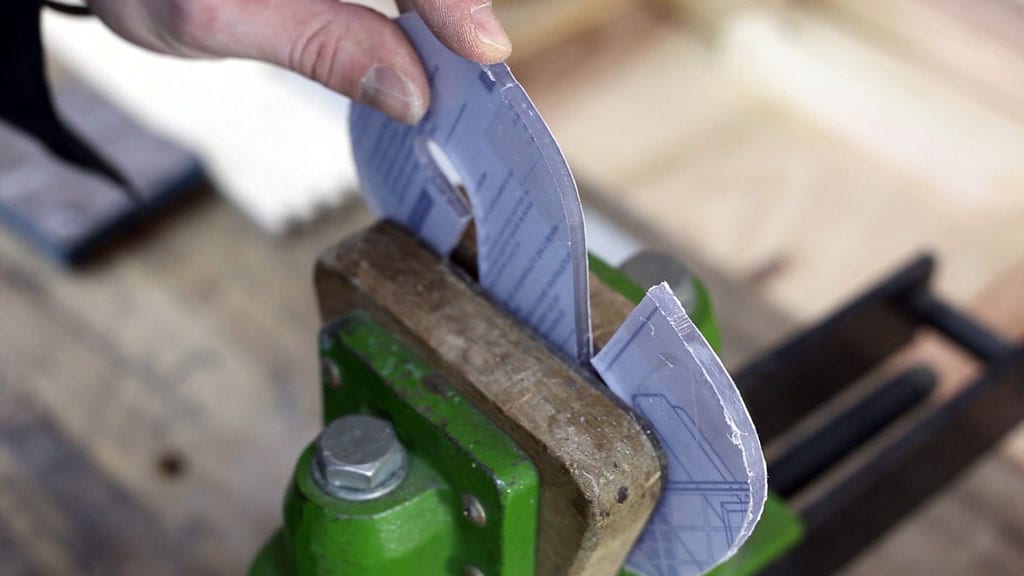
Make drills to easily get access with the saw.
Once created the inside holes, let’s cut the contour of each letter. Being a plastic material I am gonna lower the speed to the first speed.
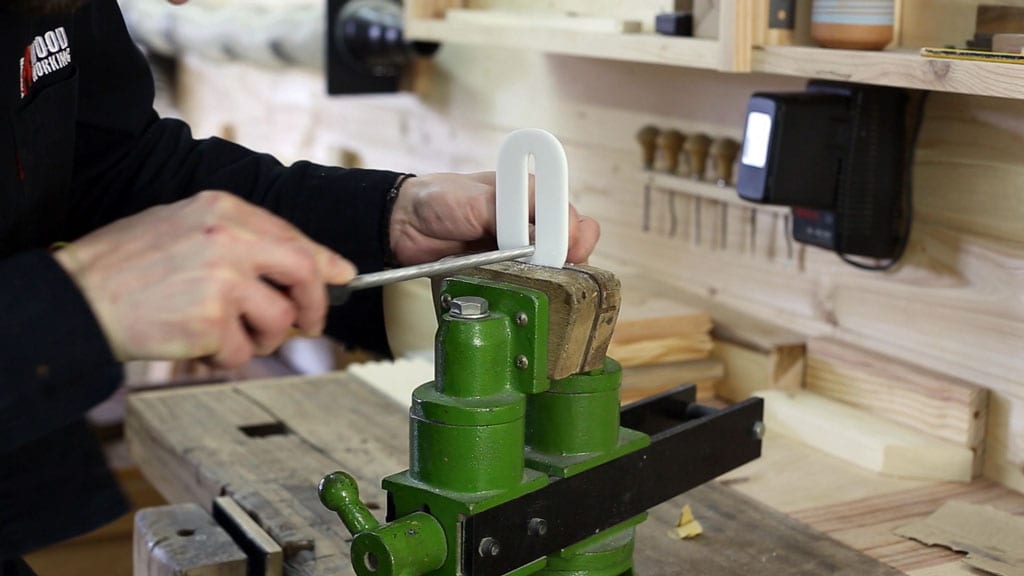
Using a rasp we can improve the inner parts correcting minor flaws.
As you can see the result is quite acceptable, yet let’s sand the edges a bit. Start with P220 sandpaper and then the P320.

Polish the edges using buffing arbor, first with coarse polishing compound and then the finer one. It is very important to use the proper angle to avoid snagging the piece.
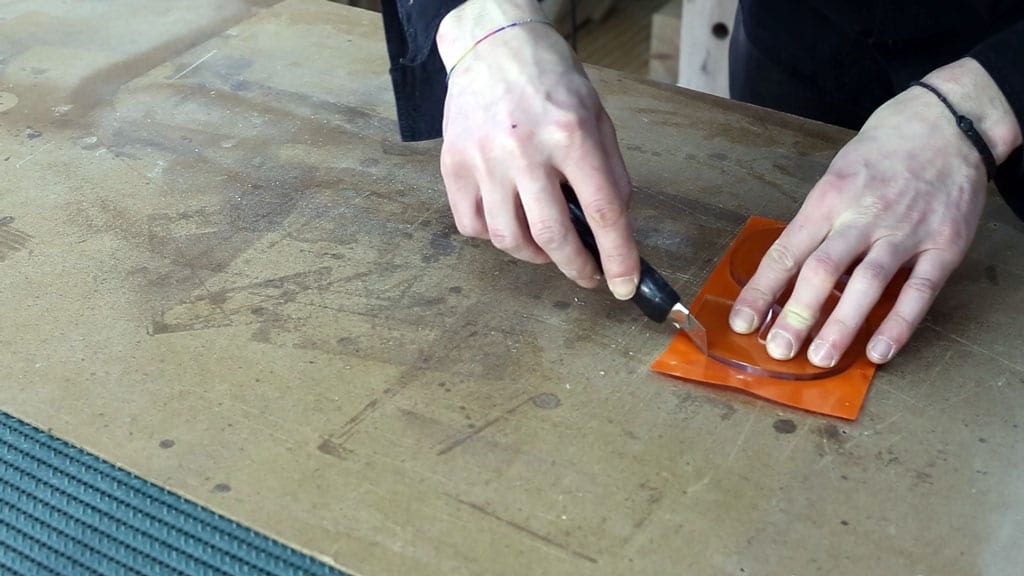
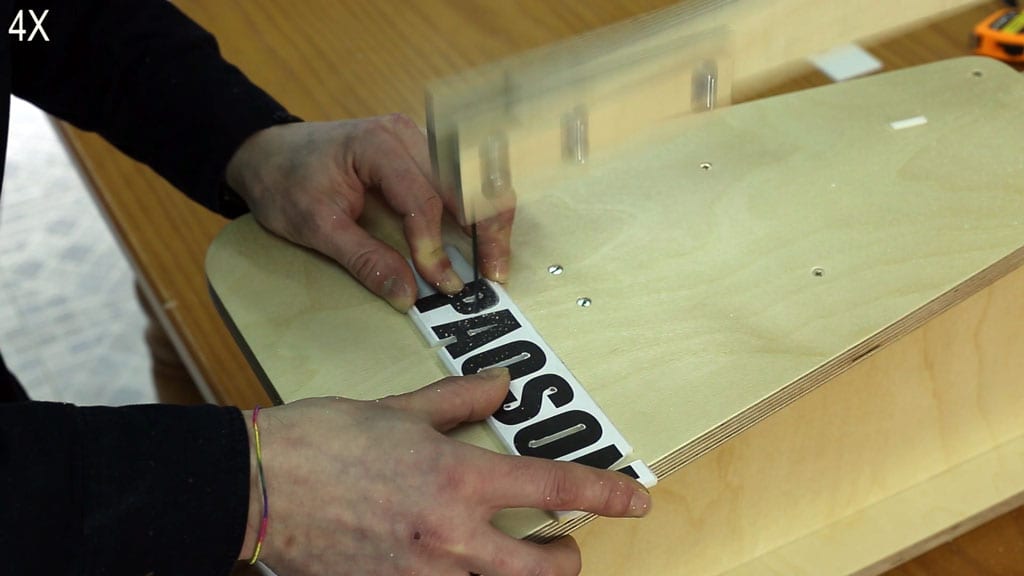
We removed the protective plastic and paste a vinil in the back to change the color of two of the letters. Cut the remainging parts using a cutter
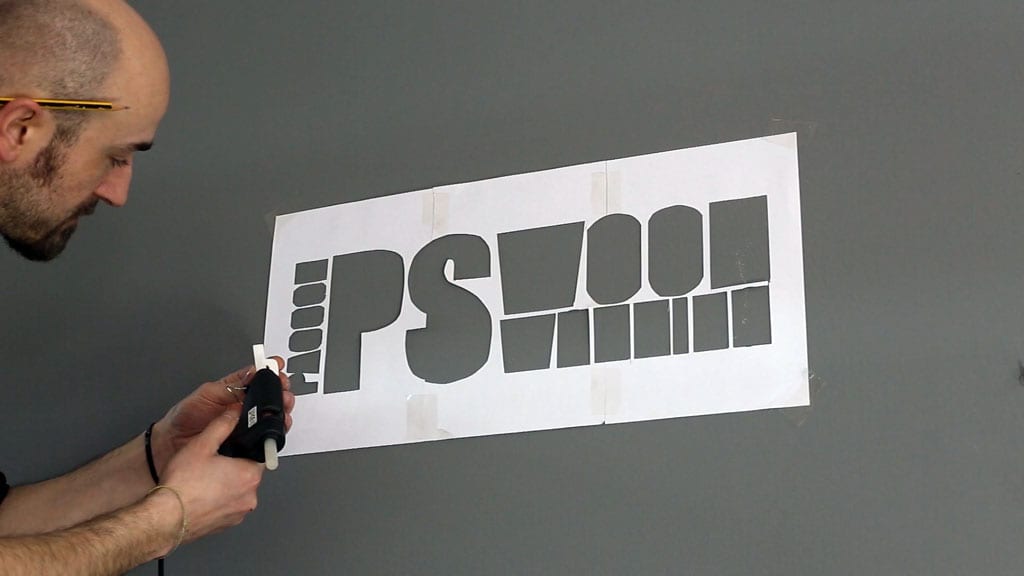
And we can glue them on the wall using the template again and a hot glue gun.


I must say that this my favorite homemade tool of yours. Have you tried abusing it with thick wood? What is the maximum thickness it can cut?
hi Richard, the thicker the wood, the slower you should go. Cut about 20mm of softwood