
I’ve spent the past few days doing some renovations in this small apartment. The masons have finished their work. They’ve knocked down and put up and plastered several walls. I’ve also changed the electric and plumbing installations.
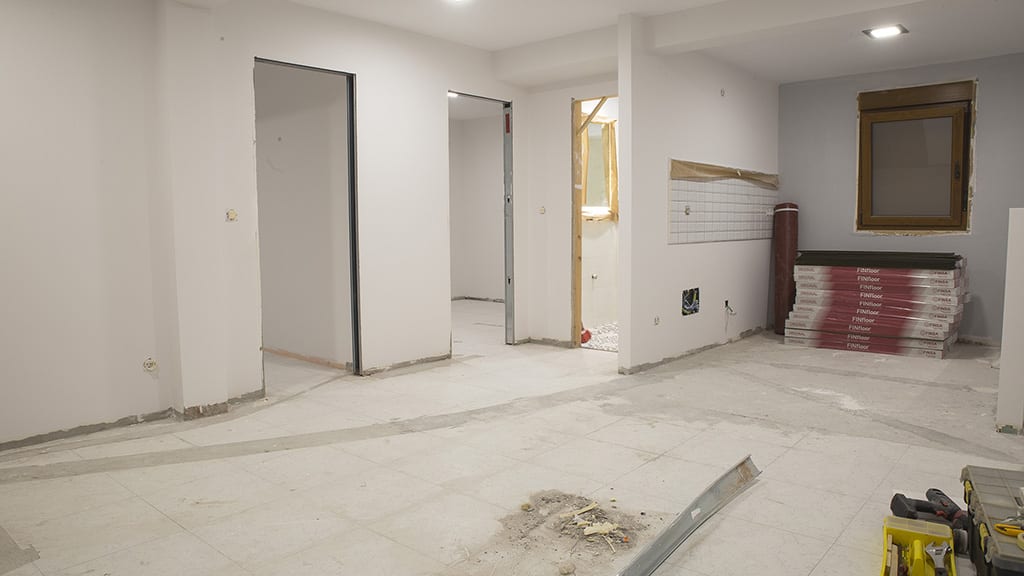
For now I’ve installed the laminate flooring and I’m about to finish placing the doors. This is the first article in a series of five or six where I’ll show you how to lay down the laminate flooring.

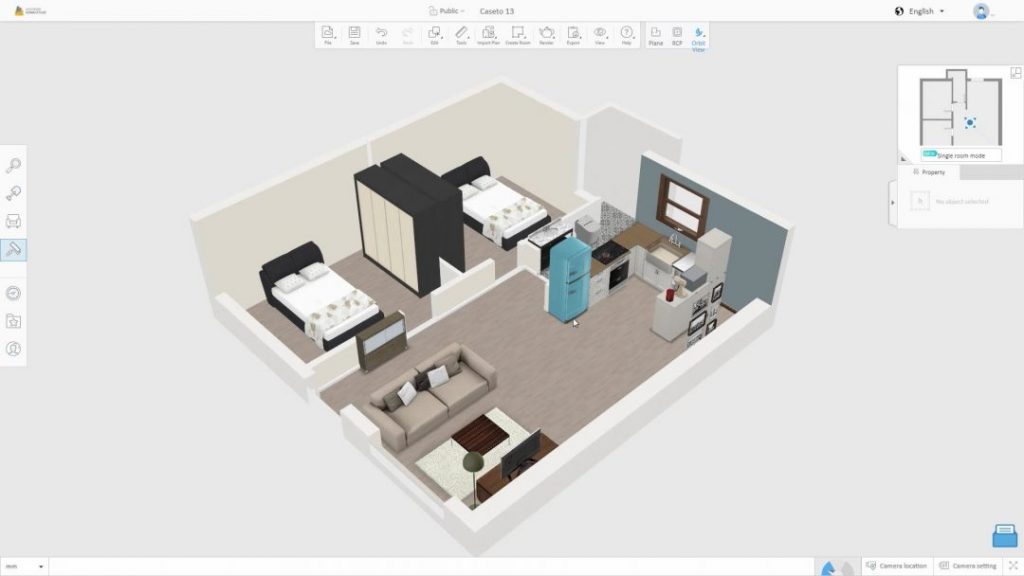
First of all, I’ve made a design with an online app to allocate the space and see what the apartment will look like in the end. This is the floor plan of the apartment, where we can see its distribution. You can see the living room, the kitchen, the bathroom, and the two bedrooms.
By dragging this blue point we can move around the interior of the design with a 3D view.
This is the 3D view. We can also select a view of the inside at eye level. These types of apps are very useful to visualize our projects, and creating walls and furniture is quite easy, much easier than in real life!
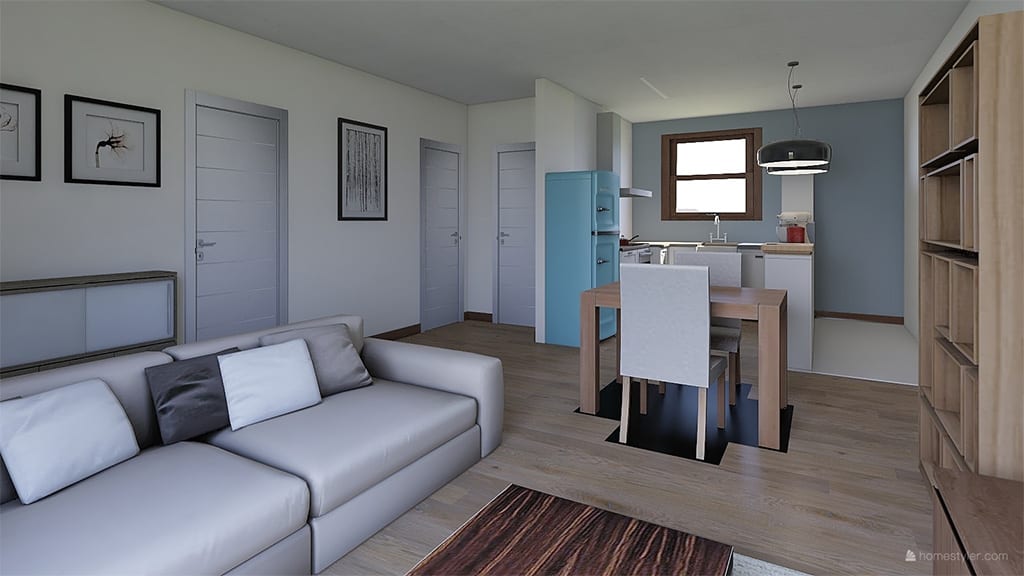
The app also allows us to export high quality renders, like this one.
Laying laminate flooring:
Let’s get down to work. What is floating/laminate flooring? The laminate flooring is made up of several layers, normally made with wood by-products. The thicker part in the middle is similar to MDF but built with even more pressure. It’s usually green because it’s waterproof.
The last layer is a synthetic high-pressure melamine resin compound, with a pattern that imitates wood. As you might know, this kind of flooring has an anchoring system to attach the boards to one another.

Laying laminate flooring is a relatively simple task, especially if the floor is perfectly level and in good condition. There are levelling compounds that can be used in extreme cases, but that’s not the case here.
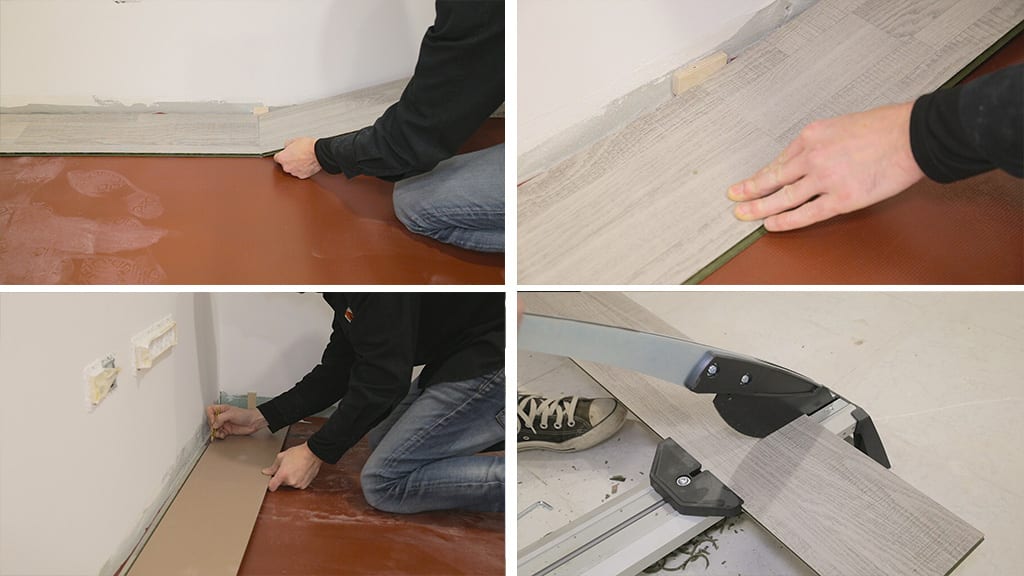
First we must remove all the bits of cement or glue from the corners and the floor itself, as well as cleaning the entire surface(first photo).
As a rule of thumb, the flooring has to be laid in the same direction as the main light source in the house, usually the windows, but it’s not a problem if you want it to face a different direction.
After cleaning, I’ll place underlayment on the floor(second photo). We needn’t cover the entire floor at once. In order to avoid breaking it, I’ll keep adding strips as needed. For best results, the underlayment should go 2 cm up the walls.
This kind of underlayment is good for keeping moisture away, as well as making up for imperfections on the floor. There are also some kinds used for heat and sound insulation, so we should purchase the type that best suits our needs.
The laminate flooring that I’m going to install is gray and has saw cuts imitating oak grain. I think it will go great with the light tones that I will use on doors and walls. It is an AC5, which means that it is of medium hardness or for domestic use.
In order to get it as close to the wall as possible, I’m going to cut the male anchors on all the sides that touch the wall with the laminate cutter, leaving the female side oriented towards us so that we can continue placing the rest of the boards.
I place some 9mm wood blocks to act as spacers in order to avoid problems due to the expansion of the flooring. In order to fasten the boards to one another, we must raise and tilt the board we are going to insert, and then bring it down while pushing towards the other board.
If all goes well, the anchoring system itself will join the two pieces together until you can barely see where they’re connected.
In order to measure the last piece, we only have to turn it and mark it, leaving the same separation to the wall because of expansion. It is advisable that the last board is no shorter than 20 centimetres, you can cut the first board as much as necessary to avoid this problem.
As you can see, this kind of laminate cutter is quite easy to use, and we’ll avoid leaving too much dust at home.

In the next row, we can start with the remaining part of the piece we cut before. It’s important that the boards joints don’t match. The next boards are more complicated to place, because we have to attach two anchorages rather than one.
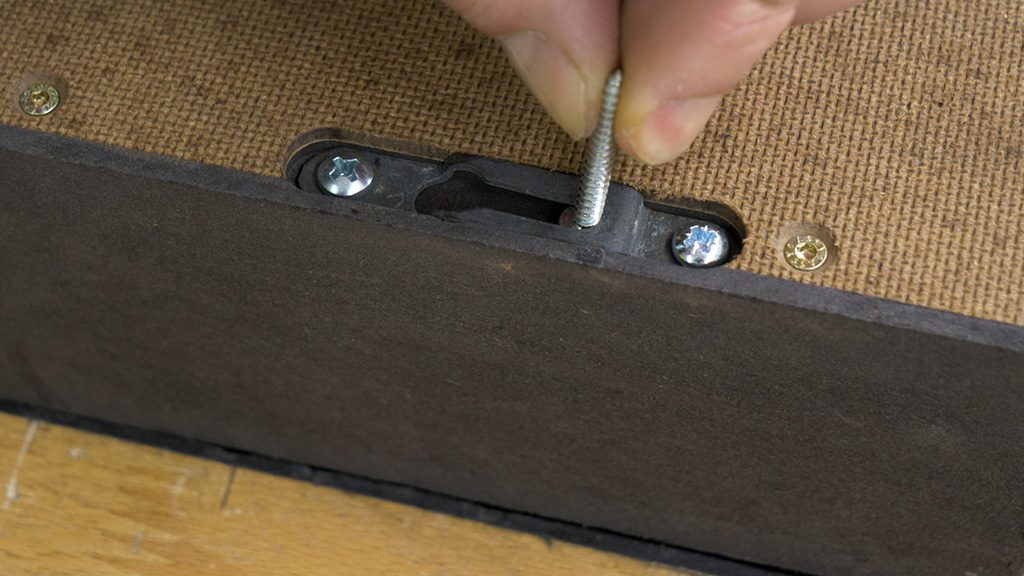
There are several methods, but what I usually do is anchor the longest side by tilting the boards a little like before. Now I’ll use this tapping block, which you can easily find in hardware stores(third photo). It has a part made of rubber with a rebate to avoid damaging the boards when pushing them into the previous board.
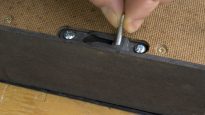
By doing this, you may move the previous row, which is why it’s important to keep placing spacers between the flooring and the wall. In order to place the last board of the next rows, I’ll use this steel pull bar I made. They’re also easy to find in hardware stores(fourth photo).

We place the strips of underlayment required, and following the same steps we can easily do most of the rest of the room if there aren’t many corners or doors in your room. This underlayment has self-adhesive tape to join the parts together, if yours doesn’t have it, you can use masking tape instead, making sure the strips don’t overlap.
Here’s the first setback. I have to measure the gap between the board and this medium-height wall, minus the space for expansion. In this case I’ll use a jigsaw to cut as required.

The same thing happens here. After measuring, I place the board as before. I’ll leave the required space for a door bar between the flooring and the bathroom floor. I’ve also left an 8mm gap between the flooring and the door frame, which will be covered by the jamb and casing.
In my case, the front door has already been installed, and at the bottom of it I left a gap for the flooring, so this time I’ll start laying the flooring the other way around, because otherwise it would be impossible to slide the last board under the door. It’s not the best option, but it’s not a problem if you have to lay a few floorboards like this.

I remove the sliding door protections and continue placing the floorboards. Since this is a small apartment, I’m going to try placing the floorboards in one piece without door bars under the doors.
It goes a little over the recommended length, but I’ve left a gap big enough because of expansion, so it should be okay. I prefer the look of the flooring without the door bars. It also makes cleaning the house easier!
In order to do that, I measure the required cuts, leaving the same gap in all directions to account for expansion, including door frames.
In the bedrooms I have to do the same as before. I’ve had to cut the first board with the measurements I got from the board that goes under the door.

Now all that’s left is to install the plinth. I’ve thought about bringing along my Portable Workshop, which I think will be quite useful to finish the renovation. To cut the plinth I’ll use a sliding miter saw andan tool-actuated vacuum. It will switch itself on whenever I turn on the saw, making the job much easier.
First I cut the left over underlayment, at the same height as the flooring. There are plinths with the same color as the flooring, but in this case I went with waterproof lacquered DM. Now I’ll start installing the plinth on one corner, making a miter joint.
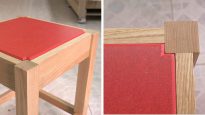
We can trim the corner in the back a little so that it matches the wall better(third photo). I cut the other end of the joint straight, but it can also be cut at an angle.

I apply some anchoring adhesive. It’s a dense product that dries fast, which locks the plinth onto the wall. I also apply some adhesive on the plinth joints. We could use steel nails in the uneven parts of the wall, if there are any. Drive them into the plinth and cover the hole with white wax.

There are many ways to finish the plinth pieces that touch the casings. This is what I do: I cut the plinth part at a 45 degree angle, then I grab another leftover piece of plinth and cut it at 45 degrees, and then straight, with the same thickness as the plinth itself.
I use cyanoacrylate with accelerator to glue the pieces together. In order to improve the bond, you can use very thin file. This way I can cover the head of the plinth with the same material. Another method would be to paint it white
There’s another problem that can come up. I need a very thin piece of a laminate flooring to cover a gap. I cut it in the portable workshop, and remove part of the anchoring system so that I can attach it from above, and glue it to the previous piece with cyanoacrylate.
If the floor is uneven, you may have to trim the plinth a little, and some joints are best glued before putting them on the wall, such as in this case(fourth photo). In the areas where the plinth doesn’t go well on the wall because it’s too uneven, it’s advisable not to force the plinth too much.
Before applying the last coat of paint on the walls, we can fill these gaps with plaster and sand them, so that we can paint over them later.
Lastly, I’ll place this L-shaped steel profile to finish the area by the stairs. I drill and the concrete plate and screw in the L-shaped piece, pushing it down.

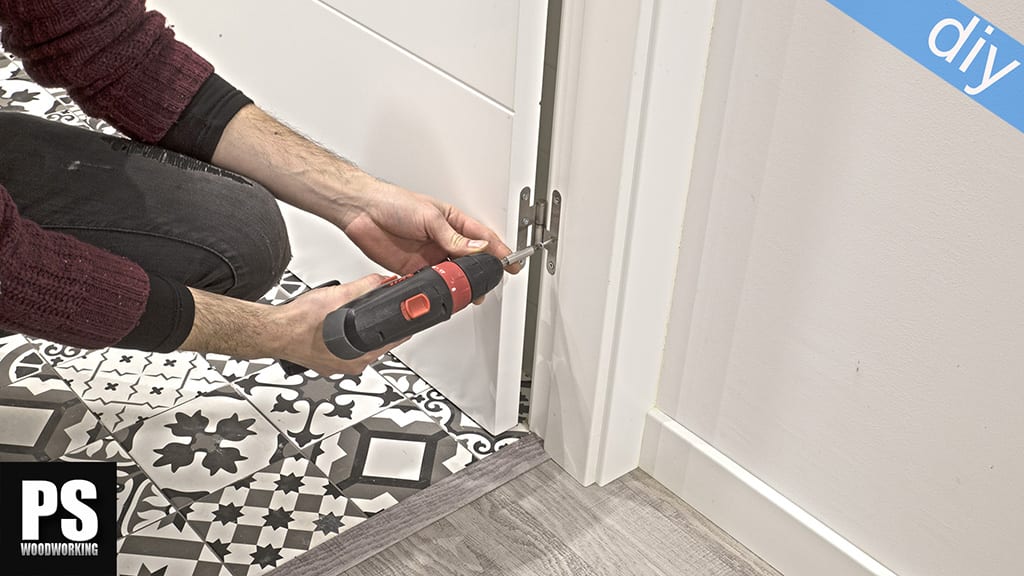
I haven’t shown you how to place the plinth pieces that touch the casings of the bedroom doors and the built-in wardrobes, which I’ll lay in the next video, where I’ll also show you how to install the doors themselves. See you soon!


I wish I have seen this last year, before installing all my house flooring! Coom tips and good info. Thanks
thanks Mate!
A nice neat job. I’m doing something similar in a couple of weeks. Thanks for the tips. I like the way you finished the skirting boards up to the door architrave. It gives it a very professional look. ?
thanks Mark!
This is a very well written and detailed overview for the processing of installing laminate flooring in your home.
Love the pics you have taken to bring the article to life.
Well done, Suso.