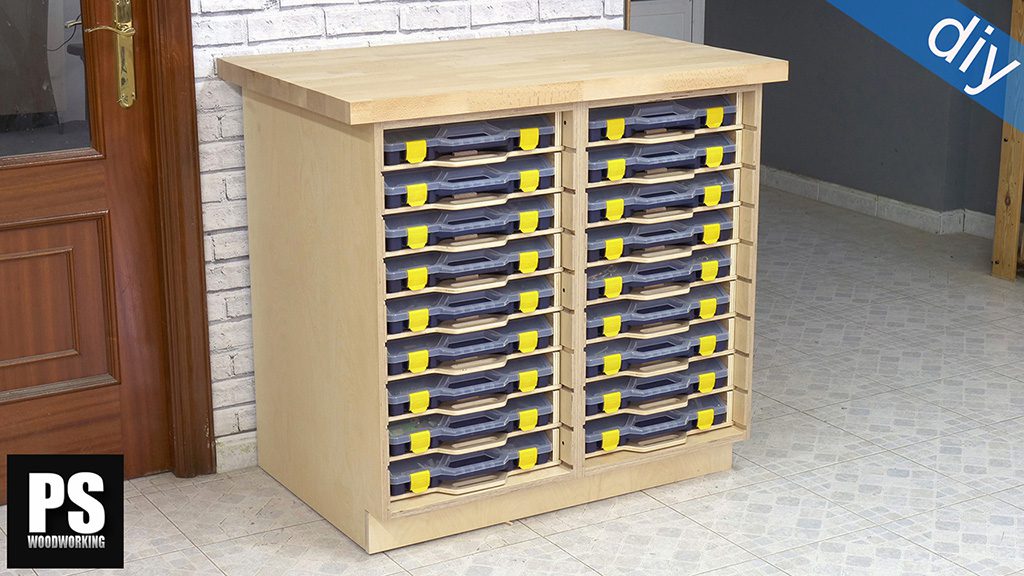
This is the third article in the new workbench series where I will show you how I built all the accessories that will make it more comfortable to work on it, while at the same time making it more versatile. You can see the holdfast clamp on the thumbnail of the video.
I’ve also attached a front bench vise and made some dogs that will hold the pieces on the bench top. This bench can also make repetitive cuts. If you are interested, check out how to make them in this other article in my web.
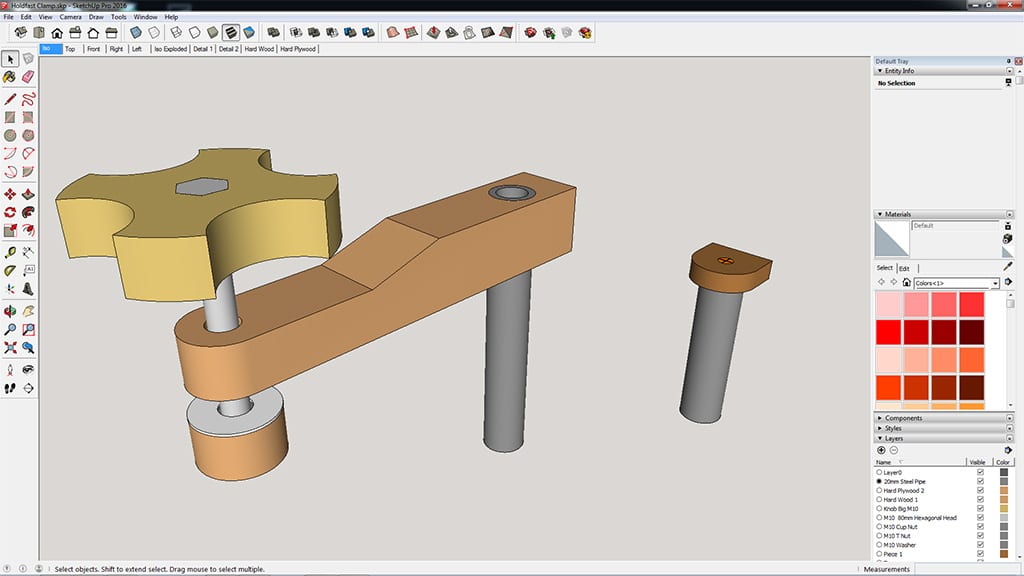
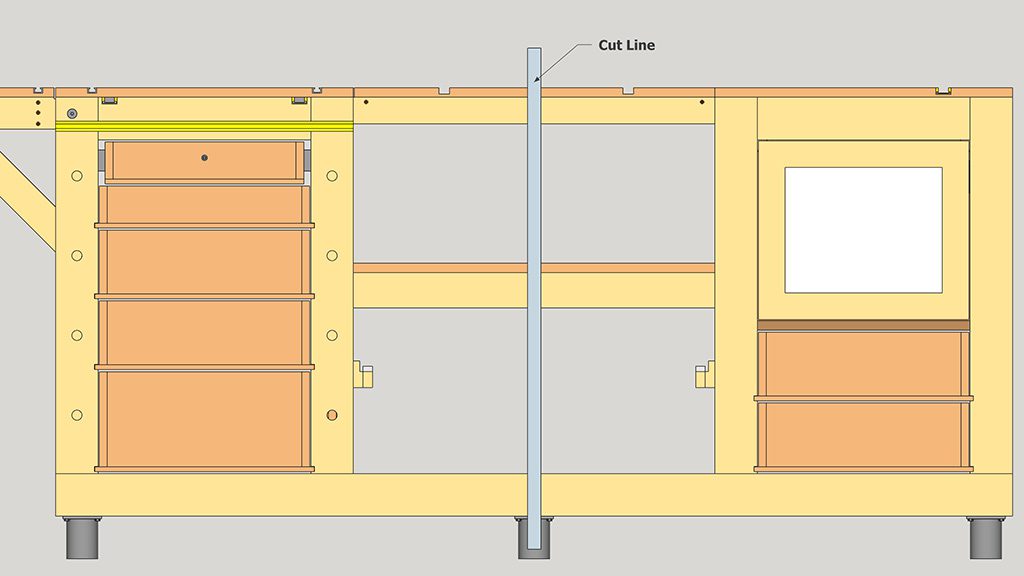
This is the SketchUp 3D model included in the plans that you will find on my website. If you are interested in collaborating with my web or building your own bench accessories, here you can download them.
These accessories were designed and are included in the plans of my workbench, but both the hold fast clamps and the dogs can be adapted to your workbench, so I also sell them separately.
Holdfast Clamp Plans
How to make the dogs & clamps:

I’ll start with the hold fast clamps. I thought about using a cup nut and a washer with a beveled hole to allow for better rotation and tilting, which makes them very convenient when holding pieces in all of the bench’s holes, both in the front and on the top.
I’ll cut all of their pieces from a beech finger joint board which was leftover from the benchtop. I cut it to size with the table saw, smooth one of its sides with the jointer and trim it to its required thickness with the planer.
Since the board is made of several pieces of wood, I’ll try to cut whole pieces without joints. Here we can see one of the board’s finger joints, it’s definitely a very strong bond! I mark the positions of the holes and drill them with the column drill.

Now I’ll mark the outline of the pieces so that I can later cut them with the band saw, and I sand all their sides with the disc sander. I apply some oil and place the threaded insert in its hole. Since it’s a little longer than necessary, I’ll sand it down to size.
I’ll use a steel rod, though a steel pipe with the same diameter and a 3mm wall could also be used instead. Now I’ll drill the holes for the threaded insert. Here we could also use a t-nut.

I’ll cut the pressure pads from another piece of beechwood. First I drill holes for the washers and the cap nut, then I cut with the band saw and finish them off with the disc sander. I countersink one of the washers in the central hole and trim the nuts a little so that they fit more loosely in the hole.
I’ll cut the pressure pad covers from another piece of beechwood, and now I can put together the hold fast clamps. First I put screws in the knobs I already built and lock them with a nut and a washer. I could also use a long handle, like the one clamps usually come with, but I prefer knobs as they take up less space.
Then I apply glue to fasten the pressure pad covers, put in the washers and use some grease for lubrication so that the cap nut turns more easily. I also put some polyurethane adhesive between the cap nut and the screw, tighten the screw and apply pressure between the pad and its covers.
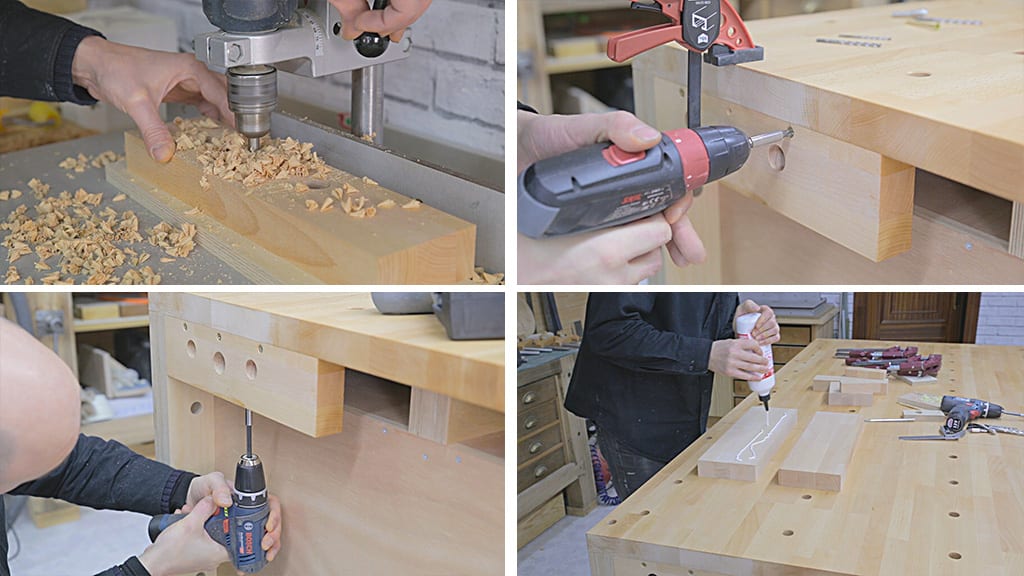
Now I’ll install the vise. First I’ll screw the beechwood back jaw to the bench. I mark the positions of the holes for the vise and drill them with the column drill. I also make some holes on the bottom of the piece to screw it on the benchtop.
I’ll use hex lag bolts. I’ll also fasten three screws to the front of the piece. I’ve changed the design of the vise a little compared to the one in the plans, but both are just as good. Maybe later on I’ll design my own home-made bench vise. Using some of the leftover beechwood from the benchtop, I’ll cut the front jaw parts.
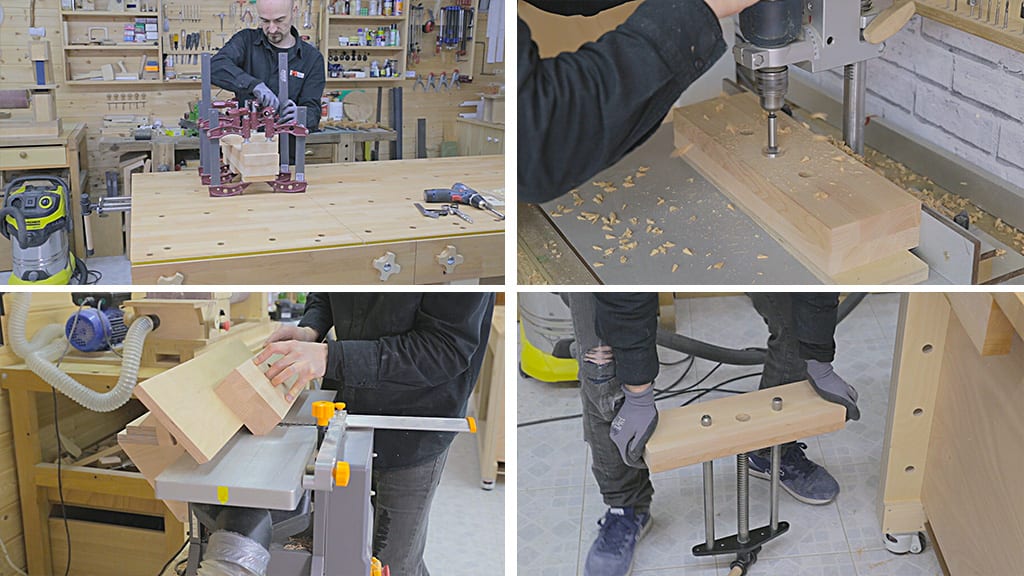
I’ll join two pieces with glue to make it thicker. Once the glue is dry, I’ll flatten all its surfaces with the jointer. I mark the position of the vise guides once more and drill holes with the column drill. By tilting the jointer fence, I’ll make a bevel on all of the outer edges. I make sure everything is okay and mark the positions of the bench dog holes.

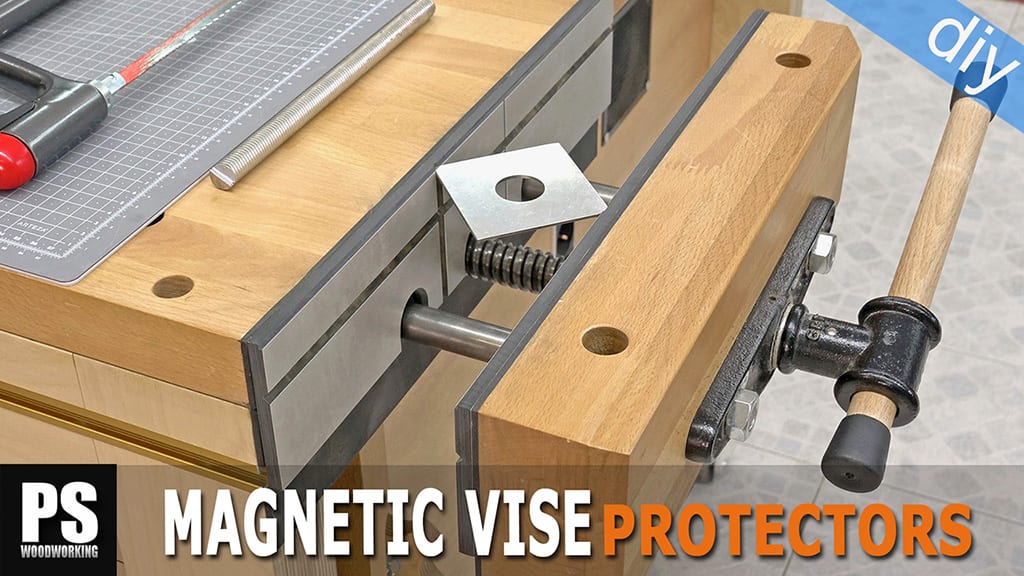
Now I’ll cut and glue on with contact adhesive two pieces of rubber on both jaws, which will protect the wood pieces when held by the vise. I apply some linseed oil and screw the front jaw to the vise after ensuring it’s level with the benchtop.

Now I’ll make the dogs using this piece of steel pipe. I’ve also cut some pieces of beechwood and rounded off their edges to insert in the steel pipe hole. I cut a recess on the upper part of the dog and smooth down all its surfaces with the belt sander.
I glue a piece of wood on them that will stop the dogs falling through the holes, as well as protect the workpieces to be held down on the bench.
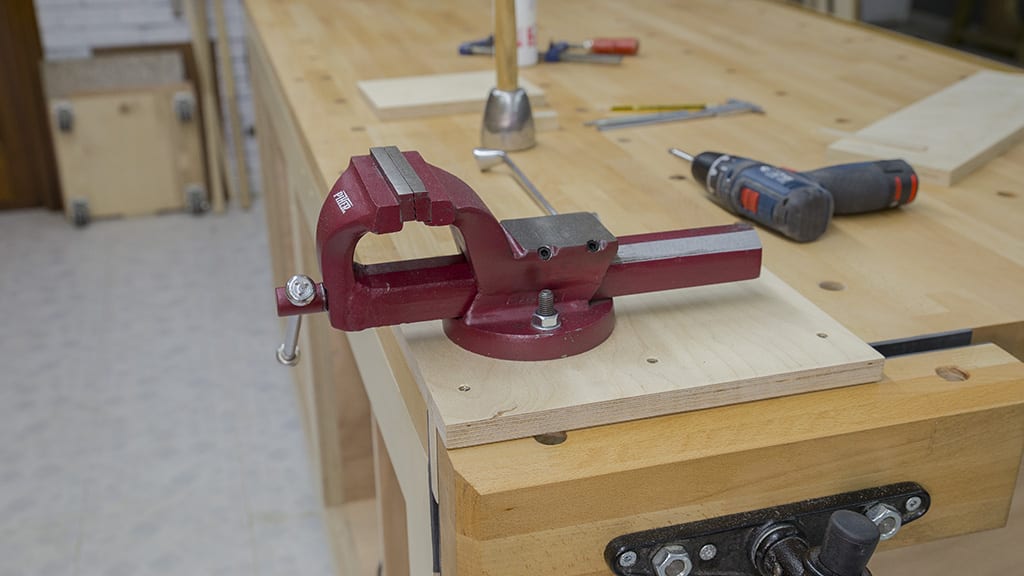
Lastly, I’m going to install this bench vise, sent to me by the company Piher, so that I can work with metals without damaging the front vise with wooden jaws. I’ll make a plywood support in order to attach it to the bench quickly.
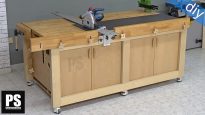
That’s all for today. In a few days I’ll post a new article where I’ll add drawers and doors to the workbench. I’ll try to cut all the parts with the cutting station built into the bench itself.


I’ve watched 100’s of workbench videos. And I learnt new things here
thanks!
I like the quick release metal vice but using the wood vice to hold it down could mean a lot of swapping about on a big job.
What about putting it further away and using dog clamps or quick release clamps to hold the vice in place. This way you have both vices in play without having to swap them in and out. Still, a great work bench.
that’s a good idea, thanks for sharing