Welcome. Today I’ll show you how to make and use some protectors for the jaws of a woodworking vise.
Magnetic Protectors for Bench Vise Jaw Specs:

This is the 3D model of the protectors for bench vise jaw included in the plans, which are available on my website if you’re interested in making your own protectors or supporting my work. The plans include the design of the vise itself as well as the wooden jaws.
Protectors Plans
Protector dimensions: 420mm long, 90mm high and 9mm thick.
Vise Specs: Anke Neutechnik AK900302 (350 x 172mm / Spindle 270 x Ø 25 mm / Weight 5.200 gr /Opening 210 mm)
How to use the Magnetic Protectors for Bench Vise Jaw:
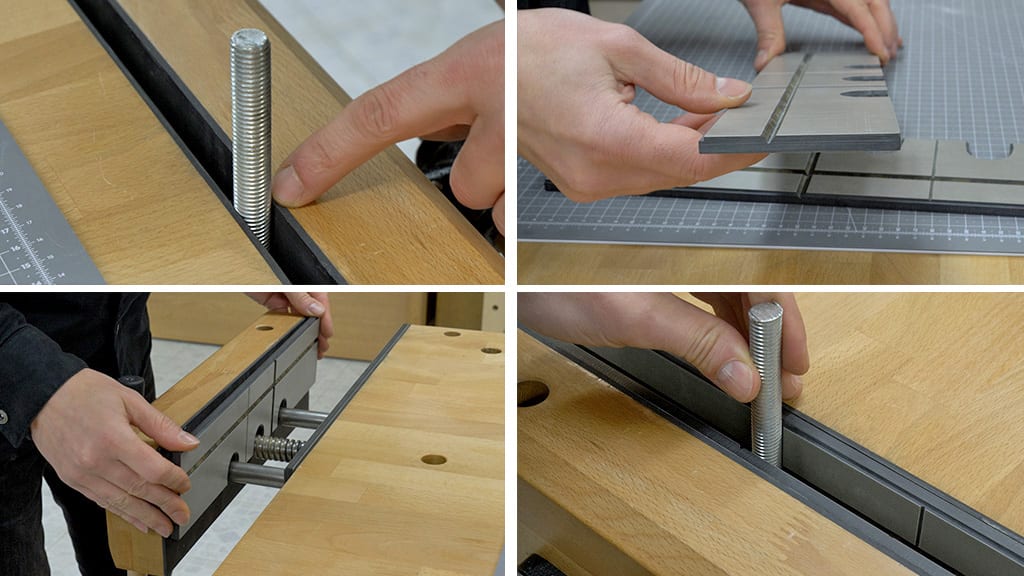
In several of my last few projects, I missed having protectors to avoid damaging the vise jaws, especially when cutting metals such as threaded rods. It’s easy to damage the cork, the rubber or the wood itself when tightening the vise (photo 1).
I’ve used some pieces of HPL panelling in which I’ve cut some V-grooves at 90 degrees to achieve a better grip. Besides, they’ll help me center and plumb the workpieces. The protectors could also be made out of solid wood, some kind of acrylic or even aluminum.
To install the protectors more comfortably, I’ve used 10kg strength neodymium magnets. I’ve left them 1mm away from the front so that they won’t damage the wooden workpieces when using the workbench vise without the protectors. The position of the magnets on both jaws must not be the same in order for the vise to work as intended.
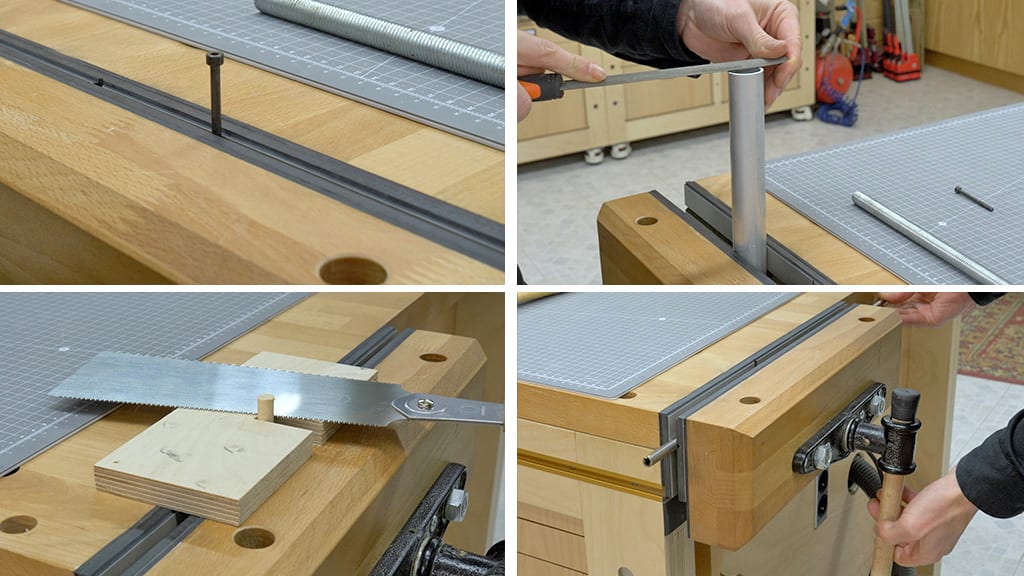
Once installed, it’s very easy to put metal bars or any cylinder-shaped pieces in the vise. They’re firmly held in place, allowing us to work more accurately. I made two V grooves on the upper part; one of them isn’t as deep so we can hold pieces of a small diameter.
The other is deeper and will allow us to hold cylinder-shaped pieces of a greater diameter. Using other kinds of jigs, we could also make square cuts in all kinds of pieces (photo 3).

I’ve also cut a third V-groove lengthwise so we can hold longer cylinder-shaped pieces. And on the upper part, I’ve made two small rebates to hold small wooden or metal plates. The magnets let me move the protectors a few millimeters in all directions so that I can adapt them to any job.
How to make the Magnetic Protectors for Bench Vise Jaw:

Now I’ll show you how to make the protectors. First we’ll need to cut the HPL panel lengthwise with the table saw. I’ll check where to make grooves, machine them with the table router and a 90 degree V-groove bit. The HPL panel is quite tough, so it’ll take several runs to make the grooves.
Once the grooves have been cut, I can cut the HPL panel in half to make the two protectors. This way I’ve managed to simultaneously make the grooves in both pieces, which is more convenient and saves time.

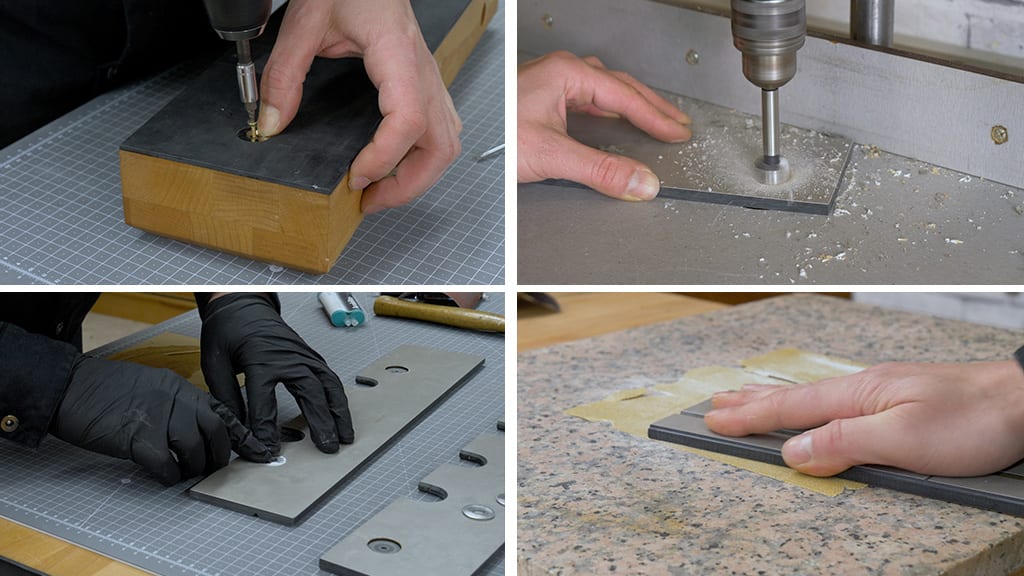
After taking measurements, I predrill the holes for the vise’s axis. I’ll finish machining them with the band saw. I’ll also machine a small rebate on the upper edge of the protectors with the router.
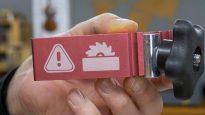
Now I’m going to detach the vise to drill holes for the magnets. I work out their position and drill a hole 1mm deeper than the magnet.
After making sure everything’s okay, I’ll fasten the magnets with screws. Similarly, I’ll drill holes for the protector’s iron washers. I’ll try to make sure they’re flush with the outer part of the protectors. I sand down the washers a little to clean them and improve their adherence, and then apply some epoxy adhesive.
Once the epoxy is dry, I use P120 sandpaper to remove the excess resin. And that’s all for today. See you soon!


Great idea… Personally… Design add-on real metal bench jaw vise and use your existing amazing vise to hold bench vise.. This way you can do real metal work ( jaws will hold metal stronger and safer, provides more access for file work, and you have mjni anvil to release your stress?) and most importantly you eliminate damages to your wood vise.. Still very smart and good idea ?
Thanks for sharing your experience mate!
This is great. Where to get the HPL?
My Building supplies does up to 4mm.
Any online suppliers in Europe?
hello Arnold, check this out: