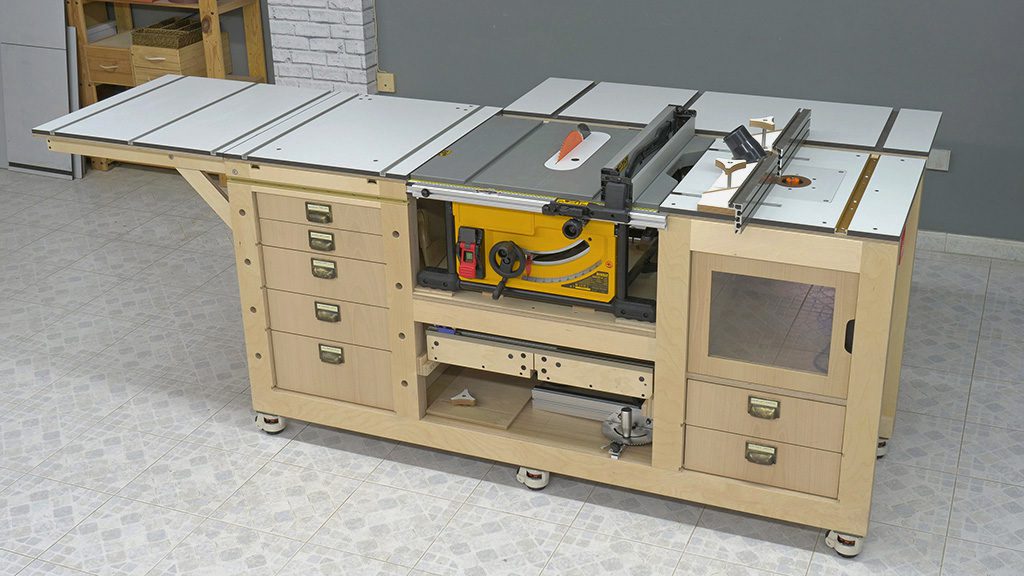
I’ve received quite a few messages with questions related to my new woodworking bench with a table saw and a router table. Among them, whether it’s possible to install other bench saw models, or if it’s possible to build the frame, cabinets and bench top using other materials. In this article, I’ll try to address all of these questions as much as possible.
Update: I wrote two more articles you should also read if you’re interested in altering this design so it can be used with a different type of bench table saw:
How to install a cast iron saw on a workbench:
Jobsite VS Cast Iron Table Saw:
Boards to make the Mobile Workbench with bench table saw
In principle, you can use almost any kind of board to make the workbench, but logically, the results will be different, and not just when it comes to its appearance.
Its robustness, weight and stability can also vary. What you shouldn’t use to make the frames is non-porous boards, like boards with melamine on both sides, as you wouldn’t be able to glue the parts together.
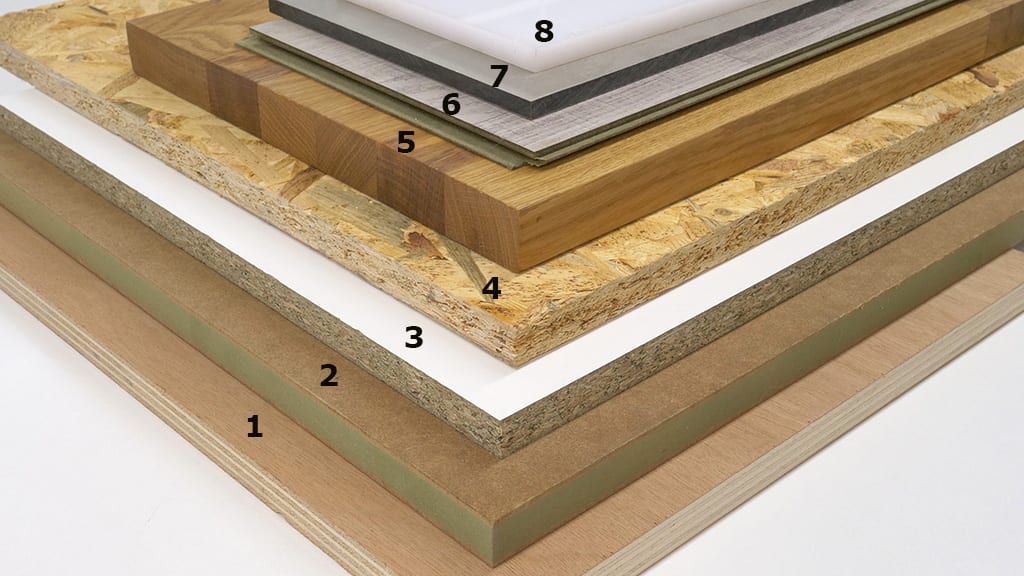
In section N.5 of this article, you’ll find more information on the advantages and disadvantages of using certain types of boards for making woodworking workbenches or machines.
For the bench frames and cabinets, you can use MDF or light plywood such as poplar, okumen, pine or sprunce.
Also hard plywood like birch, which is what I’ve used. Even chipboard. Regardless of your choice of board, make sure it’s the same thickness as the original design, 18mm.
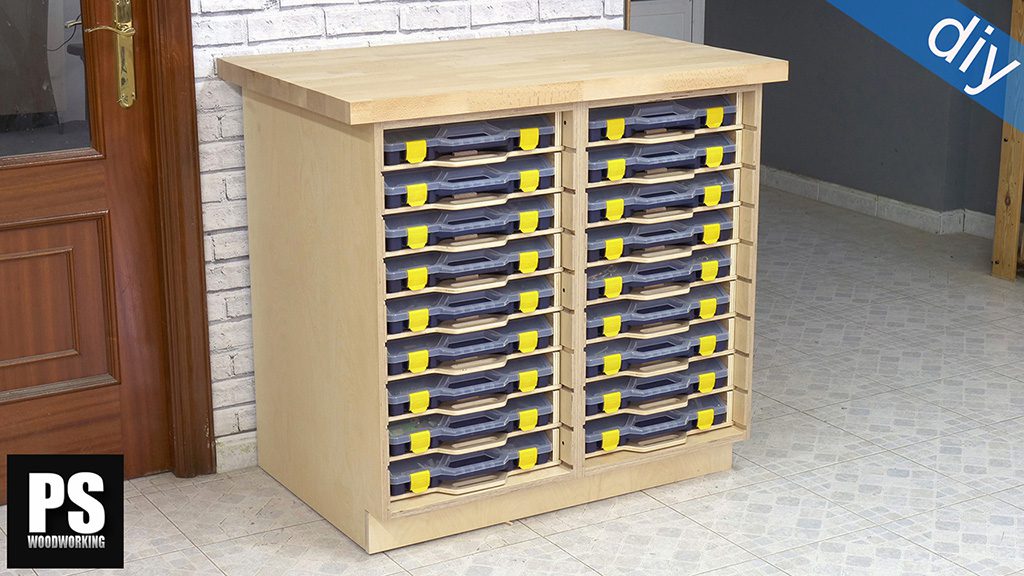
To make the bench drawers, it wouldn’t make sense to use a very heavy board, so light plywood will be the perfect choice. For example, a 15mm board for the drawer boxes and 9mm for the bottom.
If you have 18mm plywood scraps in your workshop, you can use it to make the drawers.
To make the bench tops, you can use almost any kind of board. Unlike in the case above, it’s best to use a board with melamine on both sides. The workpieces will slide more smoothly and so will the sliding carriage and the table saw sled.
Ideally you should use 18mm MDF with melamine or HPL on both sides. Hard plywood with melamine or HPL would work perfectly, too.
A slightly less advisable, but also valid, choice would be some kind of chipboard with melamine or HPL on both sides. To make the tops you can use a board that’s thicker than 18mm. 22 or 25mm would be great.
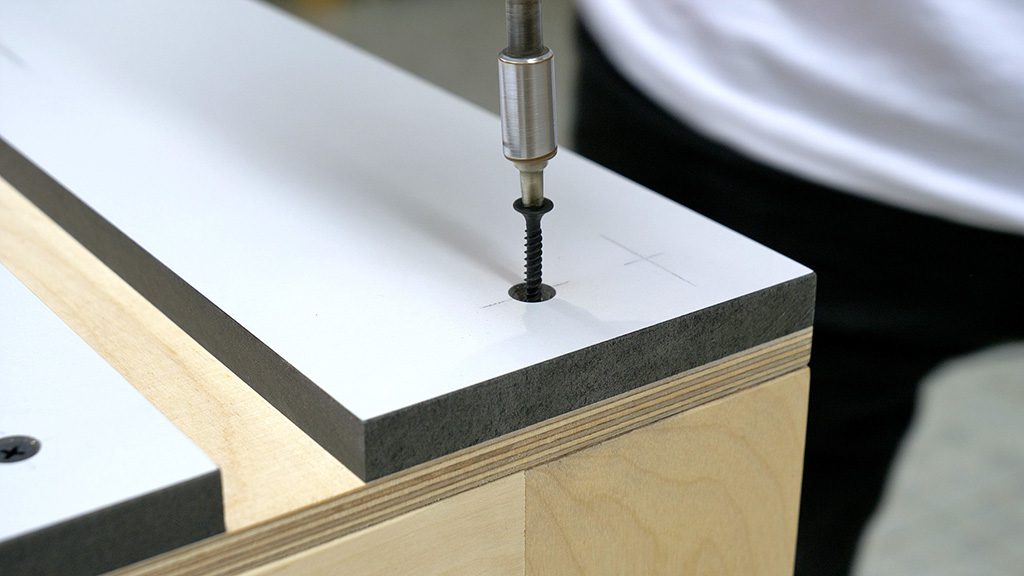
I’ve used a 13mm board with melamine on both sides called Compacmel. It’s similar to MDF, but more compact and tougher. Compacmel is a fairly expensive kind of board which can be hard to obtain in some countries, but it’s not indispensable for this purpose.
I’ve screwed it to another 9mm hard birch plywood board. By using two boards, I no longer have to make grooves for some of the miter channels, as you can see in the picture above.
Be careful with the expansion of the board you’re going to use as benchtop due to moisture. If you use boards that are very susceptible to changing size, such as MDF, you will need to make the holes for the screws holding the top to the cabinet a little bigger.
Also avoid tightening them too much to allow for wood movement. If you use plywood, you won’t have that problem.
Following the same method as me, screwing the two boards together for added thickness you won’t have any problems as long as they’re the same kind of board and keeping in mind what I explained above.
If they’re two different types and behave differently when exposed to moisture, you may have problems getting smooth, straight worktops. In my case, both the plywood and this MDF-like board barely change size in response to moisture and I haven’t had any problems. If it was normal MDF, I’m sure there would have been.
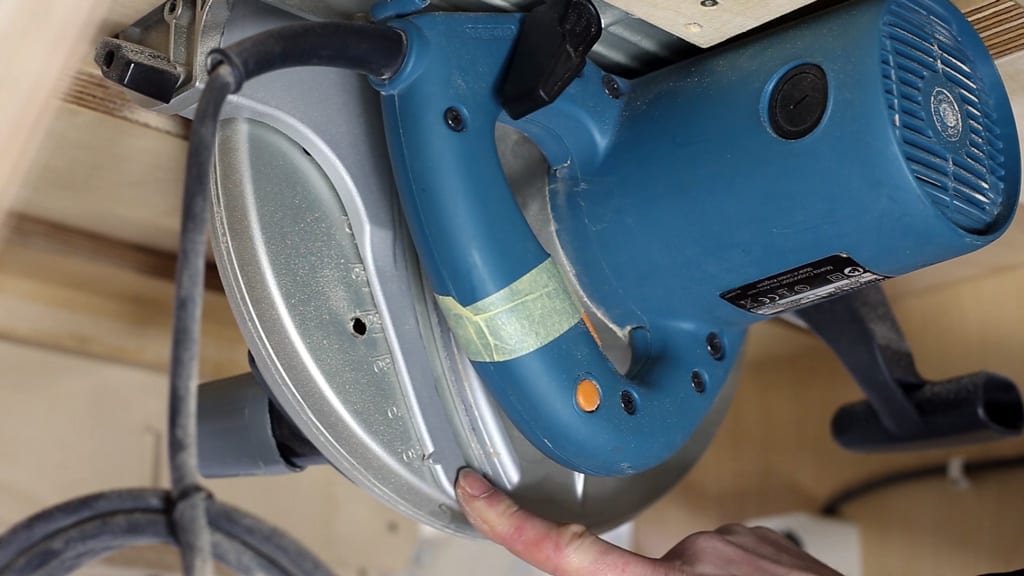
Inverted circular saw for the Mobile Workbench
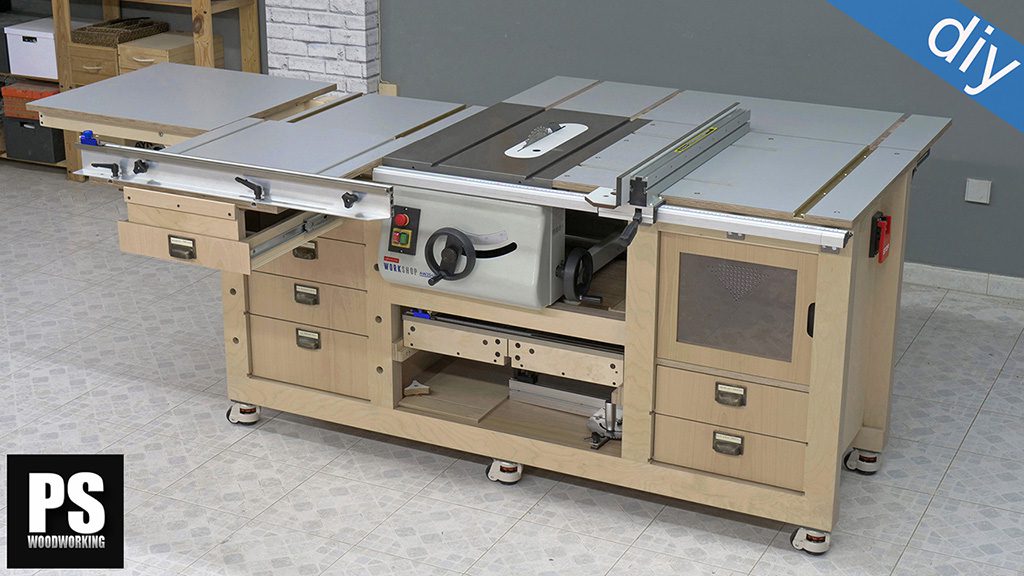
Now I’d like to talk to you about all the different kinds of saws we can and can’t install in this workbench. Of course, if you find the same bench table saw model I’ve used you won’t have to make any changes in the original design. I’ve used a Dewalt DWE7492-QS.
The first and most simple and cheapest option is to install an inverted circular saw. To do that, you’ll have to use a piece of a board as a top, and reinforce it below with a frame. You must screw the inverted circular saw to the bottom of the board.
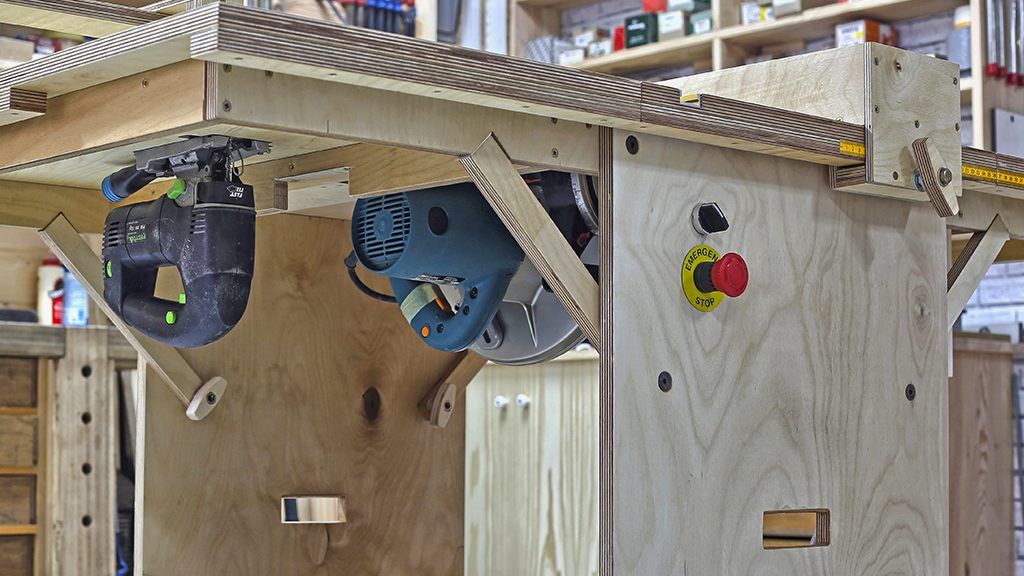
This is the method I used in my first two table saws, the Portable Workshop and the Router and Saw Table. You can reverse this at any time if you wish.
If some day you’d like to modify or improve your mobile workbench table saw, you need only detach this board and replace it with a bench table saw that fits in the recess.

Remember you’ll need to make additional miter channels to install the top and some pieces of a board to make the saw fence. It wouldn’t hurt to install a door on the front or back of the bench to adjust the height or tilt of the circular saw.
In this other article you’ll find much more information on what circular hand saw you should use and how to install it.
Homemade table saw for the Woodworking Workbench
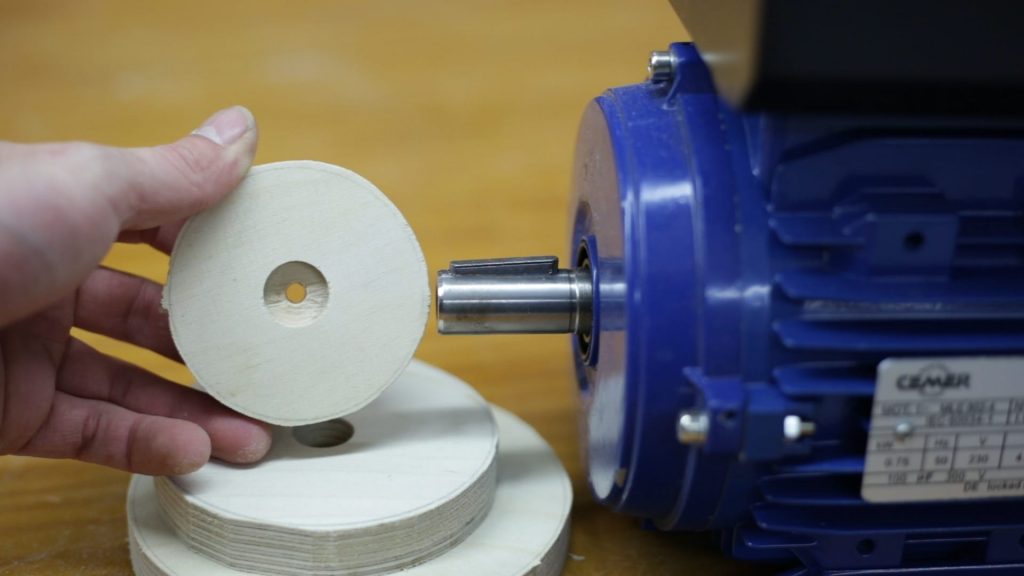
I bet you weren’t expecting this second option: making a new table saw with an induction motor adapted to the recess in the mobile workbench. This is actually an upcoming project of mine.
In a few months I’d like to design and make a new table saw—one that’s more powerful and accurate than regular ones, and equipped with an induction motor, like in the picture.
Saws with induction motors are more powerful, precise and quieter. In this case, you’ll need some more board to make the saw top and fence. You’ll also need more miter channels.
Bench table saw for the Mobile Workbench
The third option is to install a bench table saw other than the Dewalt I’ve used. In order to do this, you’ll probably have to modify the size of some parts. In the next few lines I’m going to help you achieve this.
How to modify the Workbench plans
First off, you should become thoroughly acquainted with the workbench. Check out all of the videos and read all the files in the instructions and support articles included in the plans.

Next, you should print out the cutting list in the plans, which includes all the parts and their reference numbers, as well as their position in the workbench. In this article, you’ll find a great deal of information on how to use the plans on this site.
Now I’m going to describe the three possibilities that can come up when using a table saw other than what I’ve used. In the picture above you can see the measurements of the gap for the bench table saw in the original design.
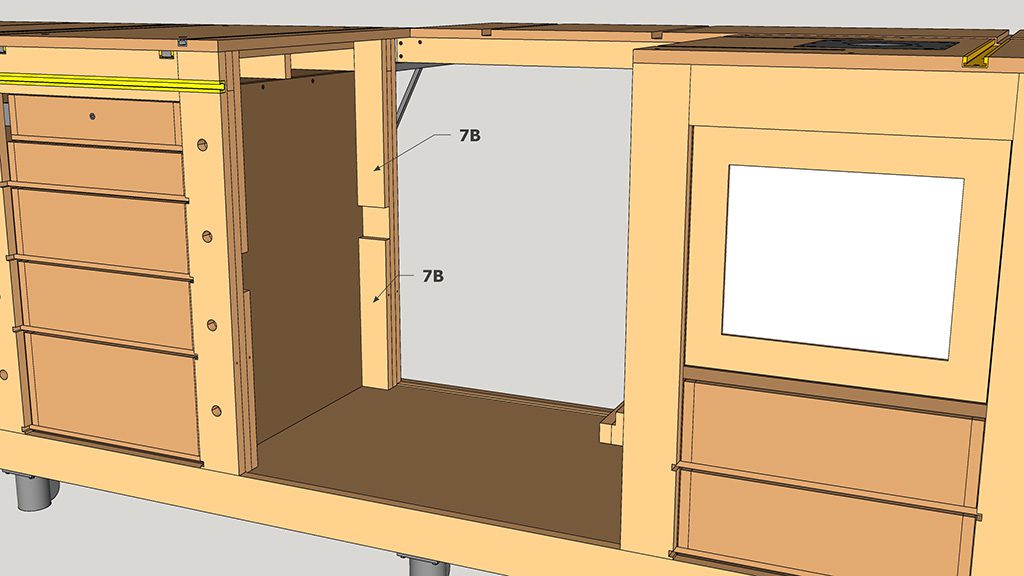
If the height of your saw isn’t 330mm, you’ll have to lower or raise the mid rail supporting the saw.
If it’s higher, you’ll have to subtract the difference to the four bottom pieces with reference number 7B, corresponding with the four middle legs. You’ll also have to add this same difference to the other four upper parts marked as 7B.
If it’s lower, you’ll have to do the same in reverse, add the difference to the bottom parts and subtract it from the ones on top.
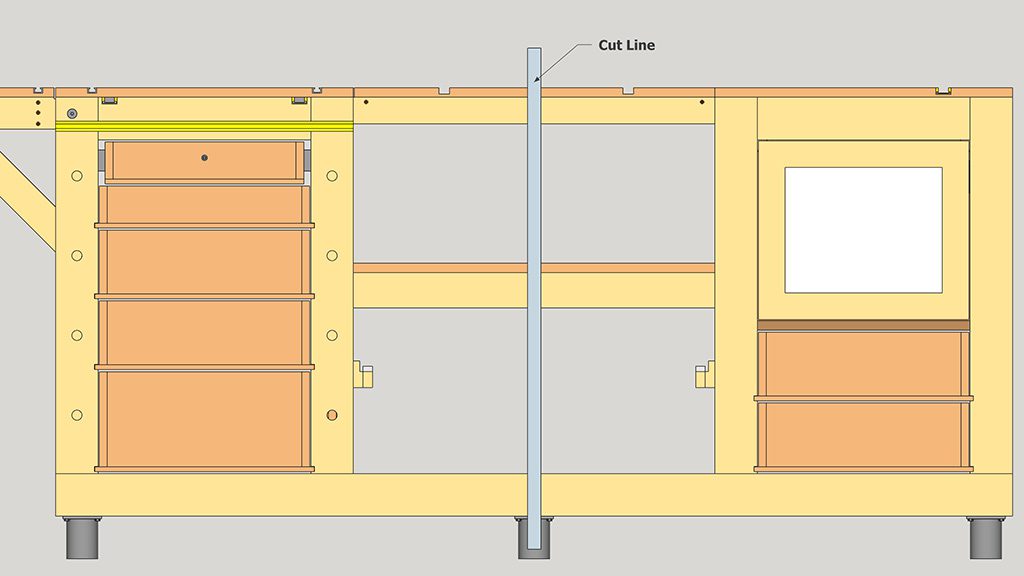
If your table saw is broader than the one I’ve used for this design, you’ll have to add or subtract the difference from all the parts which intersect with the cut line in the picture above:
Long bottom rail parts. Reference: 1, 3, 4 and 36
Mid rail parts. Reference: 22, 23 and 24
Outfeed folding table parts. Reference: 26 and 27
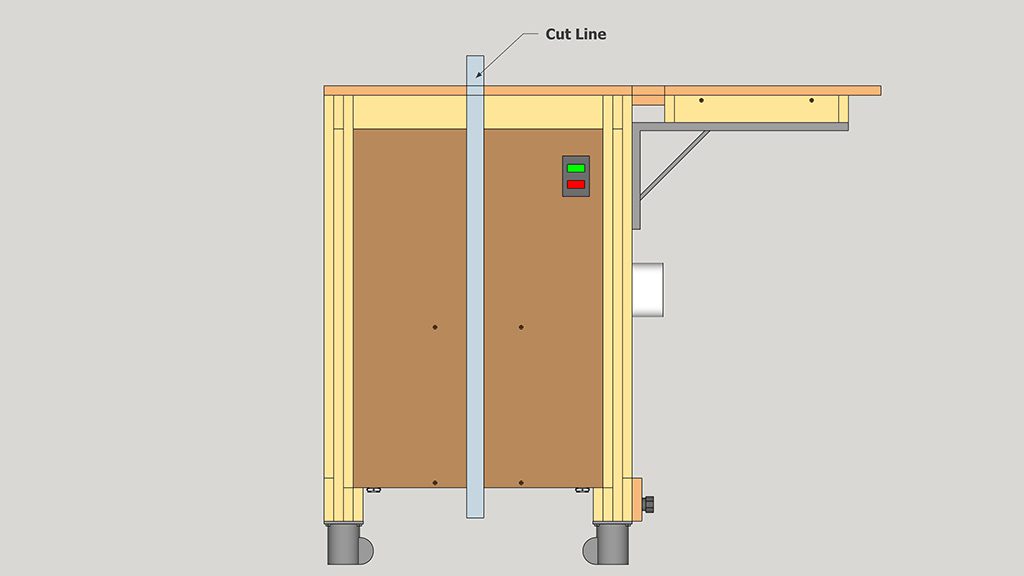
It’s not advisable to reduce the depth of the workbench too much—at most you can reduce the depth by up to 80mm. In the event that your bench table saw has more or less depth than the one I’ve used for the design, there are two possibilities.
If the bench table saw is less deep and you won’t be using the fence that comes with it, or if said fence has an aluminum bar to extend it only on the front of the saw, you can leave the design as is and add a piece of a board to fill in or cover the gap behind the saw.
If it has two extension arms, such as my Dewalt, and you want to keep the fence, you’ll need to make the bench depth about 5mm shallower than the length between both arms or extension bars in your saw table (pieces “B” in the photo below).
To do that, you’ll have to add or subtract the difference from all the pieces which intersect with the cut line in the picture above:
Bench top parts. Reference: 15, 15B, 15C and 22
Side folding table parts. Reference: 16, 18, 20, 21
Inner cabinet parts. Reference: 12, 13, 22, 29, 34, 35 and 36
Drawer parts. Reference: DR2, DR4, DR5, DR7, DR9
Other option to avoid having to modify the depth of the Mobile Workbench is to extend the depth of the saw worktable. Here you will find an example made by a web user.
Your table saw might be different in more than one direction. If that’s the case, you’ll have to make the changes that result from adding each of the directions.

Finally, I’d like to clear up another important point. Some table saws come with an extendable table for the fence, as you can see in the picture above marked “A”.
This part of the saw will collide with the the router table top when you try to extend it. In these cases, there are two options:
First, you can get rid of this part of the saw and make a new fence “C”. These saws usually come with an unreliable, unsteady fence, so it wouldn’t hurt to make a new one.
The idea is to screw a small iron or aluminum square to the front of the workbench that’s fairly robust. This square would allow the fence to slide and be locked. This option would save us having to modify the depth of the workbench to adapt it to this saw.
Another option would be to extend the table that comes with the table saw as much as possible on the bench table or router table, and lock it in place there forever. You’d have to cut the router table top in two pieces, one for each side of the extendable fence marked “A”.
This option would force you to modify the depth of the workbench to adapt it to the recess that this saw has between the two extenstion bars labelled “B”.
In my opinion, the fence that comes with these kinds of table saws is not good enough to go through all the trouble to adapt the workbench to them. In these cases, I’d choose to make a new and improved fence.
Woodworking Workbenches made by our users:
Mobile Workbench with table saw and router table in the forum:


Hi,
Did you modify the plans for the Axminster saw ? I have one such saw and would like to purchase the plans for the workbench if the plans are available for the axminster .
Thanks!