DIY Electric Guitar EP1:
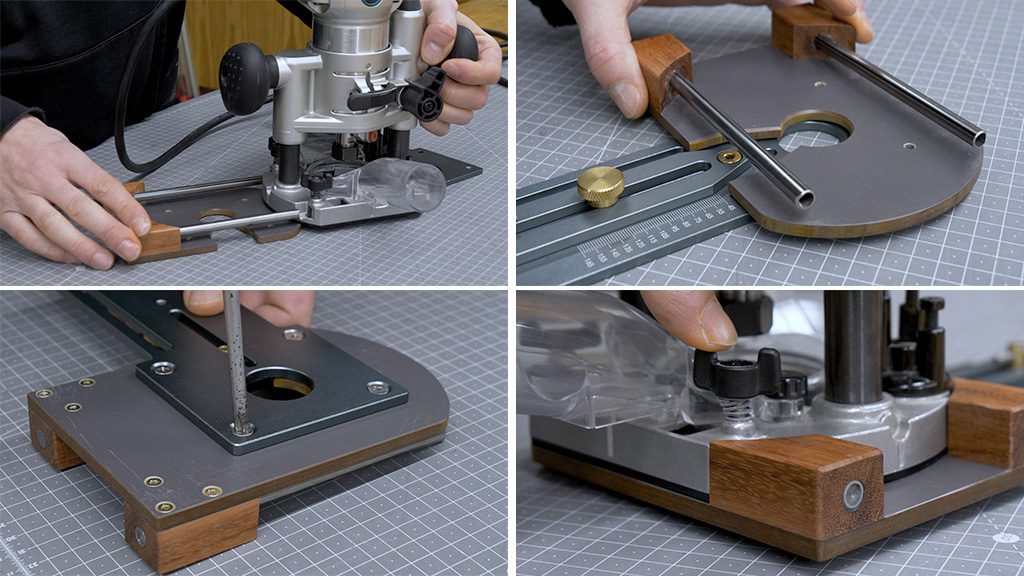
3D Router project: DIY Electric Guitar. Before starting this project, I install a simple lock on the Z axis that makes it possible to mill from the rear without having to activate the lever. This is very useful in some tasks involving the 2D follower and the 3D follower.
I’ve made some templates for the 2D contours and the 3D top of a guitar with a CNC. If you don’t have a CNC, I suggest you have them made by someone who does. They could also be made by hand, but this would require a great deal of precision. A good set of templates will allow you to repeat projects as many times as you wish!
We could also use a real guitar as a template, but you would have to protect its surface to avoid damaging it with the followers. I’ve made two 700x350x10mm bases on MDF to hold and position the workpieces.
DIY Electric Guitar EP2:
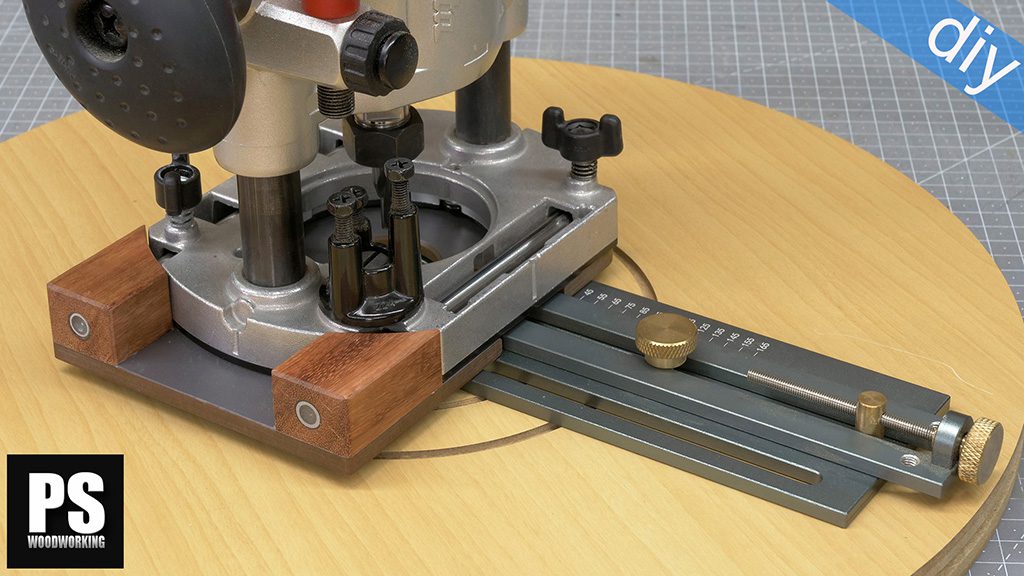
As you might have guessed, in order for the milled piece to be identical to the template, the 2D follower must be of the same diameter as the bit, though alternatively, we could install a smaller bearing if we want the piece to be larger than the template. By using different bit and bearing sizes, we can use the same templates for different milling jobs.
With a piece of the same material I’ll use for the electronics cover, I adjust the milling height. After turning the template and guitar, I continue machining the front part for the pickups, switches, and neck of the guitar.
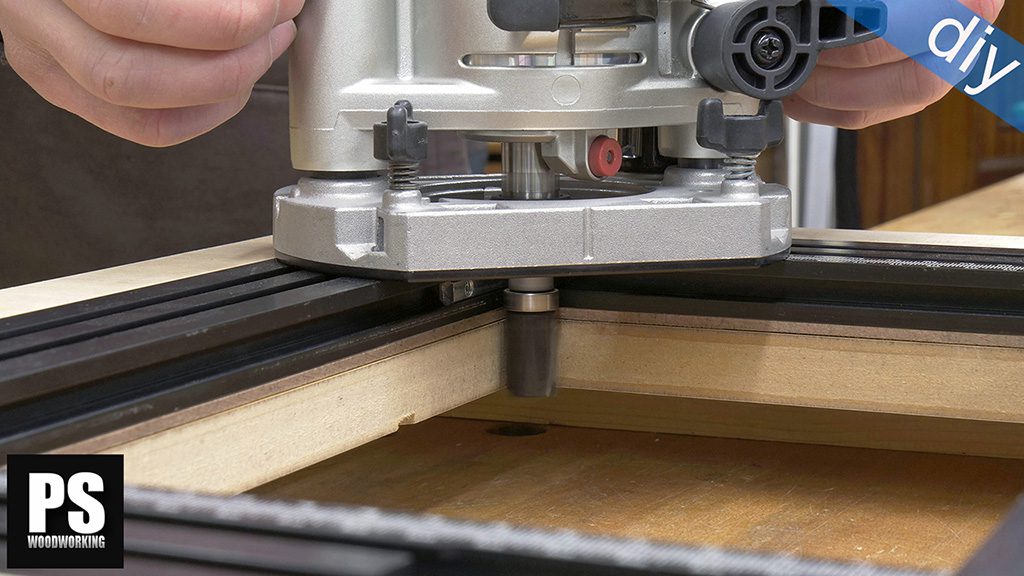
The depth of each Z pass depends on the material and tools we use. Ideally, you should proceed smoothly and gently when using your router. As you can see at 2.50, the 2D follower can be used from the front and rear. I personally prefer doing it from the rear because I can focus more on the template.
When I’m about to mill the contour of the guitar, I realise that the 2D follower bumps against it, making it impossible to proceed. This can be easily solved by trimming the follower a bit.
Now here comes the most interesting thing about this machine, which is being able to reproduce the 3D top of any guitar. I adjust the templates and put the follower in place.
DIY Electric Guitar EP3:
I lower the entire Y axis rig, bringing the router closer to the workpiece. Then, I adjust the follower’s height to use the 3D follower. Since I’m going to do several Z passes on the top, the bit will be a bit higher up than the follower at first. In the last pass, they should be at the same height.
Using a roughing end mill will give us optimal results in a shorter time. I’m used to sanding this kind of guitars without deforming the top, but if you’re not an expert you can use a curved bit for the last 2 or 3mm, achieving a smoother top that will barely need any sanding.
As with the 2D follower, I prefer sanding from the rear. I can focus more on the template and it’s less dangerous.
I position the 2D template again to mill the binding. If everything’s correct, swapping templates shouldn’t be a problem. If that’s not the case, you could damage the guitar’s body if the bit goes too deep at any point along the contour of the body.
Finally, I’m going to attach the drum sanding drum and sand the contour of the guitar’s body. It’s quite convenient for these kinds of jobs because it can reach all the sharp bends that a belt sander can’t.


One thing that would help with the 3D routing is to make the follower the same size and shape as the end of the bit you are using instead of the acorn nut that way you don’t have overlapping lines that cut into each other. Great.
Yep, that is a better solution. I did that mod long time ago. Thanks for the tip!
You can save yourself a lot of time and tons of work by hogging out the cavities roughly to size and depth with a Forstner Bit then clean it up with the router. Saves time not to mention wear and tear on the router and bits.
you’re right Lou, thanks for your tip