In this article I’m going to show you how to modify an affordable adjustable router template made with an aluminum profile. Jigs made by these well-known brands have broader profiles, but they’re quite expensive. This modification will allow us to save money and get more out of our router.
This is the old jig I’ve been using up to this point. These kinds of jigs are meant for interior square or rectangular milling.
In this case, its biggest problem is the fact that it has a very small support surface for the base of the router, only about 30mm, and this could make it tilt very easily while we’re milling. This issue, besides not allowing us to mill straight, can make the bit scrape against the aluminum profile.
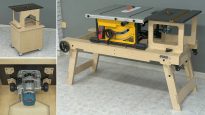
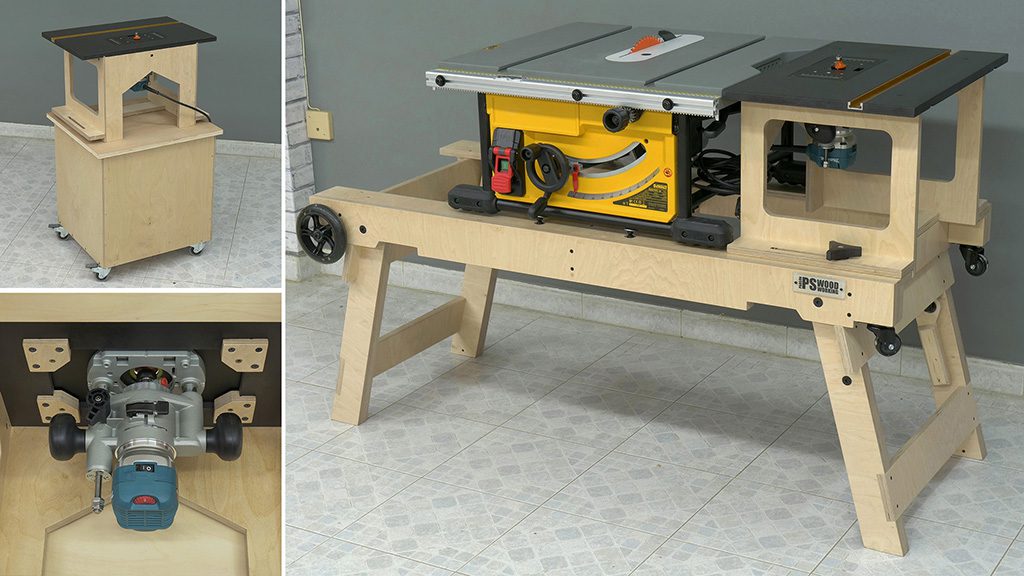
I used it a few years ago to install the router table insert on the woodworking workbench with a table saw & router table. Here you can see what the jig looked like after doing this project.
How to use an Adjustable Router Template with a Guide Bushing
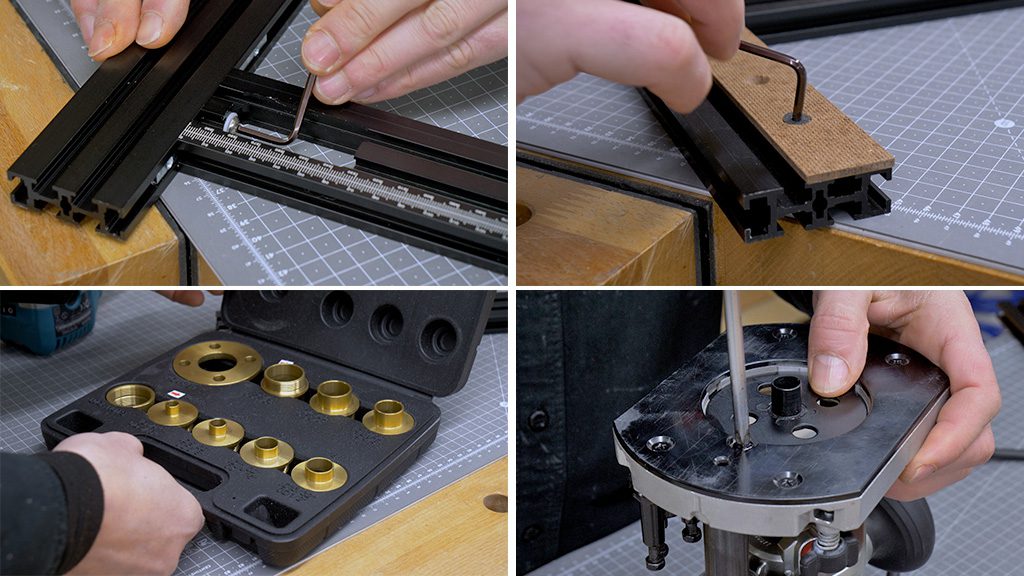
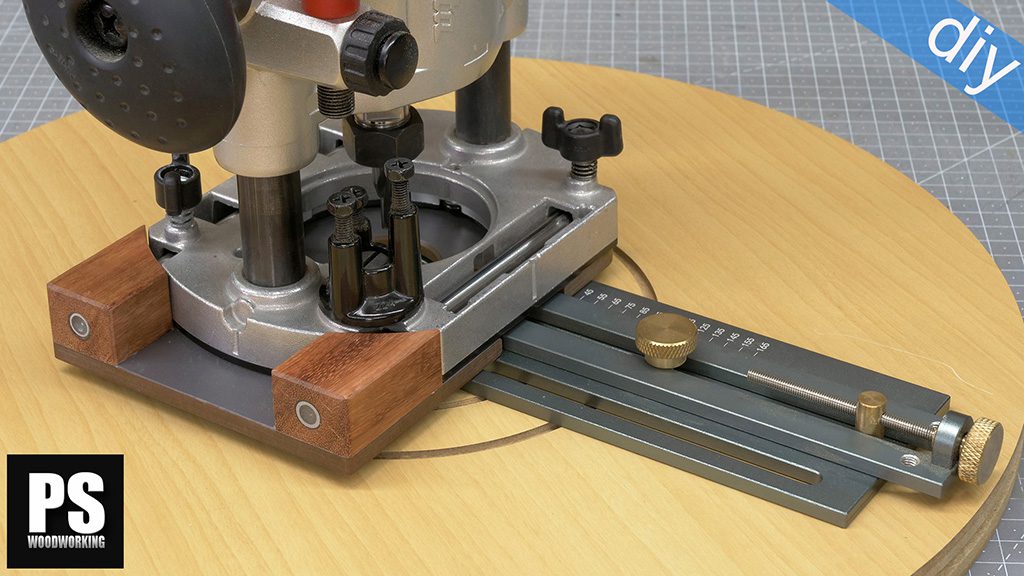
This is the aluminum jig I’m going to modify to avoid this issue. Setting it up is this easy. In the second you can see the strips I installed to achieve a greater support surface when milling.
I’m going to detach the hardboard strips to show you in detail the issue I mention that these jigs often have. As you can see, removing the hardboard strips is very easy and quick.
Now, in order to use it with our router, we must fasten a guide bushing to the plunge base. On the market you’ll find briefcases with guide bushings of different sizes. On this occasion, I’m going to use the bushing that came with this router.
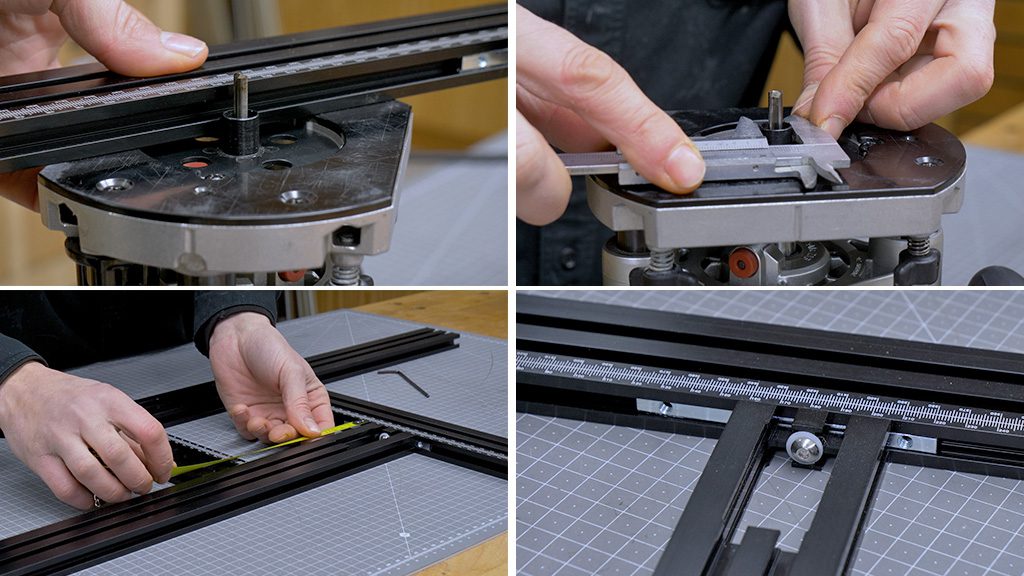
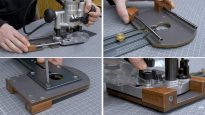
The idea is simple—the bushing has to have the adjustable template’s aluminum profile as a stop. To set the size of the milling, we have to work out the difference between the bit’s diameter and the diameter of the bushing we’re going to use.
In this case, I’m going to use a 6mm bit and a 12mm bushing, so I have to add 6mm to the size of the milling I want to do. I’m going to try to mill a 150x150mm square, so I have to set the template at 156x156mm.
Now I only have to position the template on top of the workpiece and hold it. Sometimes, these templates come with a stop that’s the same thickness as the template to stop the router from tilting while we’re milling, but I don’t think it’s indispensable that we use it.
That’s how easy it is to use these kinds of templates like this. I check the size of the milling and it seems everything went as planned.
How to use an Adjustable Router Template with a Flush Trim Bit
Now I’m going to remove the bushing to show you the kind of milling I’m more used to doing with this kind of template, and why I decided to modify it to adapt it to my needs.
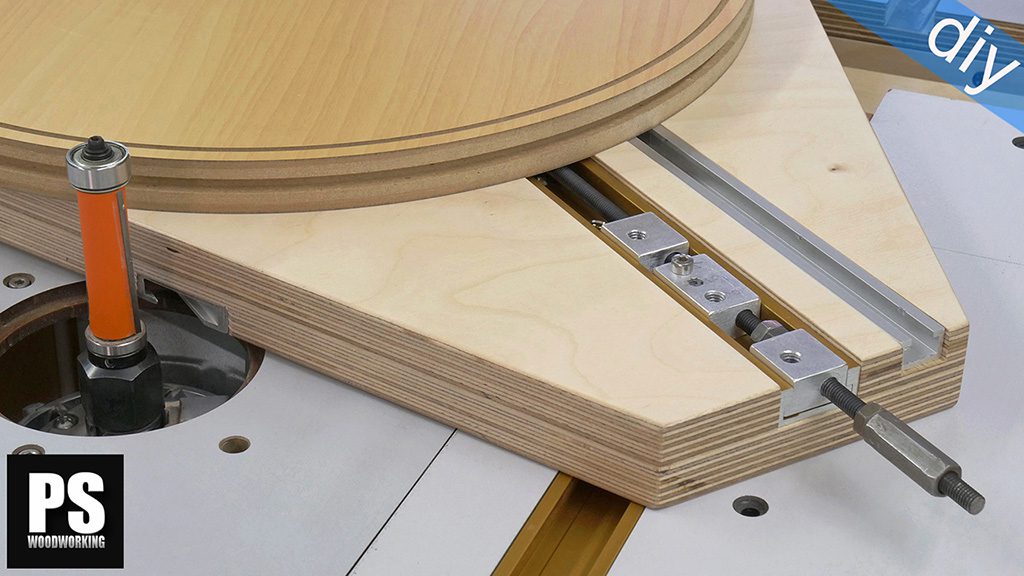
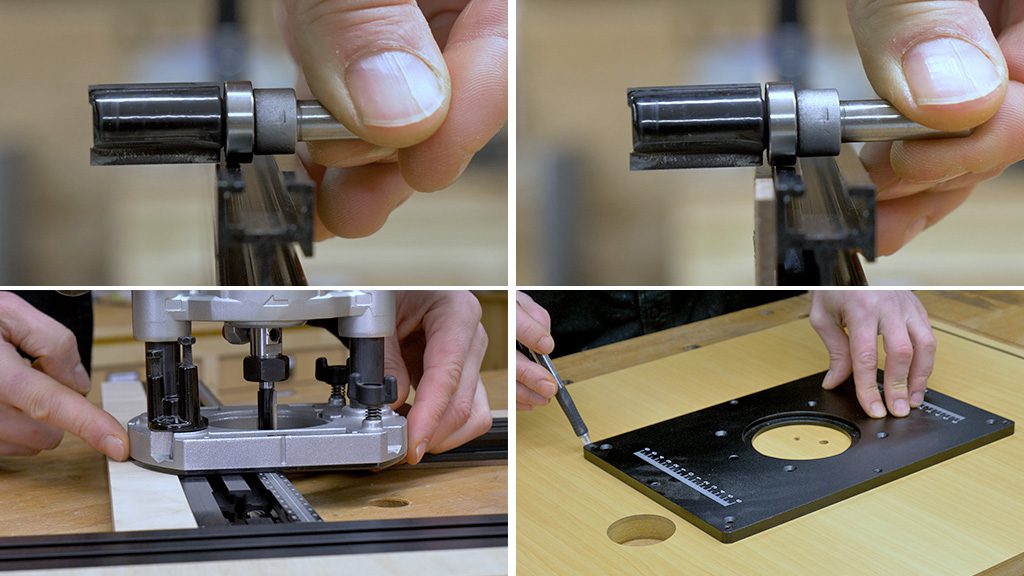
It’s a through milling to install insert plates for router tables. To do this, I have to use a flush trim bit. It has a bearing that does the same job as the bushing I used a moment ago—move along the aluminum profile of the template.
In the first and second photo we’re going to see it more clearly. The bearing and the cutting edge of the bit are only one or two millimeters apart. If the router tilts a little, the bit could easily scrape against the aluminum profile and ruin it, which is what happened on the occasion I mentioned a moment ago.
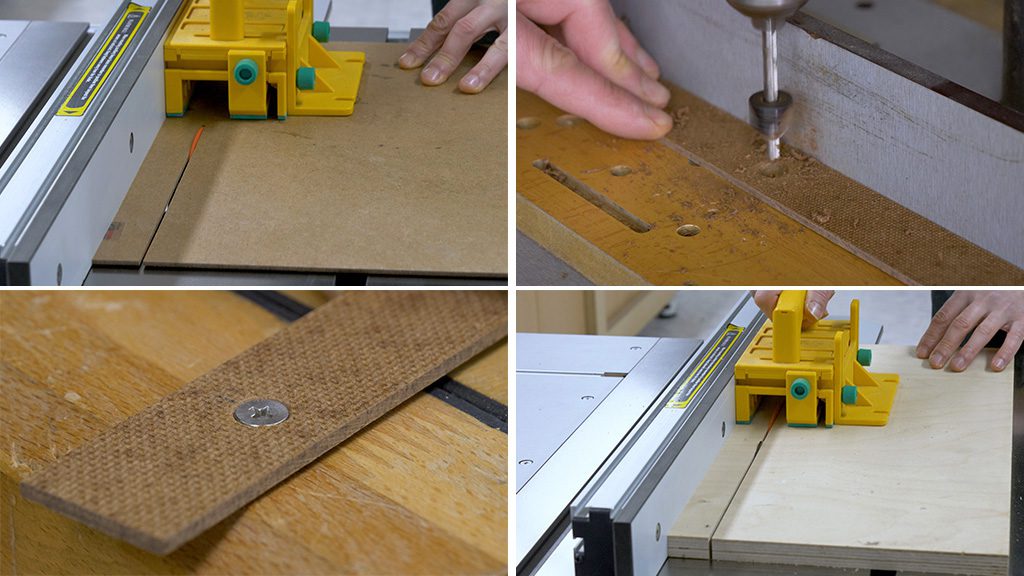
By placing some 3mm thick hardboard strips between the template and the workpiece, I believe I’m going to avoid this problem. In these other images, you can see the difference between having a small 3mm margin between the jig and the piece you’re going to mill, and not having that margin, which I’ve achieved by installing the hardboard strips.
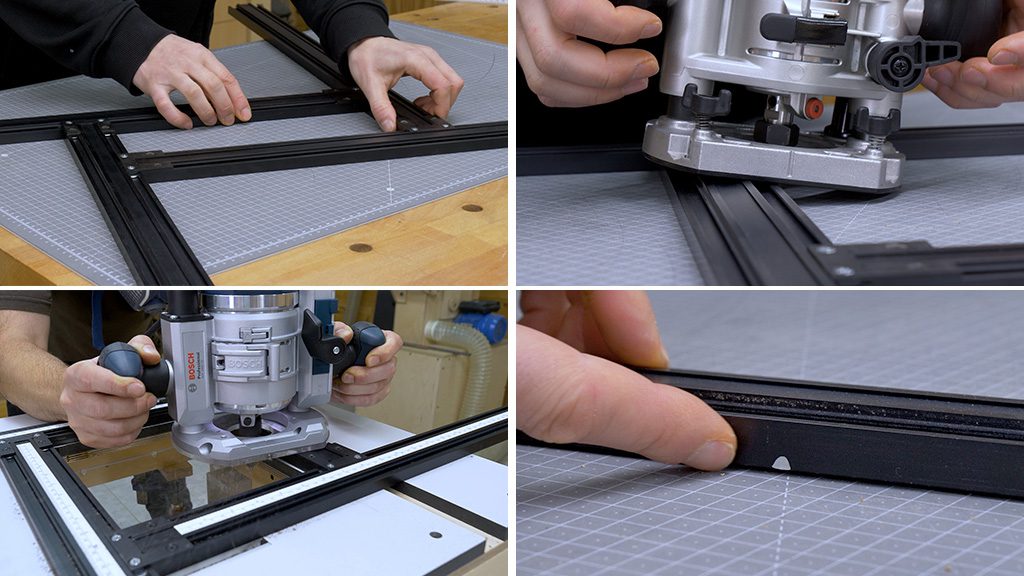
Also, I made some other plywood strips to achieve a bigger work surface for the base of the router on the template. Thanks to this modification, the jig has gone from having 50mm width to 80mm width.
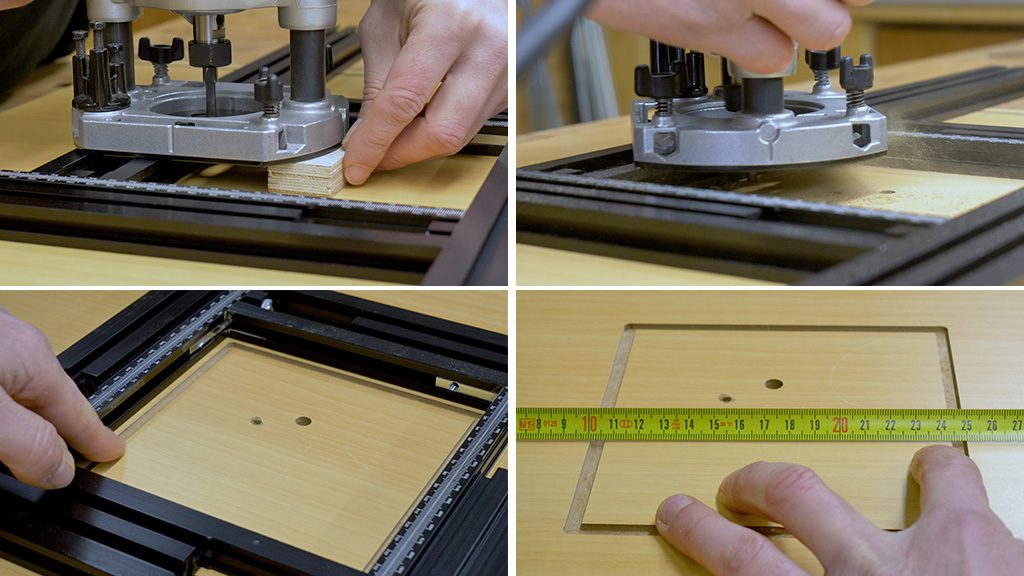
I’m going to show you the process of using the template like this. First, I have to position and mark the insert on the board.
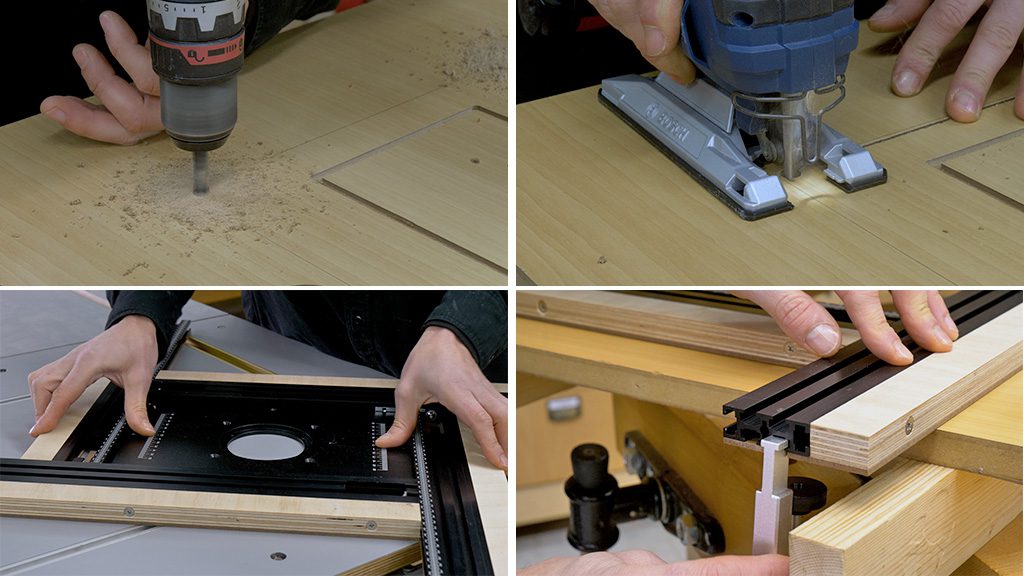
Now, I drill four holes, one in each corner, so that I can insert the jigsaw blade. I cut with the jigsaw around 3mm further in than the line I made earlier. Now, I use the insert itself to set the adjustable template and position it on the board. To hold it, I’ll use the clamps that came with this template.
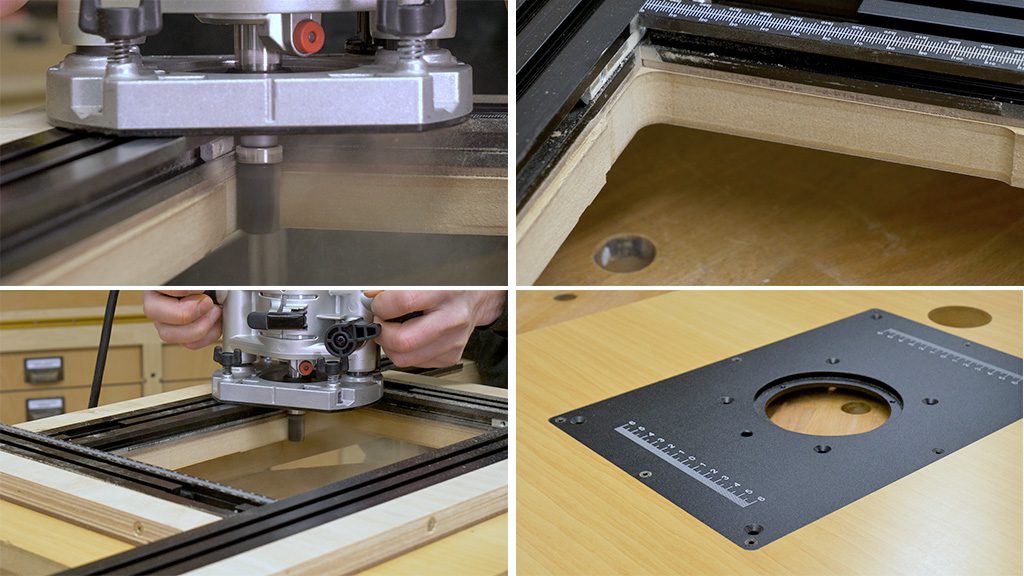
If all goes well, the bit should leave a gap exactly the same size as the insert plate. Remember to move the router in the right direction, by moving the cutting edge against the material we’re milling. All that’s left now is to ensure everything is correct by placing the insert, and it seems that it is!
I also used this system to make the router for my latests folding woodworking workstation. That time I damaged the aluminum template again, and it was then that I decided that I had to solve that issue.
How to improve a cheap adjustable router jig and turn it into a professional tool
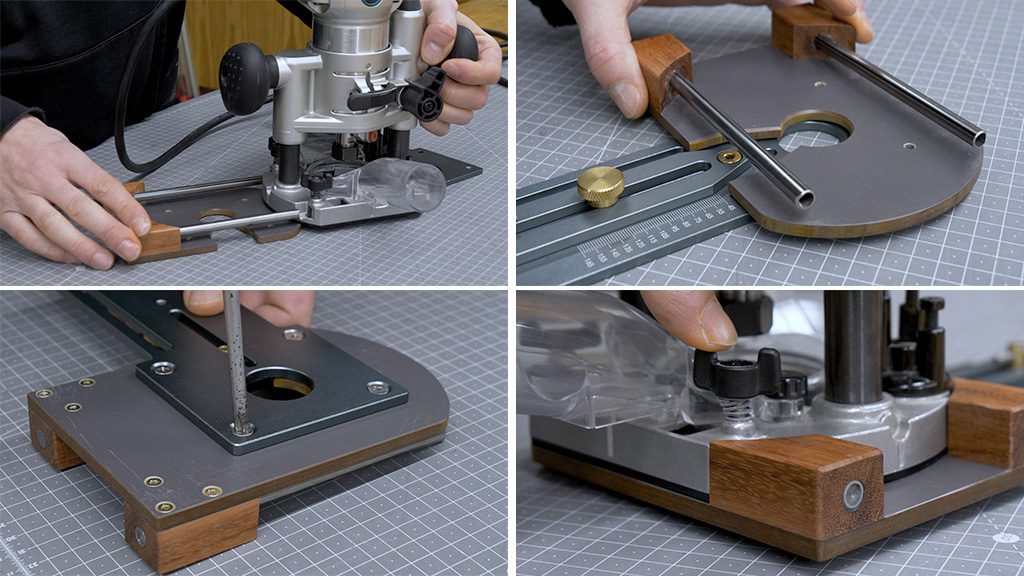
Now I’m going to show you the steps to improve this aluminum jig. First, I have to cut the eight hardboard pieces to size with my DIY table saw.
I’m going to mark the position of the countersunk holes needed to hold the first four pieces to the aluminum profile. I make sure the head of the screw is inserted partway into the board.
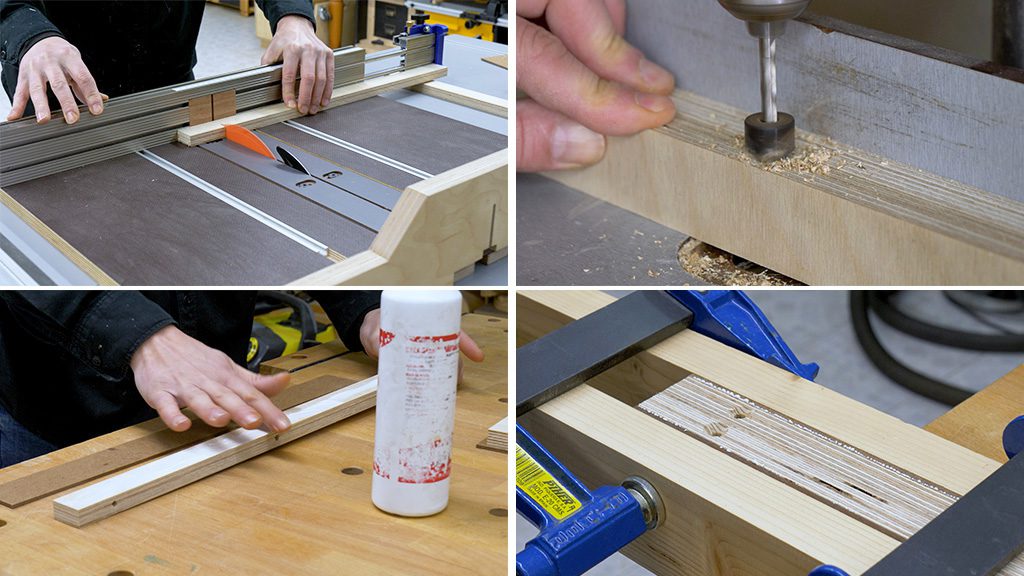
I’m going to cut the four birch plywood pieces to size. After marking the position of the three countersunk holes, I drill them with the column drill.
It’s time to glue on the four hardboard pieces to the four plywood pieces, leaving the countersunk part of the holes facing outward. It’s important to wipe off the excess glue.