In this new article I’m going to try to cut a round cutting board with end grain without the need to drill the board to cut the circle.
Incremental Circle Jig Plans
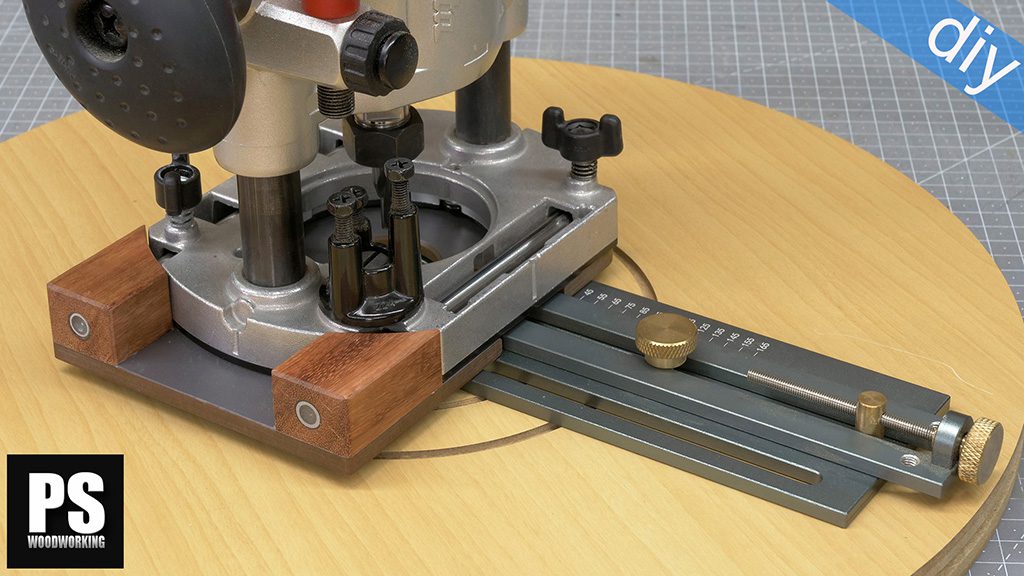
How to use a no hole DIY circle cutting jig??
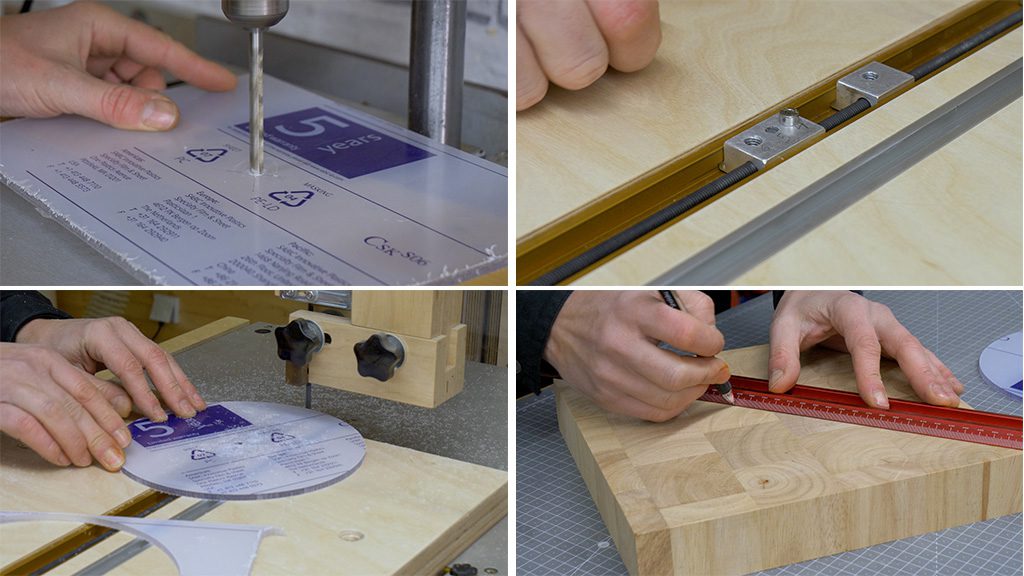
To do this, I’m going to use a piece of acrylic and drill a hole with the same diameter as the head of the bolt I will use as rotation axis.
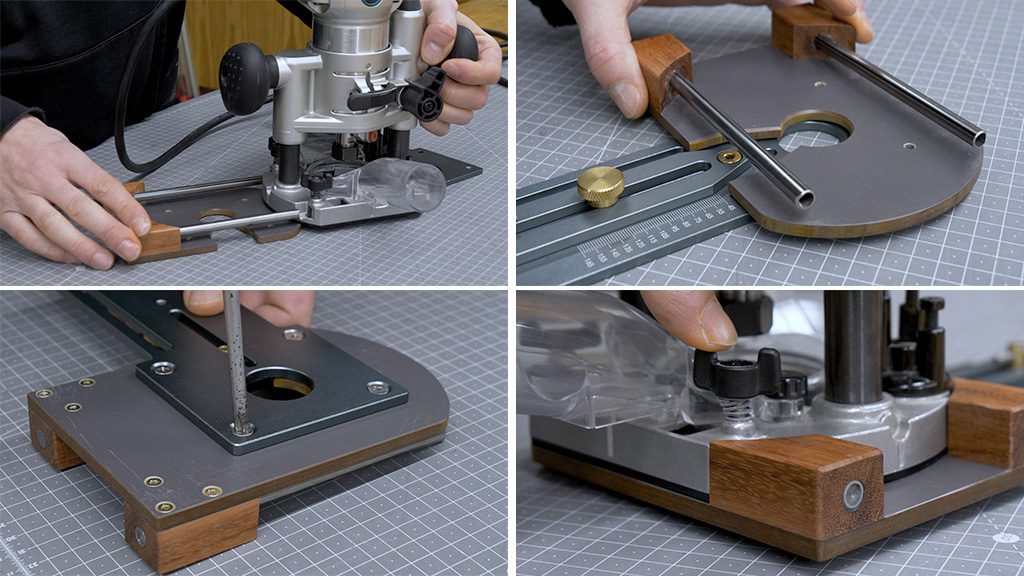
Now I’ll use the jig itself and the bandsaw to shape the acrylic into a circle. I’m going to replace the bolt I’ll use as rotation axis with a shorter head. The head cannot jut out from the acrylic itself or the piece we will use as a base. I have to adjust the jig to the desired radius and make the cut.
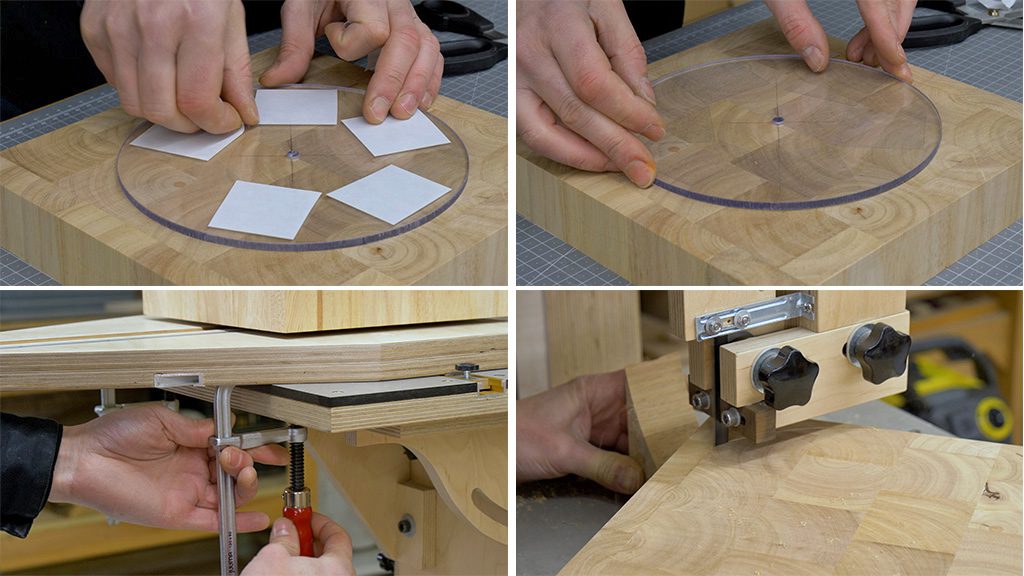
I’m going to mark the center of the kitchen table and use this mark as a reference to stick the acrylic on with double-sided tape. The last step is to adjust the jig again with the desired cutting radius, adjust the T-stop slot and make the cut.
When trying to cut the table I realized that with such a small blade I won’t be able to cut wood this thick, so I swapped the blade with a larger one. Still, it’s difficult for the saw to cut a circle in a 45mm thick workpiece with end grain and with a relatively small radius, but little by little, I get it done.
I think the best thing to do in these cases is to mark the circle on the board and cut by hand, without using the jig.
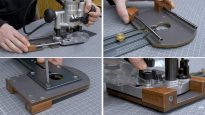
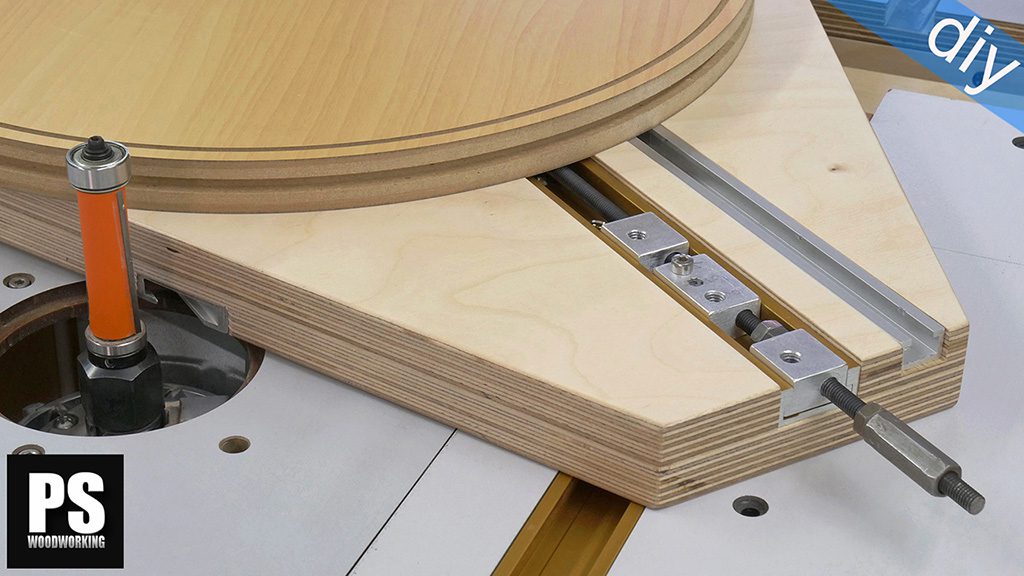
How to use the DIY no hole circle jig on a router table?
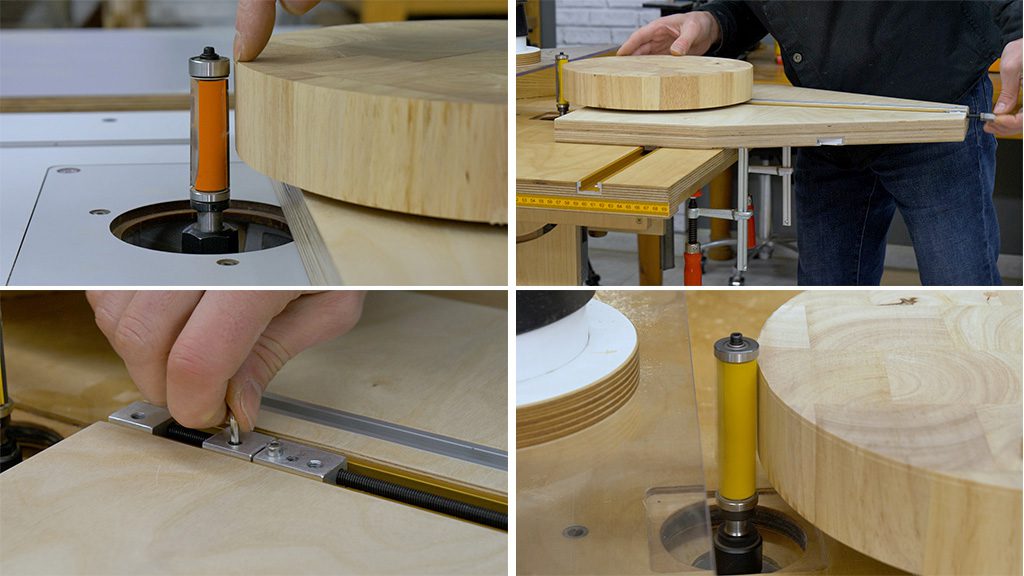
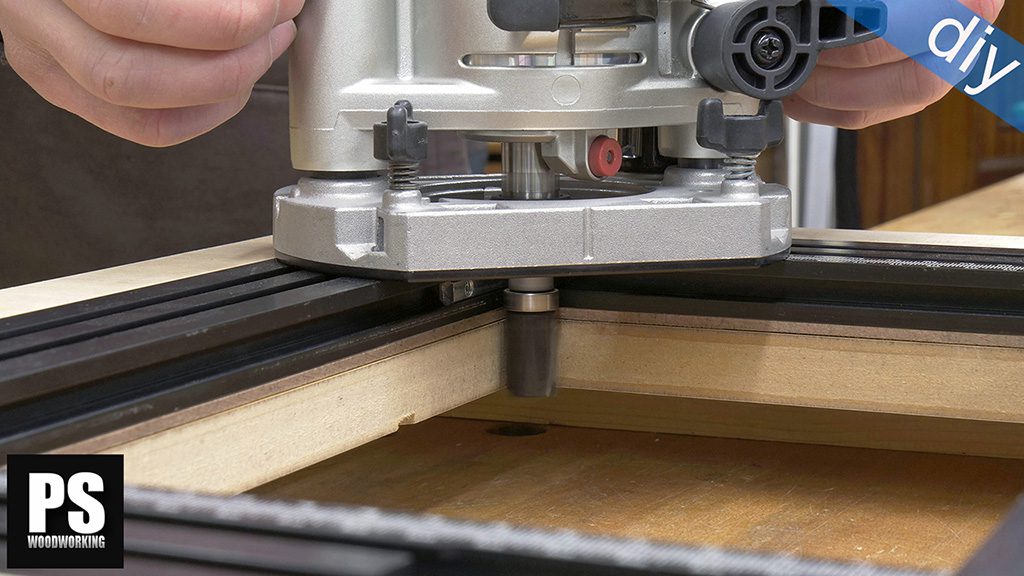
It’s time to finish the job with the router table, but I’ve encountered a new issue. With the router in its highest position, I can’t mill a piece this thick.
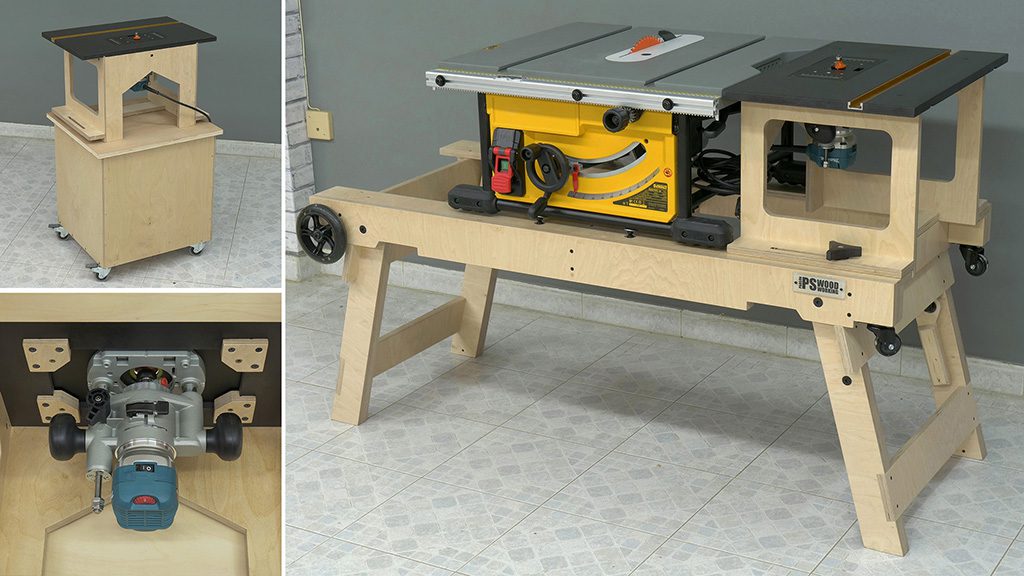
At some point I should make a new lift system for this Mobile Workbench that would let me lift the router by about 30mm more, but today I’ll have to make do and use the Portable Workshop’s router table.
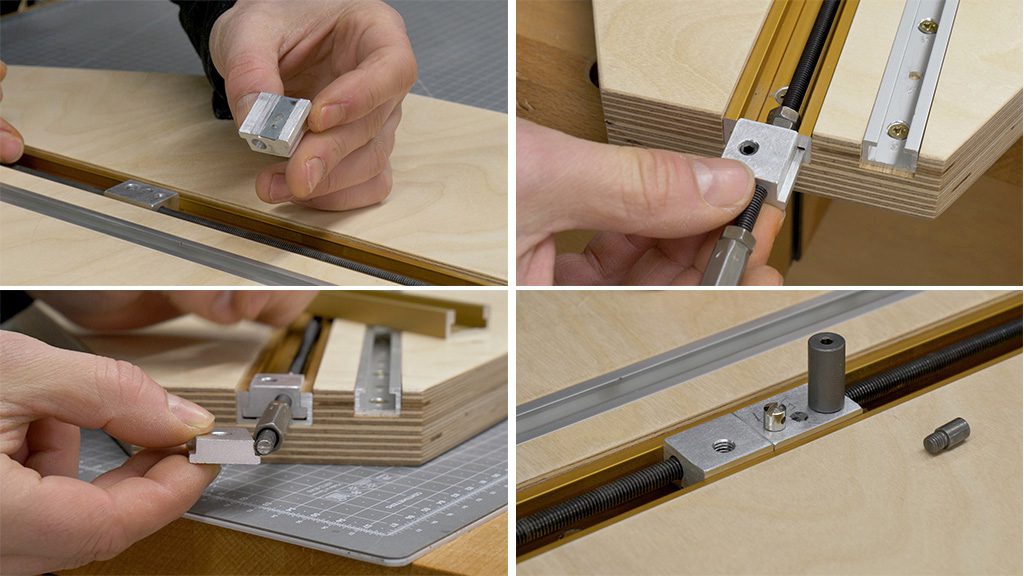
The first step is to move the board till it touches the router bit. Remove the board and place the T-stop about 1mm away from where the T-slot slider is. Now I turn the rod to move the slider back a few millimeters and place the board again. Finally, all I have to do is turn the threaded rod in the opposite direction until the T-slider touches the T-stop again.
The cutting is smooth but this bit is damaged and leaves some marks on the edge of the board. I adjust the T-stop again to more or less 1mm away from the slider and repeat the same steps.
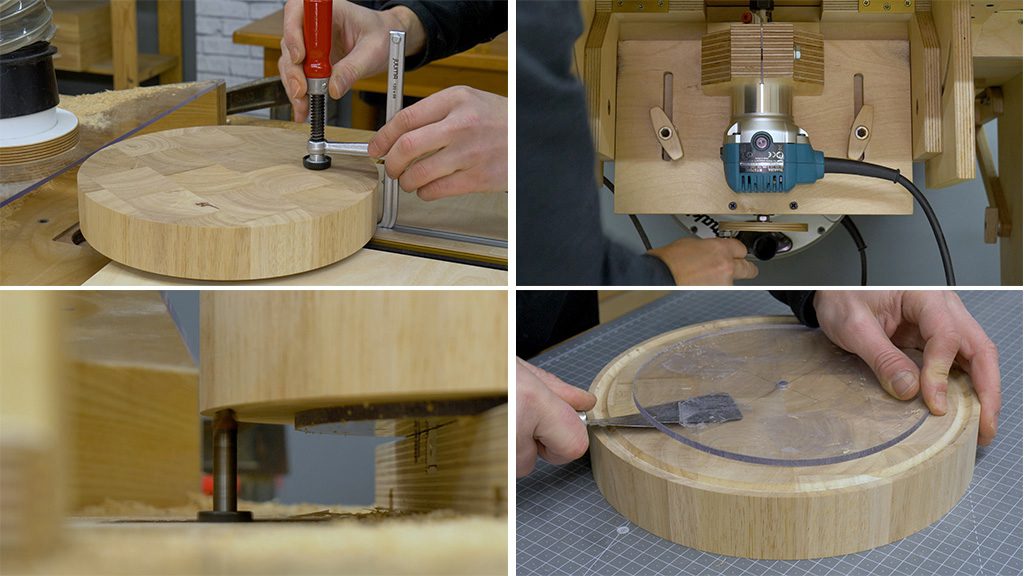
Now, with a round nose bit, I’ll try to mill a groove to hold juice when I’m using this cutting table. This time I’ll use a clamp to hold the table while I lift the router. I think I’ve achieved a decent result, but I’d like to make this groove a little deeper, so I’ll do the steps once again.
All that’s left to do is unstick the acrylic, sand the board and apply some pure linseed oil. I’m also going to screw on a couple of handles so that I can grab this table more easily.
As you have seen, it’s quite easy to make circular pieces with this jig without the need to drill the workpiece itself. Using a base that’s stuck to the workpiece where you need to cut a circle.

I’m planning to make 2 or 3 more acrylic pieces with different radiuses so that I can cut circles of any diameter in the same way. This jig will be perfect to do projects like this cutting table safely and accurately. Here you will find the first article in this series.