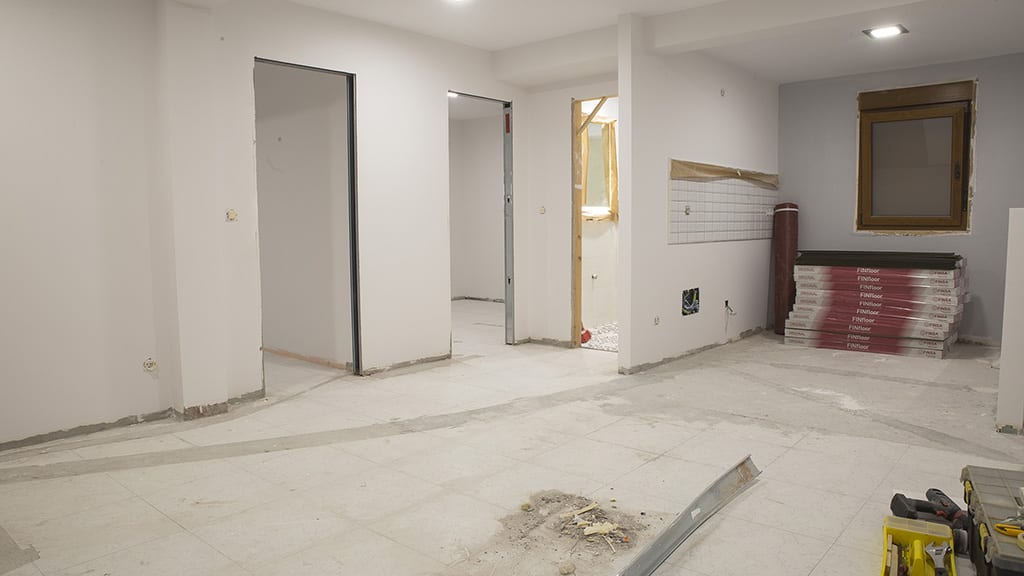
In this second part of the apartment renovation, I will show you how to install the interior doors. I need two pocket doors and a hinged door, in this article I will show how to install the prehung door for the bathroom. If you are also interested in seeing how I installed the pocket doors, take a look at this other article.
As I said, I’ll start with the hinged bathroom door. I’ve bought a white lacquered prehung door, easy to find in any DIY store. This kind of prehung door is easier to install and already has its hinges fitted and comes with jambs cut to size.
As always, there are many ways to install doors, and I’ll keep it as simple as possible.
First we have to make sure the door frames are level and straight, especially on the side where the hinges will go. If that’s not the case, we must plane them until they’re properly levelled and straight.
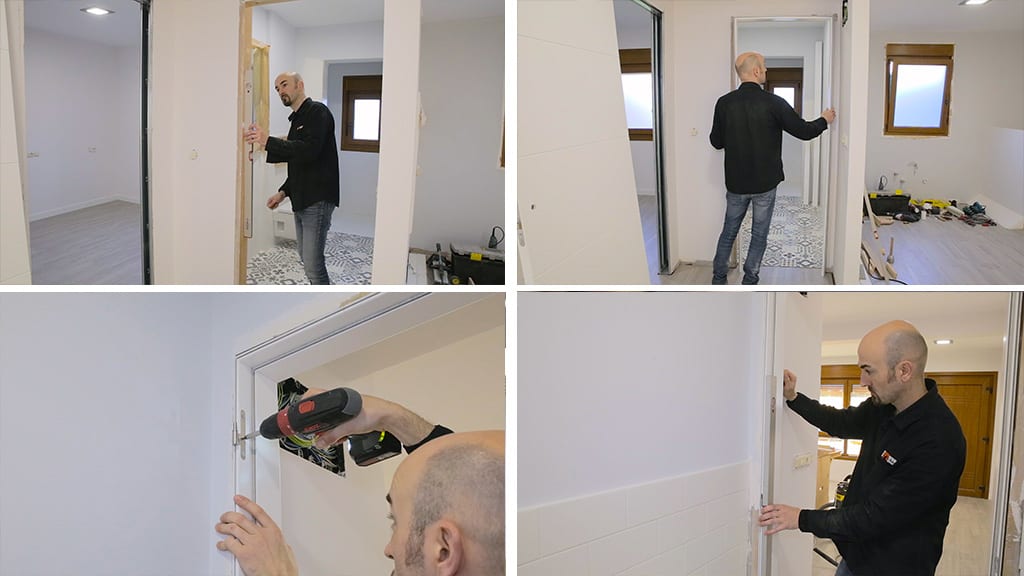
Now I’ve detached the jamb and put it in its emplacement. I center it on the doorframe and screw it in using the middle hole of the upper hinge, then I make sure it’s straight and plumb and finish fastening it, using the middle holes of the other two hinges.
I hang the door on the hinges to see if the door and the jamb are parallel, and since they are, I can apply some anchoring adhesive and repeat the same steps. Now I’ll check the other side of the jamb. I’ll use wood wedges to lock it in place(third photo).
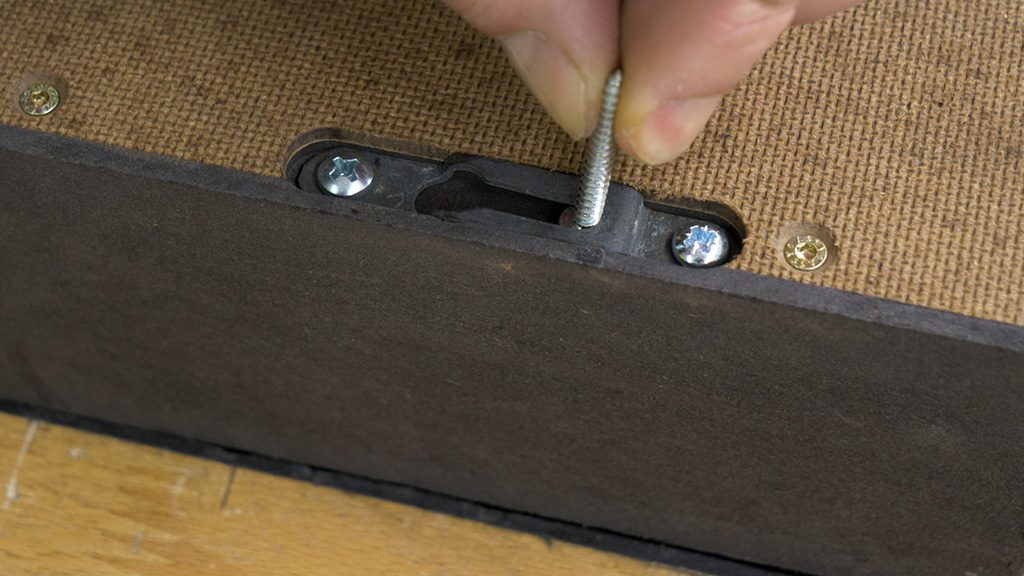
Before moving on, I’ll install the handles and the door’s closing mechanism. I have to find where to drill holes on the door to install the lock because these prehung doors don’t usually ship with one(fourth photo).
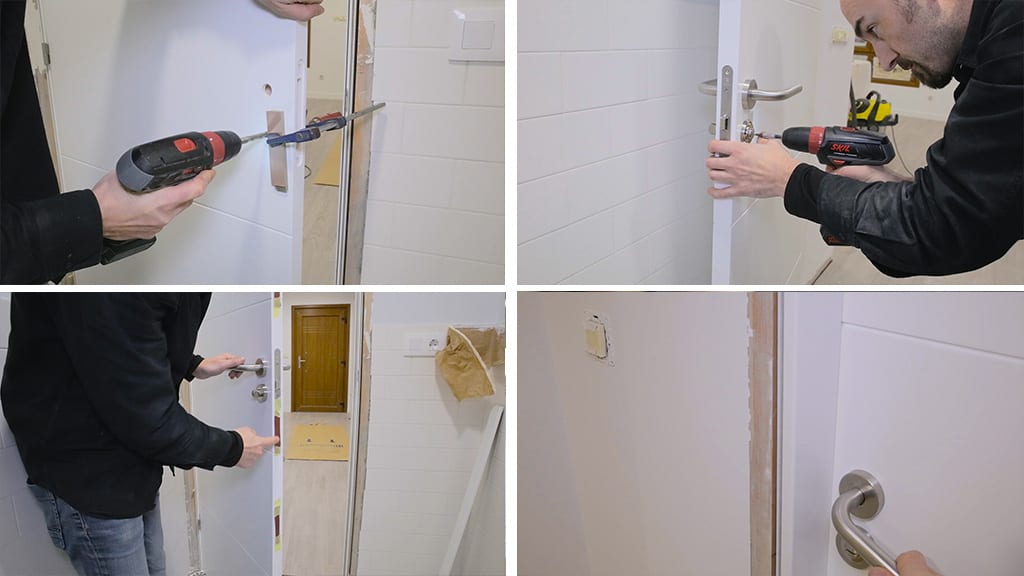
I drill the hole carefully and reassemble the entire mechanism. I’ll use long screws to fasten the handles together. Finally, I put the locking mechanism in place with screws and attach its steel covers(second photo).
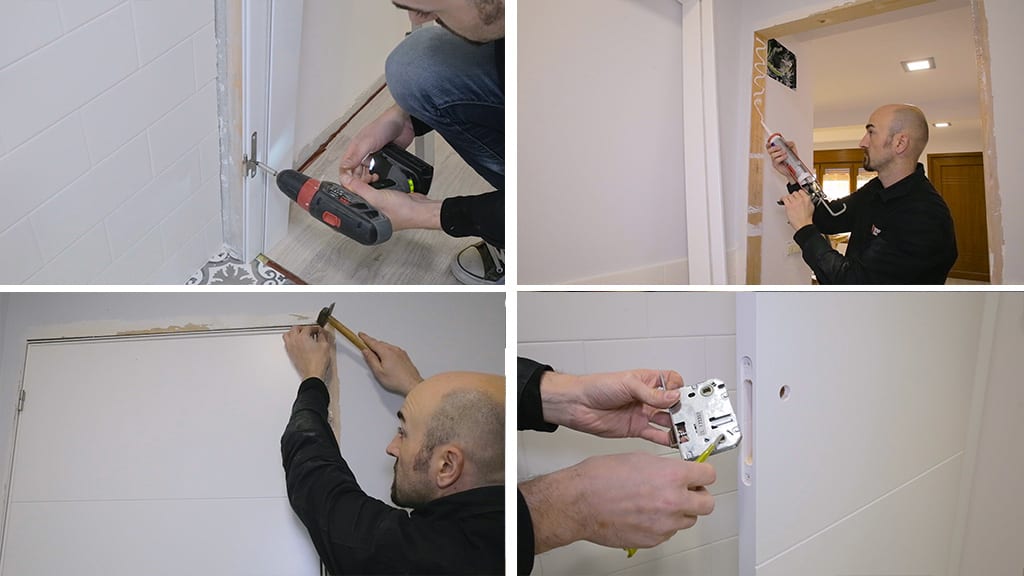
It’s time to lock the other end onto the door frame. Since there’s quite a large gap between the jamb and the frame, I’ll use polyurethane foam. It will expand, filling in the whole gap and providing a firm bond.
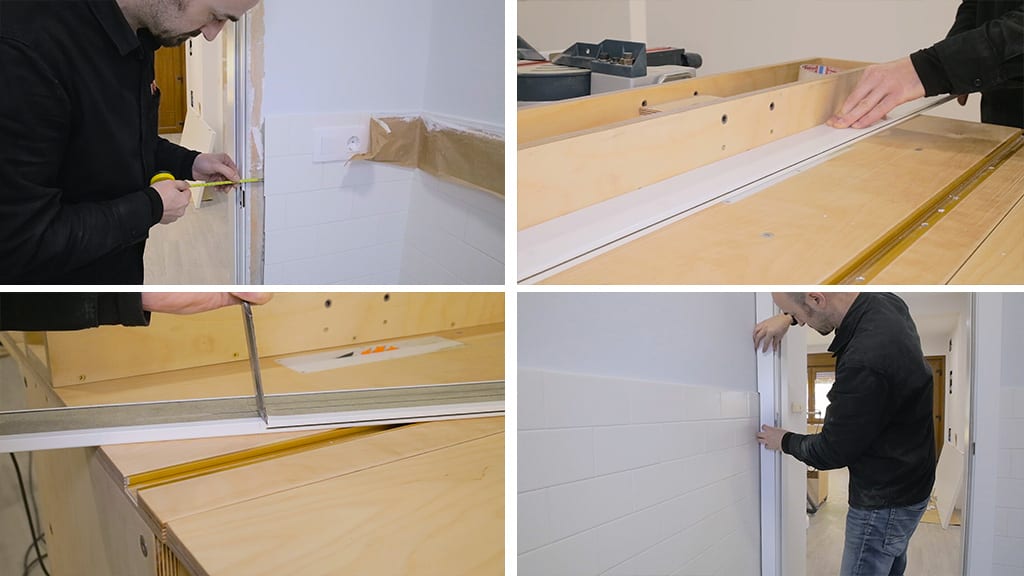
I usually rely on this method. I glue some strips with the same thickness as the desired gap between the door and the jamb, in this case, it’s leftover bits of the underlayment I used when laying the laminate flooring, about 2mm thick. This way I won’t lose the necessary clearance between the door and the jamb after the polyurethane foam expands(third photo).
On the outside, we must ensure that the door can be closed, and that it touches the entire length of the jamb so that it can be locked tightly(fourth photo).

Now we can fill the gap with foam, making sure we don’t get any on the door. After one or two hours, I can cut off the left over foam. Now all that’s left is to fit the casings. I’ll start with the ones on the outside. As you can see, this model has some grooves that fit into the door frame itself, making the installation much easier.
I cut the end of the casing that touches the floor and mark its length by placing the upper casing. I have to plane the one on the other side because there is not enough clearance, and also to adapt it to the wall, then I apply some anchoring adhesive and glue them to the frame.
On the other side, inside the bathroom, it gets more complicated. There is tile that goes halfway up the wall, so now I have to make some recesses on the casing. I’ll use my Portable Workshop, which is very handy when it comes to this kind of machining.
I also have to machine and adjust the casing on the other end(fourth photo). Finally, I put in the rubber strips for a better closing and to dampen noise.


A very well demonstrated way of fitting door & trims. The final outcome could not be bettered. On another note, have a wonderful festive season amongst family & friends; you’ve more than earned it. Kind regards.
thanks mate!