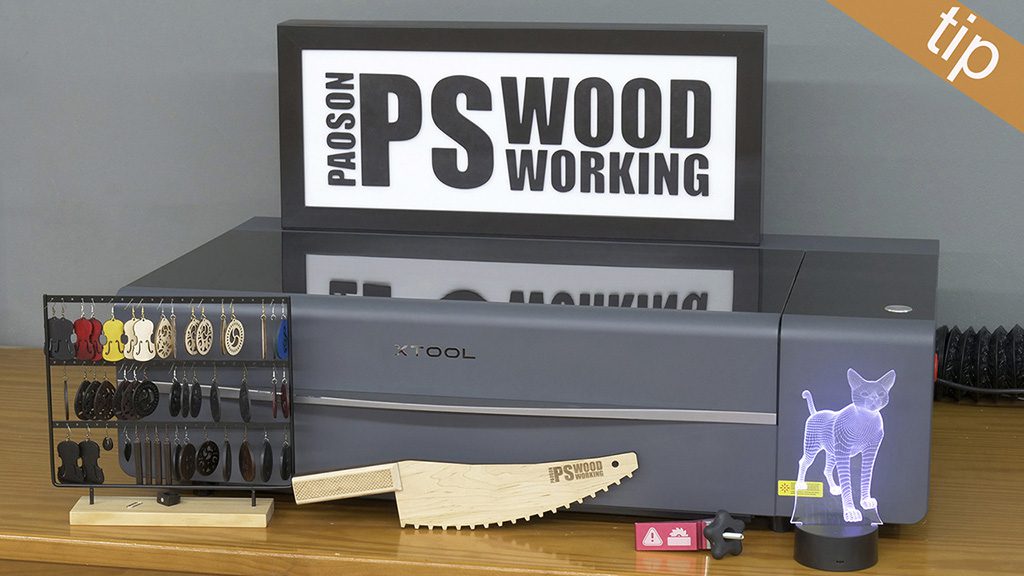
In this article I will show you how to make several kinds of earrings from my own designs. I will be using my new xTool P2 laser, but the plans include printable templates to stick on the board, so you can make the cuts with a scroll saw or even a CNC.

xTool P2 CO2 Laser – Affiliate Link (Europe)
xTool P2 CO2 Laser – Affiliate Link (USA)
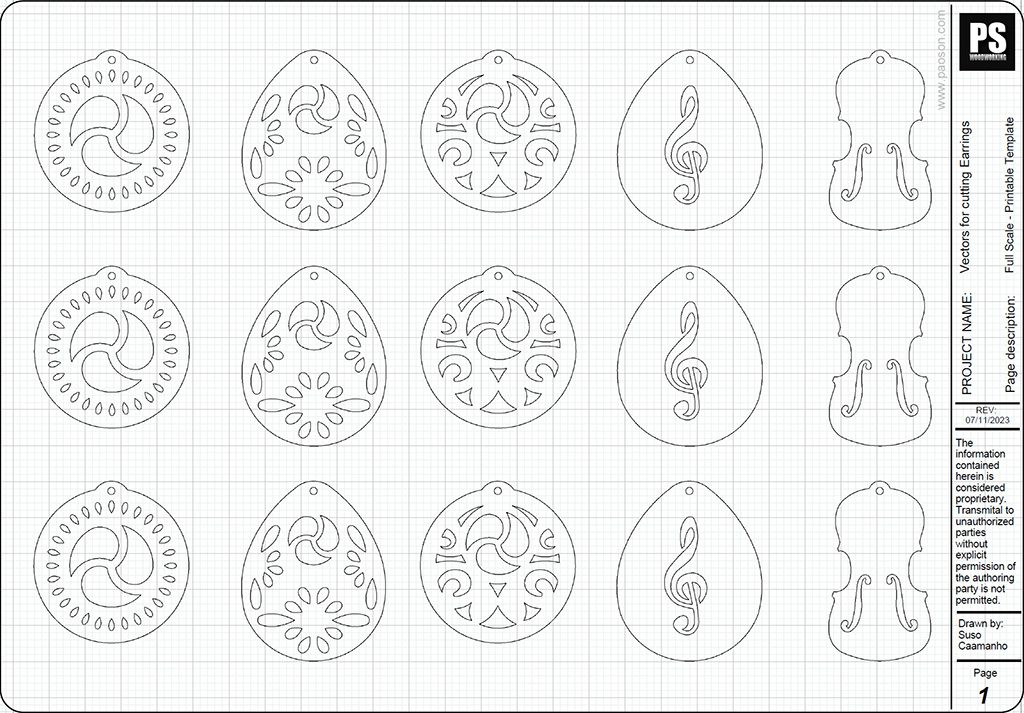

If you are interested in making these earrings on your laser or CNC, you can download the files for free from my website. I’ll leave a link in the button below.
Free vectors for laser cutting earrings
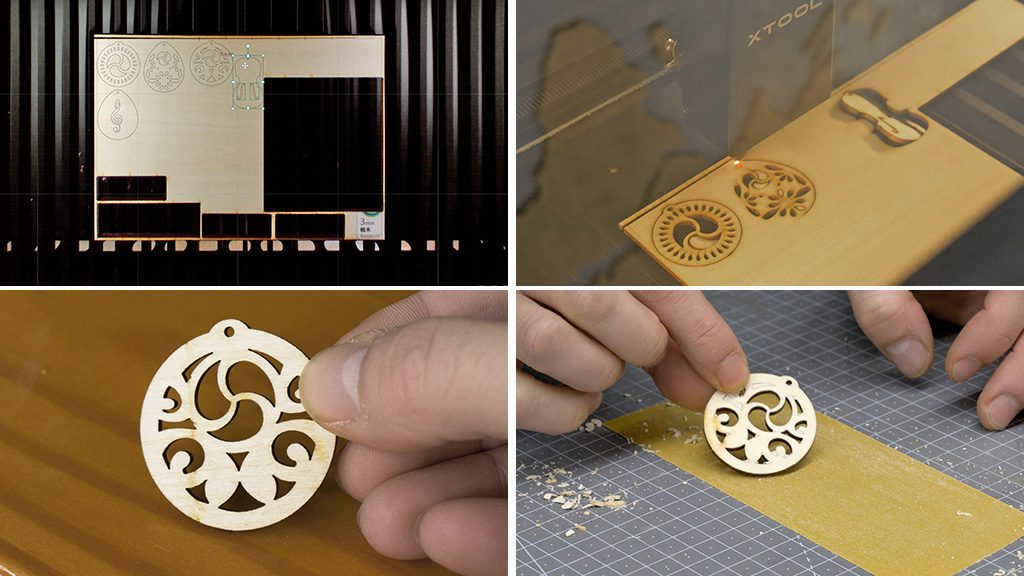

The first step is to put the plywood on the laser grid. I open the program and press the camera button to take a picture of the piece. This laser has two cameras: one is long range and the other one is short range, right next to the laser head.
Now I import the vectors for the earrings and place them over the picture of the workpiece. I’ve created two layers, the first one is for the interior cuts and the second one is for the exterior. I’ll use the default cutting settings for different materials that come with the program. Here we can see how easy it is for this laser to cut through 3mm of plywood at full speed.
I was also surprised by how well the smoke extraction system works. The cuts are perfect and the laser barely burns the wood. We only need to sand down both surfaces a little to remove the marks in the areas that got a little burnt.
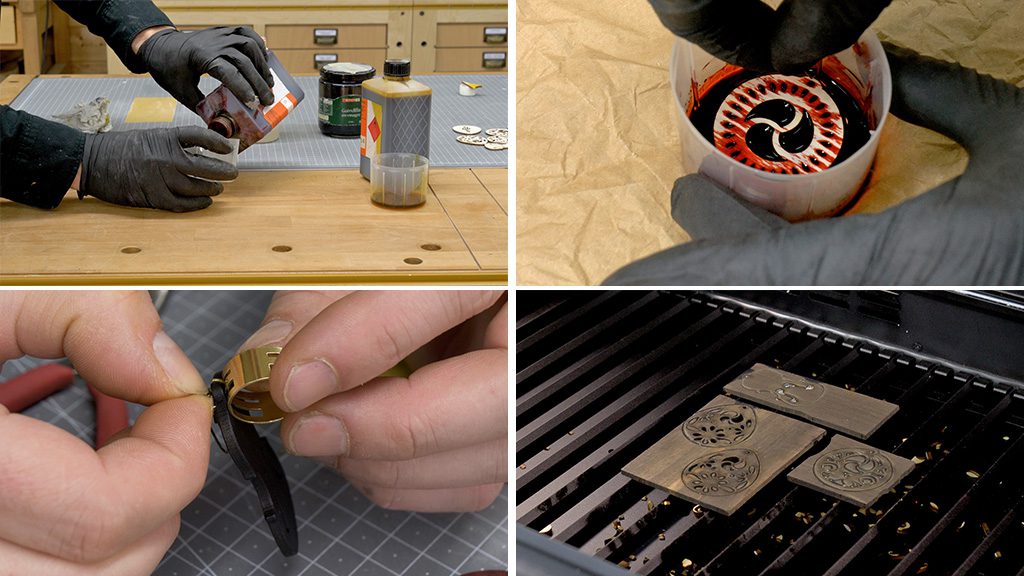

I’m going to color some of the earrings. The lighter wood on the outer surfaces of the plywood is perfect for this. I’ll use black, red, blue and yellow dyes, diluted in a little alcohol. After coloring them, I coated them with a spray varnish. Now all that’s left to finish these earrings is to attach the hooks.
I’d be interested to see if this laser can cut through hardwood, and I’m going to use this leftover wood from making guitars. First I’m going to cut some ebony pieces. Ebony is one of the hardest kinds of wood, so I’m going to set the power almost to the maximum, advance about 15mm and try to make the cut in three passes. I’ll also use rosewood.
The laser burned some parts of the ebony, but, overall, I’m very impressed with the results. It cut through the rosewood without any issues. In this case, after sanding it down, I apply some beeswax.


Here we can see the end result. I like the look of the plain soft plywood. I also like the red and black earrings, but I’m not so keen on the blue and yellow ones.
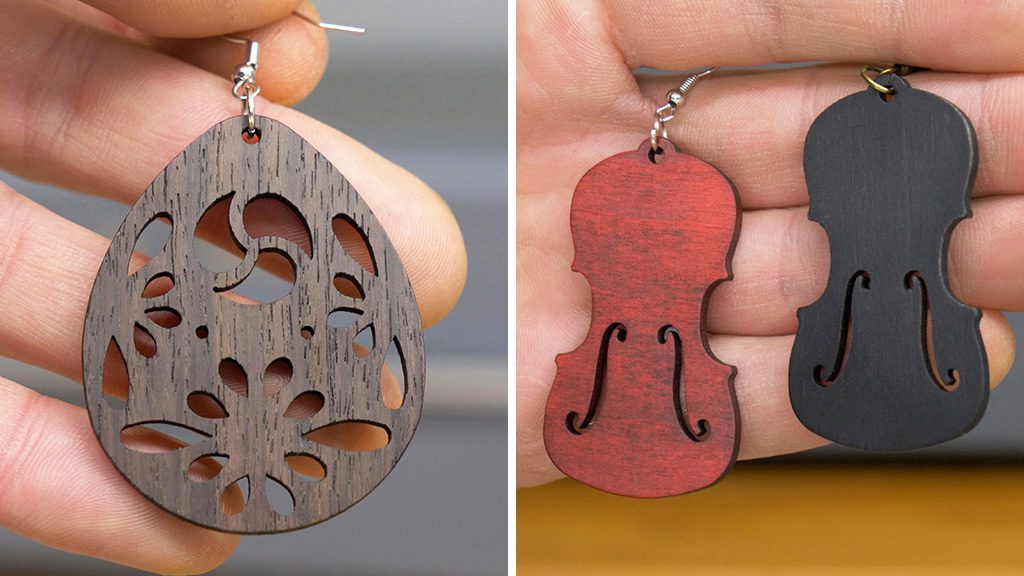
Now I’d like to show you one of the earrings made with ebony and a black-tinted one, to see if you can tell which is which (second photo). Even when I’m right in front of them it’s not so easy. Which one do you think is the ebony one? Leave a comment. In this case, I don’t think the ebony is worth buying. It’s very expensive and you can get them to look perfect with a black dye.
Rosewood is a different story (third photo). It has beautiful grain and more nuanced coloring, almost impossible to achieve with dyes.
Another detail I’d like to mention is how easy it is for the laser to cut small pieces and closed angles. I’ve achieved a lot more definition in the cuts compared to the earrings I made years ago with my homemade CNC (forth photo). Besides, because I had to use router bits that were very small in diameter, they broke easily. To make this kind of jewelry, it’s best to use this type of laser.
