In this article I’ll show you how to use the automatic conveyor feeder which I’ve installed on my new xTool P2 laser. After a few days testing it, I can say that personally it’s a very interesting accessory which lets you get the most from this laser.
xTool P2 CO2 Laser – Affiliate Link (Europe)
xTool P2 CO2 Laser – Affiliate Link (USA)
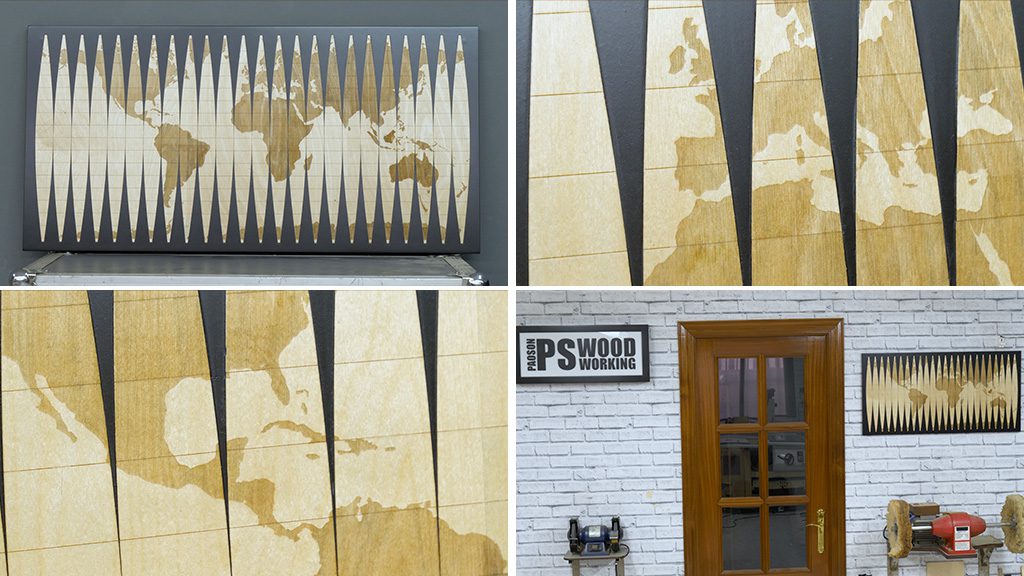
I’ve thought about doing a project where I can test out the accuracy of the engraving and the cutting speed when using this automatic conveyor feeder, and finally I decided to make a relatively big picture with a projection of our planet. I’ve seen it many times in museums, but I’ve never found one available for purchase.
I used a black-tinted MDF base, where I’ve glued on the 24 gores of this projection, cut from 0.6 mm thick birch veneer. I have to say I love the end result and the combination of the birch gores on a black board.
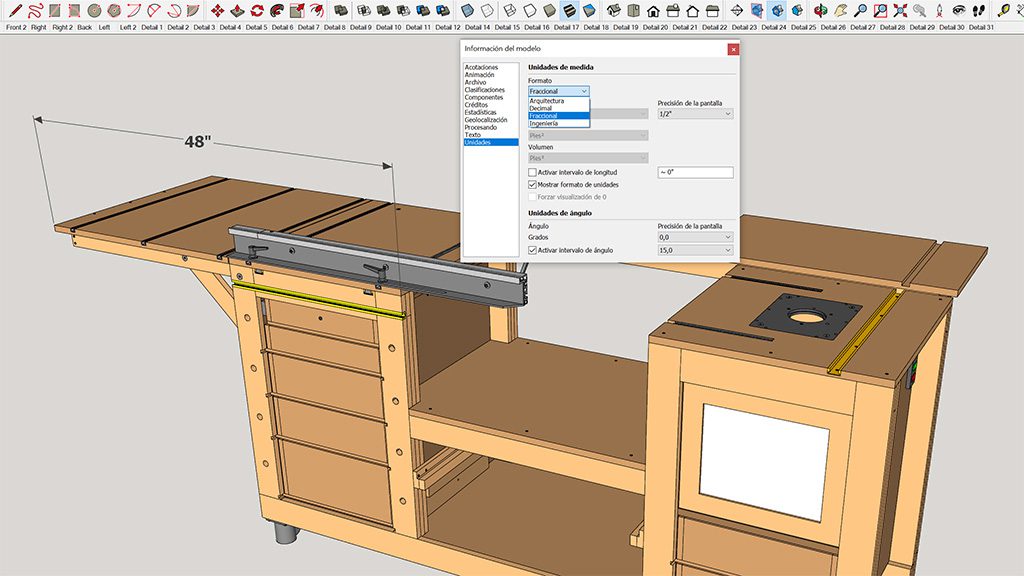
If you’re interested in doing this project, you’ll find a link in the button below these lines where you can download the vectors for cutting for free from my website. If you don’t have a laser, the plans also include a printable template that you can stick to the board so that you can make the cuts by hand. It’s also possible to scale the projection to any size you need.
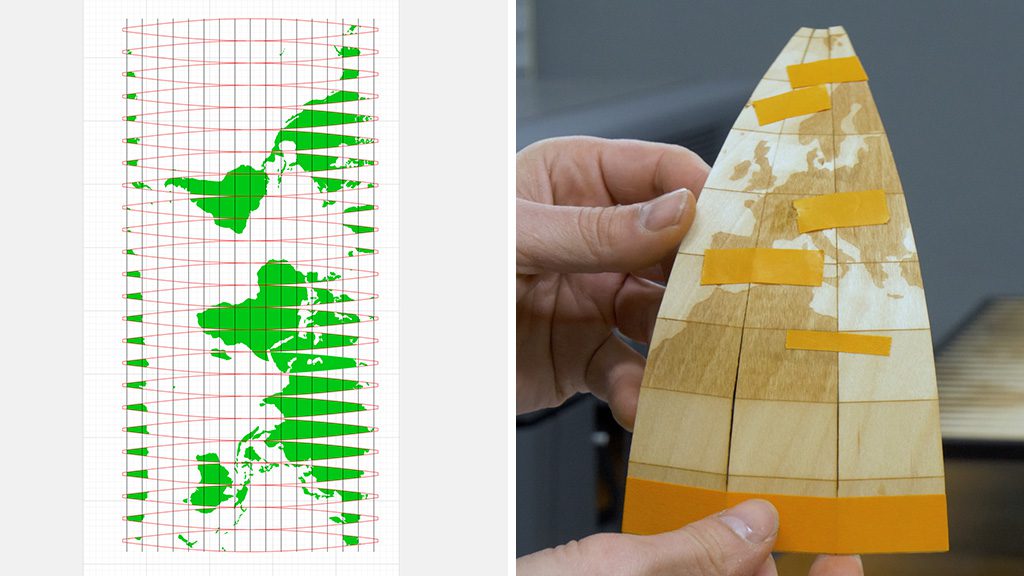
Before working with the big sheets, I ran a test with a small piece to find out the required parameters for the laser. When that was done, I thought about trying to curve the gores by bending the scores I made on the sides a little. As you can see, it worked out pretty well. I think that, with some modifications, I could make an Earth globe with this method.
It would be an interesting project and I already have an idea to strengthen the sheet and achieve a sturdier sphere. If I see that you’re interested in the comments, I’ll try to do it.
Vector for Map Projection
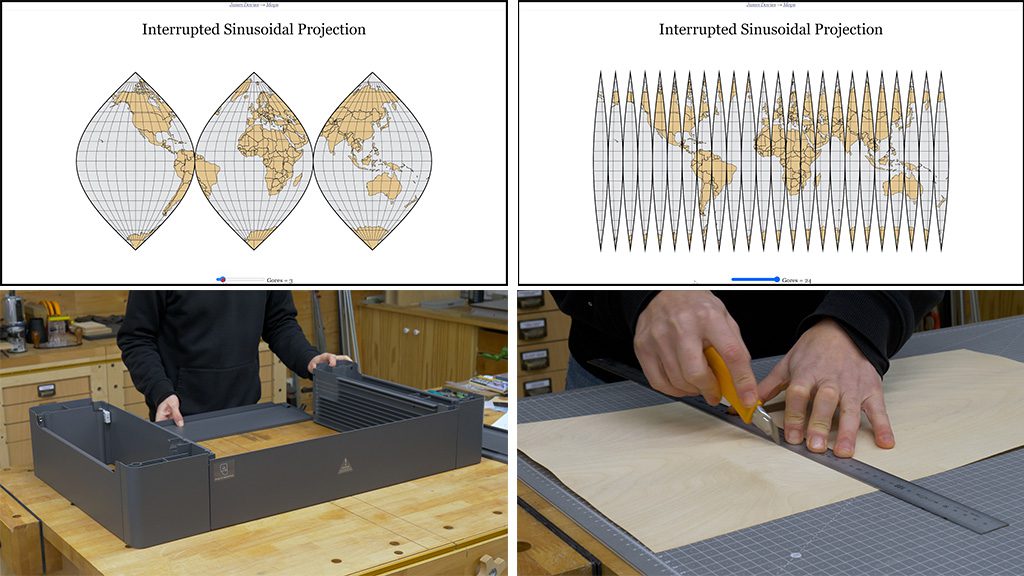
I’ve always been interested in the idea of projecting the world globe on a 2D plane, and the distortions you get depending on the method used. To do this project, I needed a vector map of a projection, and luckily I found one on Jason Davies’ interesting website, where you can see lots of projections and some of their history.
I like the interrupted sinusoidal projection. Jason created a curious simulation of this projection where you can divide Earth into however many gores you like, up to 24. I messaged him and he kindly sent me a vector projection that I can used with the laser.
To begin this project, I need to set up the base to place underneath the laser. It’s a simple process if you follow the manufacturer’s instructions. To install it, I only have to lower the laser tray and fasten four bolts.
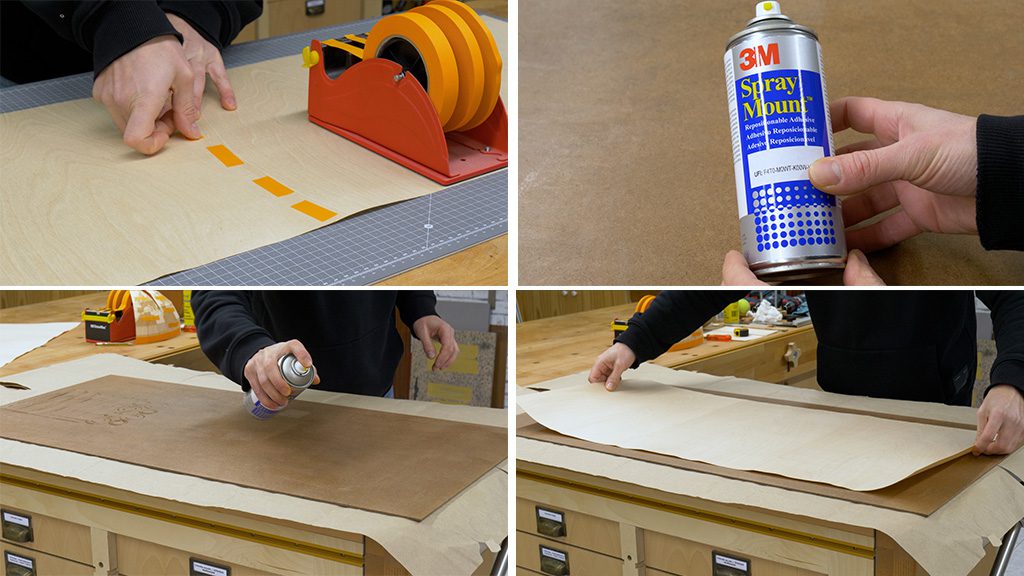
Now I select the best face of the three birch sheets needed for this engraving. I’ll use a cutter to make their sides straight. If you’re going to do this project, try to use wood sheets that don’t tend to warp too much. I use masking tape to join the three sheets together.
Now I need to glue the sheets to another piece of board, which I’ll use as a base for cutting, but I’ll do it in such a way that I can unstick them easily and without breaking them. I thought about using this 12-hour repositionable spray adhesive. I’ve never used it in this way and I hope it works. I apply it on the base and glue on the wood sheets.
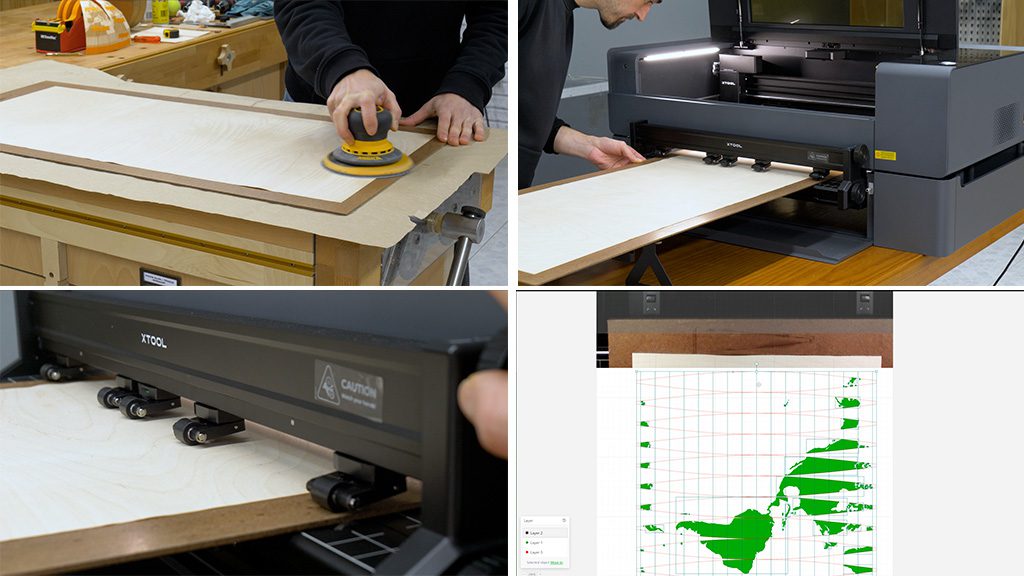
Now that it’s easier, I’ll sand down the faces of the sheets. I place the piece which I’ll engrave on the feeder. I can align this piece with the base of the automatic conveyor feeder using some lines which are already drawn on it. After that, I have to turn a knob to adjust the height of the small wheels on the feeder and apply enough force on the workpiece so that I can move it.
Now I open the laser’s program, I select feeder as the work program and position the map on top of the piece I’m going to engrave. I’ve divided the task into three layers, the first one is for scoring the parallels, the second one for the engraving of the terrain, and the third one for cutting the gores.
After selecting the required parameters, I can export them and start the process. The free plans include this file that you can use with the laser’s program, called xTool Creative Space.
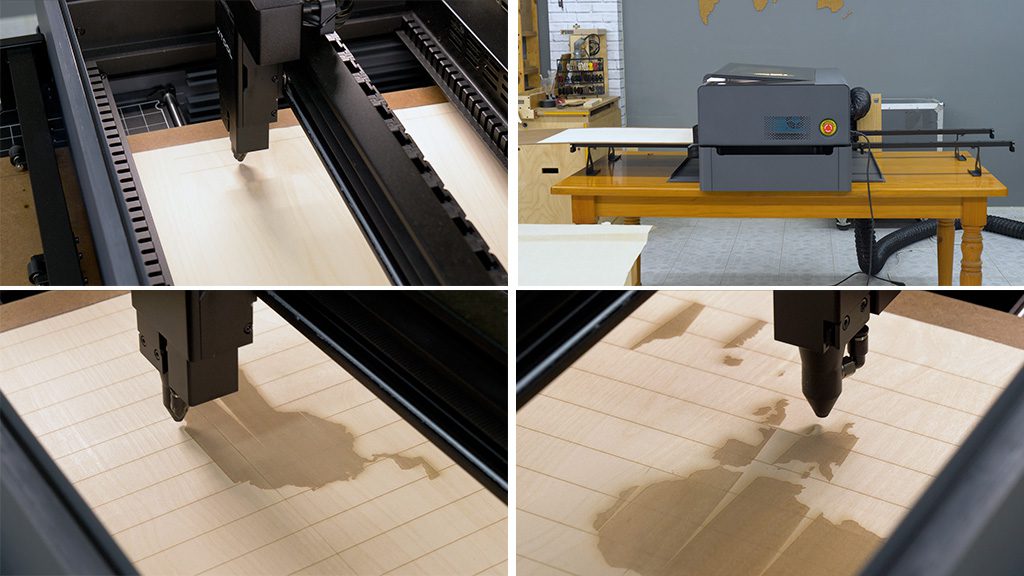
Scoring the parallels is a quick process, more so than I was expecting. You can see it moves the piece at great speed. Engraving the terrain is a little slower than scoring, logically. Little by little, it engraves all the parts with terrain on the map.
You’re watching this from somewhere on this laser engraving, and I’m sure you’ll recognize it on the video. The last step is to cut the 24 gores of this projection. The laser also makes these cuts at full speed.
Before cleaning the engravings, I’m going to collect some of the dust made by the laser in case I have to retouch some areas. First I remove the leftover bits of the board. I’m also going to sand down certain parts of the sheets which were slightly burned by the laser.
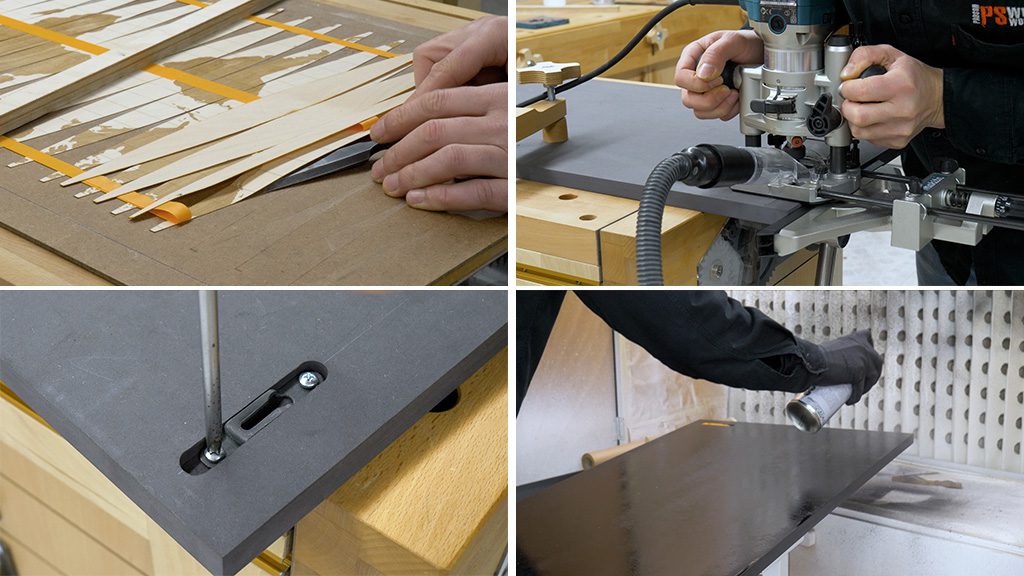
The most delicate step is to remove the gores. I use a chisel and a very thin spatula, and little by little, I manage to pry them off. It seems using this sort of adhesive was a good option for these kinds of projects. I will use the hand router to make a recess that will allow me to install the hangers. In this other article you’ll find more details on how to install this type of hanger.
I’m going to apply a coat of lacquer on the MDF base of the painting before gluing on the projection. Some of you have asked me a few times what kind of varnish spray I use in my projects. It’s this one, a Nitorlack brand matte nitrocellulose lacquer spray.
It’s designed to be applied on guitars, but ever since I started uisng it back when I was working as a luthier a few years ago, I haven’t stopped using it in my other projects due to its ease of use and quick drying.
Now I can glue the 24 gores onto the board. Finally, I decided to separate them and stick them on one by one with cyanoacrylate. All that’s left now is to apply two more coats of lacquer and this project is finished. Thank you for reading this article until the end.