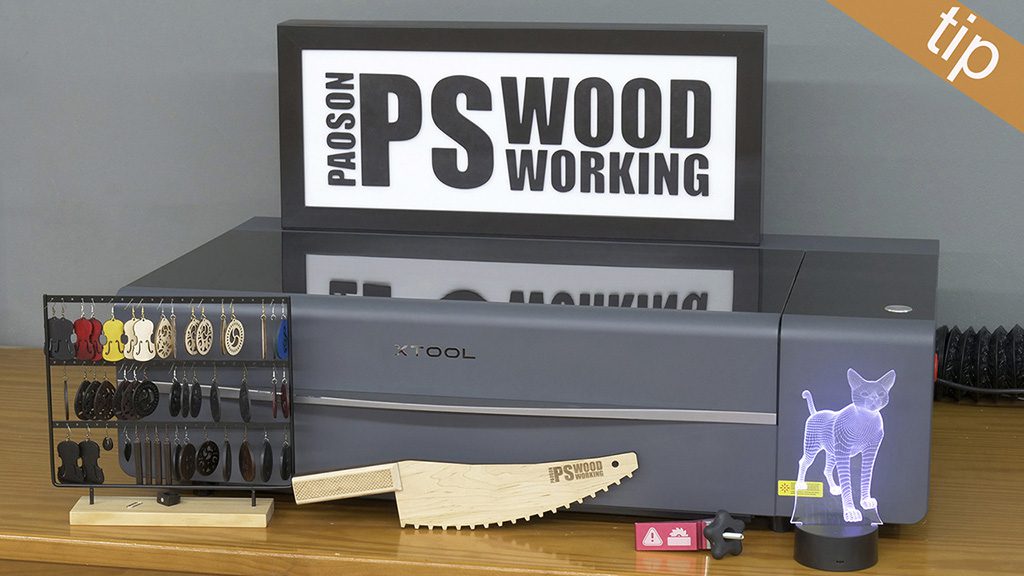
I thought that to test my new xTool P2 CO2 laser it would be a good idea to try to make the LED light box with my logo to hang in the workshop.
xTool P2 CO2 Laser – Affiliate Link (Europe)
xTool P2 CO2 Laser – Affiliate Link (USA)
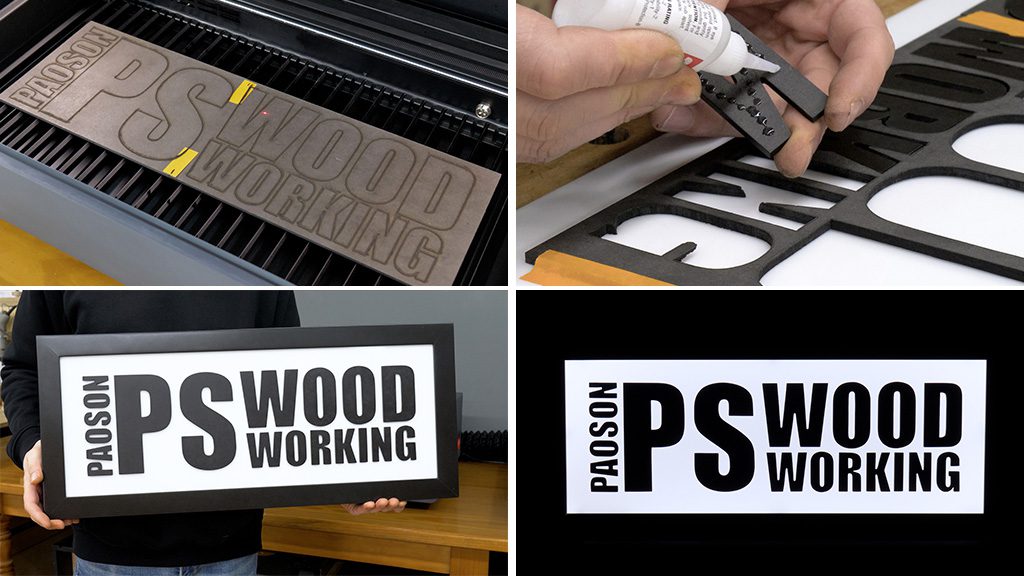

I’ve used black-tinted MDF, white acrylic, aluminum tape and a LED strip. I’ve used the xTool P2 CO2 laser to cut the letters of my logo.
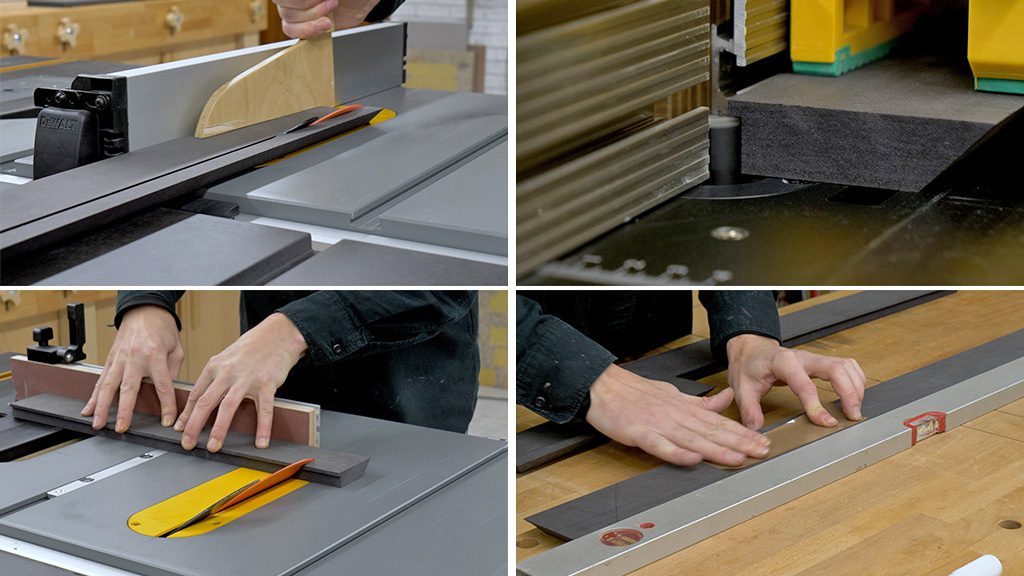

First I’m going to make the box out of black-tinted MDF. I’m going to cut all the pieces with the table saw and the router table. I cut the rebates for the acrylic and the back piece. I use the table saw again to make the necessary miter cuts.
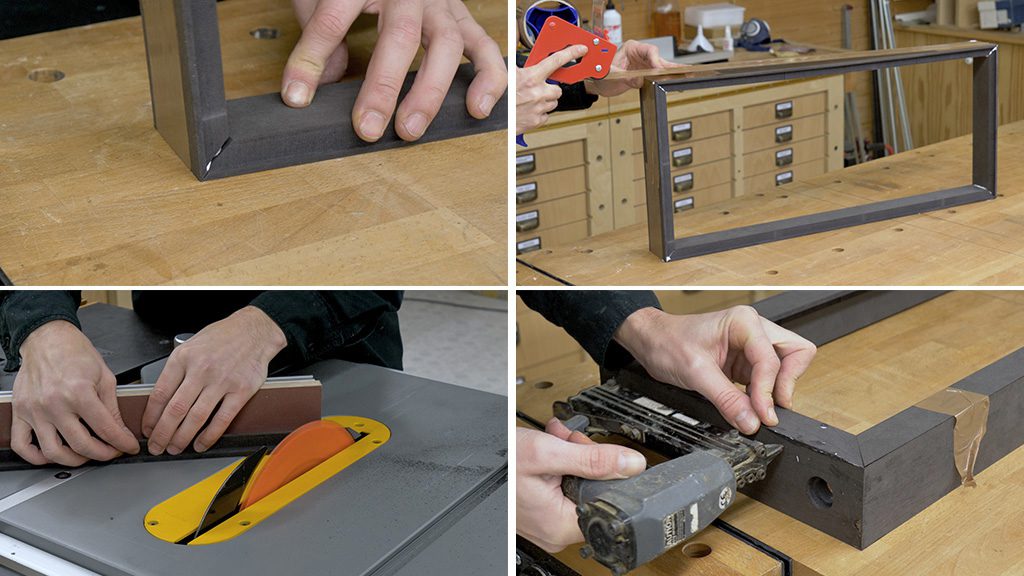

To put the frame together, I’ll use packing tape and wood glue. The front frame will be attached with glue and a nail gun.
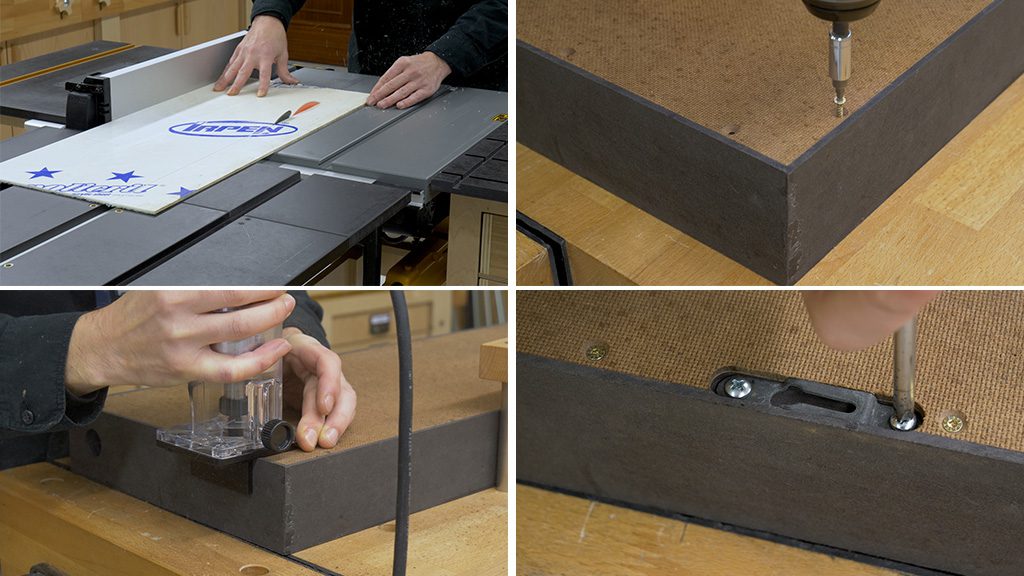

Now I’ll cut the acrylic and the back piece to size. I’ll use the handheld router to cut some rebates, allowing me to attach some keyhole hanger fasteners that will let me hang the light box on the wall.
Lastly, I sand down the entire box with P320 sandpaper and apply a couple of coats of nitro lacquer spray.
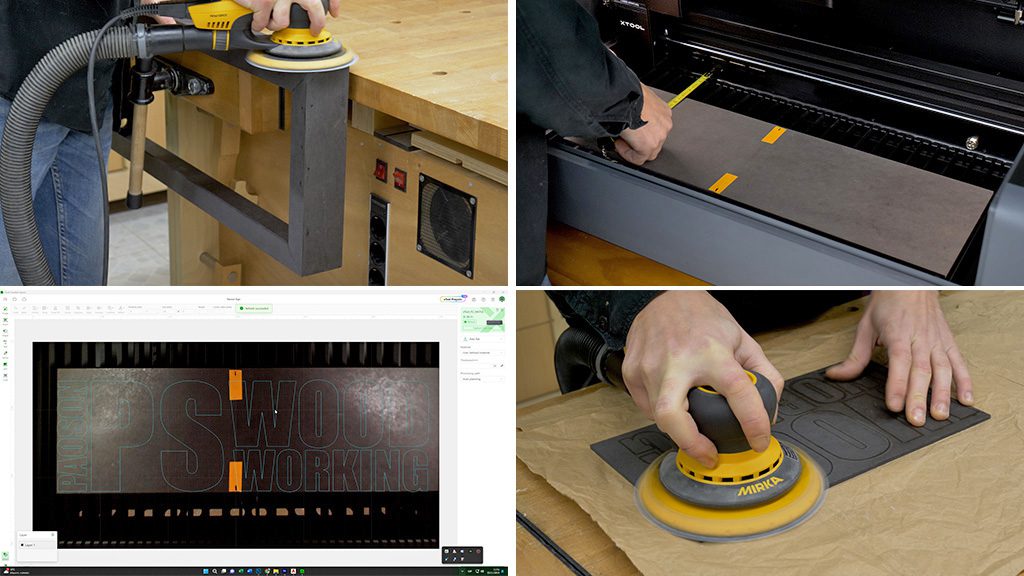

Now I’m going to cut the letters from these pieces of MDF. I don’t have enough material, so I’m going to join two boards, place them on the laser and ensure they’re square. Now I open the xTool Creative Space program and place the logo in the center of the board.
I ran some tests earlier to see what kind of setting I should use with this board. I’m going to use full power and advance about 15mm per second.
I managed to make the cut, but some of the areas got a little burned. I don’t know if it’s because the board is black; I’ll have to keep testing in order to cut MDF correctly.
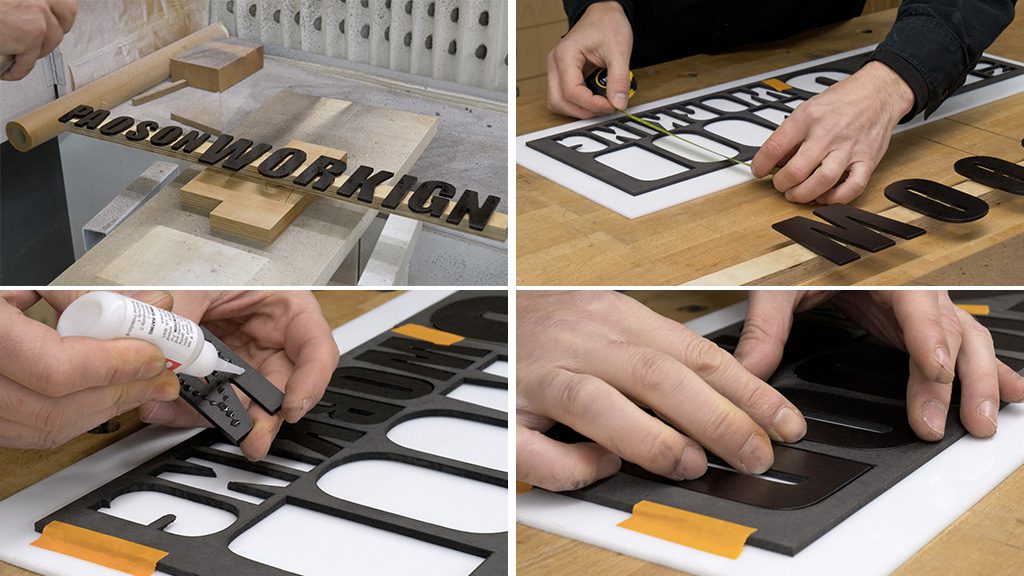

I sanded down all the letters and apply a couple of coats of nitro lacquer spray. It’s time to glue the letters onto the acrylic. I’ll use the original board to position them faster. To glue them on, I’m going to use cyanoacrylate along with its accelerator.
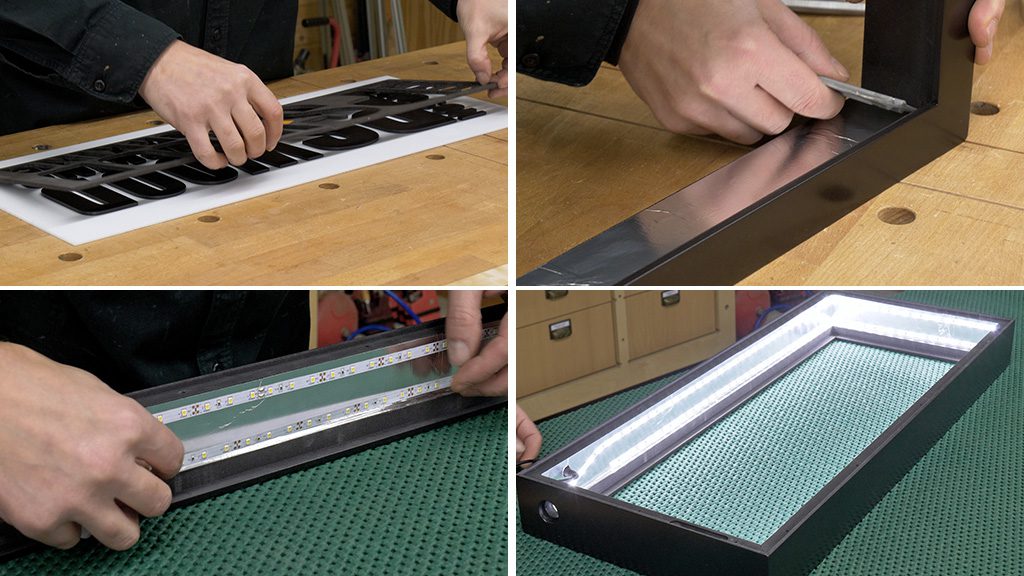

I’m also going to put some aluminum adhesive tape on the frame of the sign to reflect the light. Now I’ll put the self-adhesive LED strip on the frame.
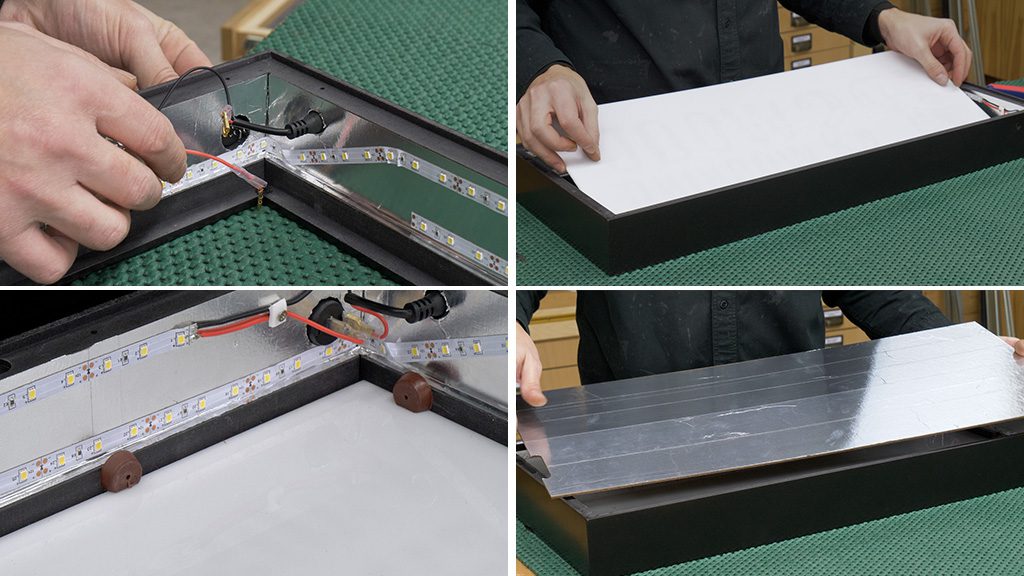

Looks like everything’s correct, but I want to install a switch to turn the sign on and off when needed. To fasten the acrylic to the sign, I’m going to use some feet floor protectors which I’ve modified a little.
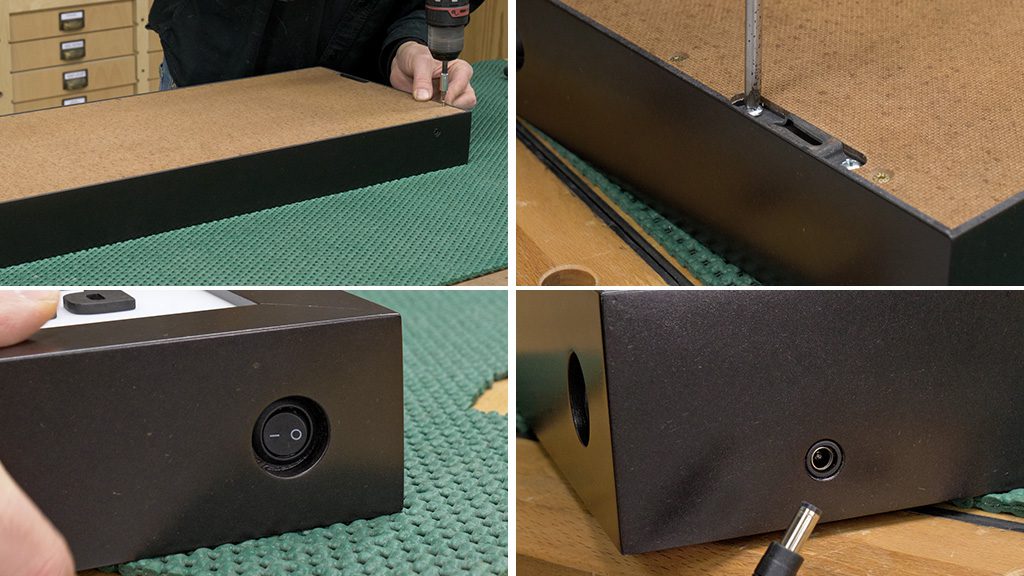

All that’s left now is to screw on the back piece, where I’ve also put aluminum tape, and to screw on the keyhole hanger fasteners so that I can hang the sign.
