Welcome back. This time I will make a small coping saw with some plywood scraps and a pair of screws. This way I can take advantage of all the saw blades that I have them in my workshop.
As you know, vary according to the number of teeth and width of the saw blade, depending on the job. I also have helical blades ideal for curve cuts.


This is how the SketchUp file looks like, you can download it for free in my web.
Coping Saw Plans


Now let’s see how to make it! Glue the printable template onto the plywood and cut along the lines with the Portable Workshop.


Run the piece through the drill press drum to sand the curved shapes, and round the edges with the router.


Next, we drill a through hole with a 4mm drill bit and countersink.


Now, we do a channel with the exact thickness of the two washers and the blade width. We cut and glue these two pieces to make the handle more ergonomic.


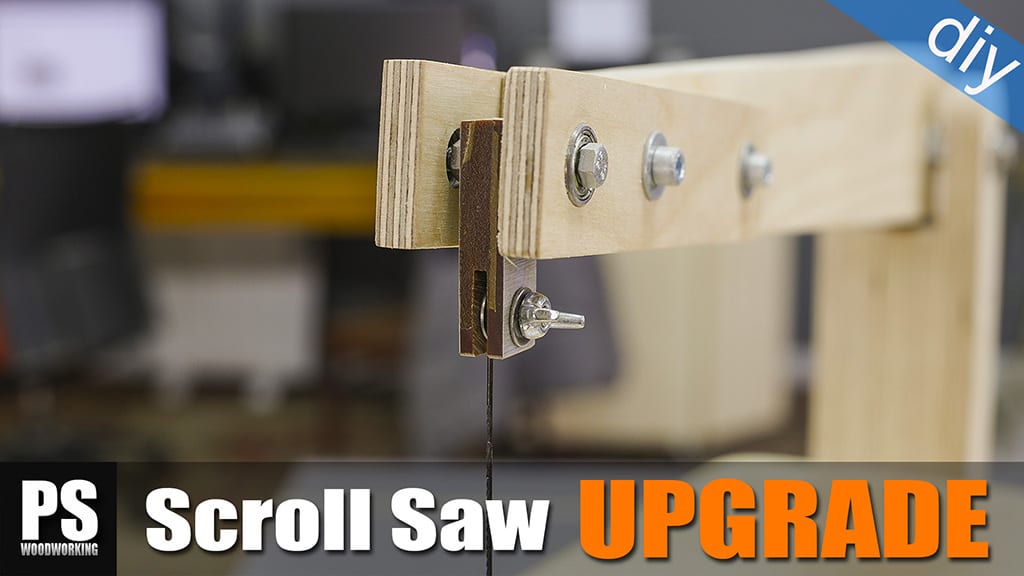
Sand the handle as well as the Coping Saw. We Will apply varnish later. The final step is to assemble all the pieces, align both washers and put the screws in with wing nuts.


Let’s put our blade applying a little pressure to ensure the blade is tight. First we will try it on a piece of wood with a big tooth blade, and now we try it on a piece of acrylic with the thinnest blade I have.


Thats a great way to make a Coping Saw. I think that has to be tried. Have a nice week
thanks Jan, send me some photo!
Extent jobs