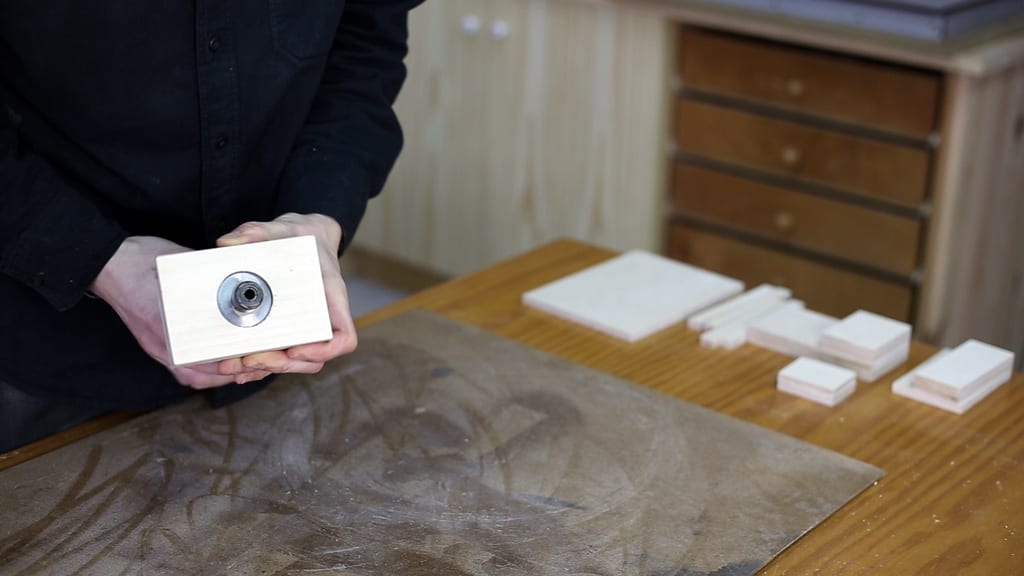
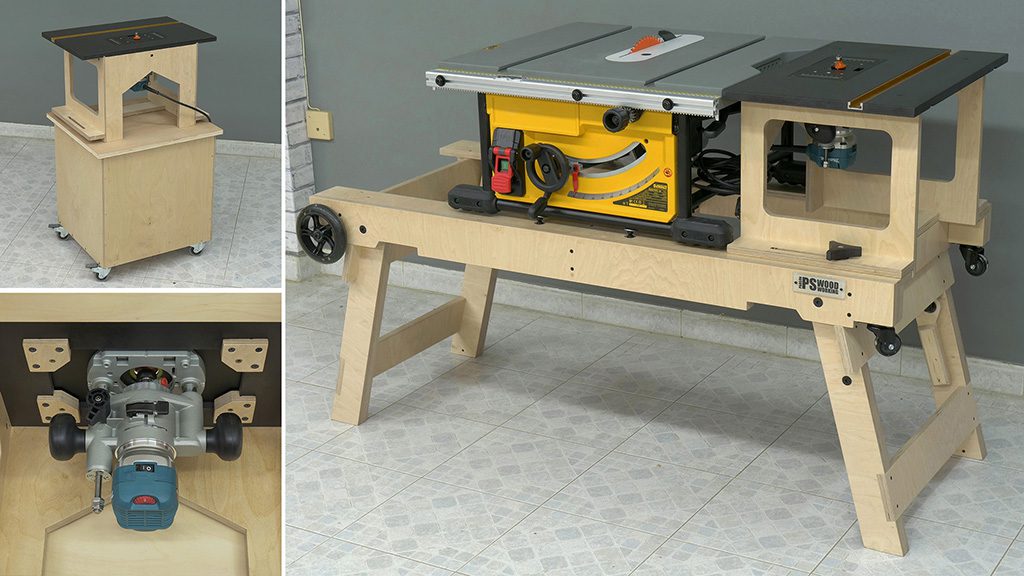
As it is not easy to find in the market plunge holders for 43mm neck routers, I decided to build my own. It is designed for using with routers up to 80mm diameter. For bigger routers, you will need to modify the plans.
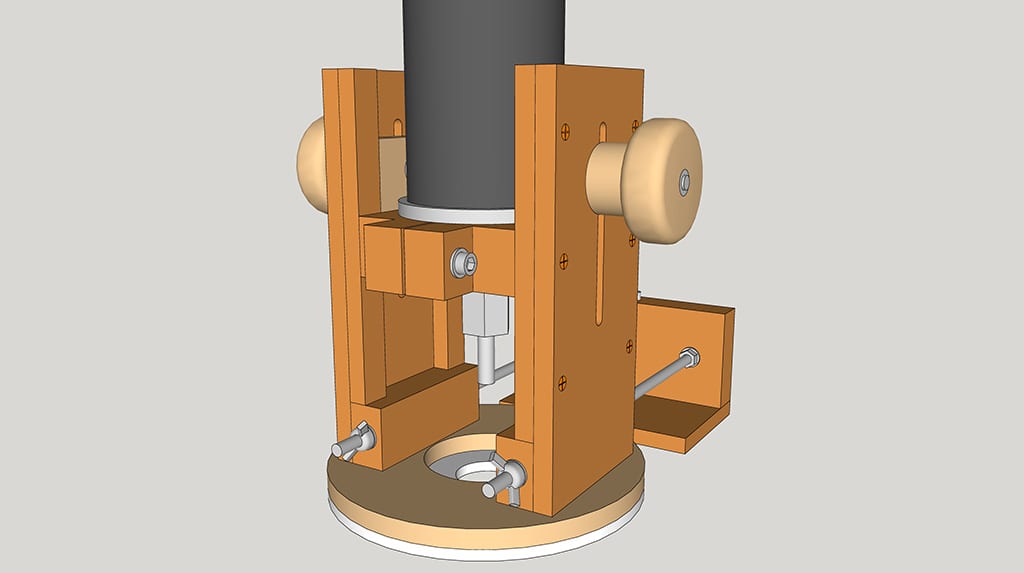
This is the 3D model of SketchUp included in the plans that you will find on my website. If you are interested in collaborating with my web or building your own plunge base, here you’ll find the plans.
Plunge Router Base Plans
How to make the plunge base:
As always I started cutting all the parts using the cutting list.
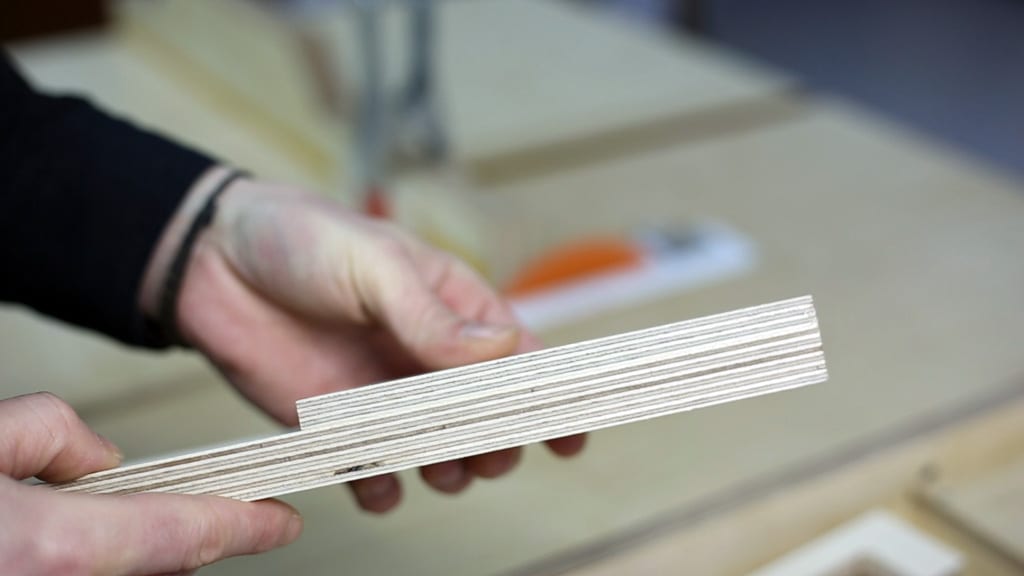
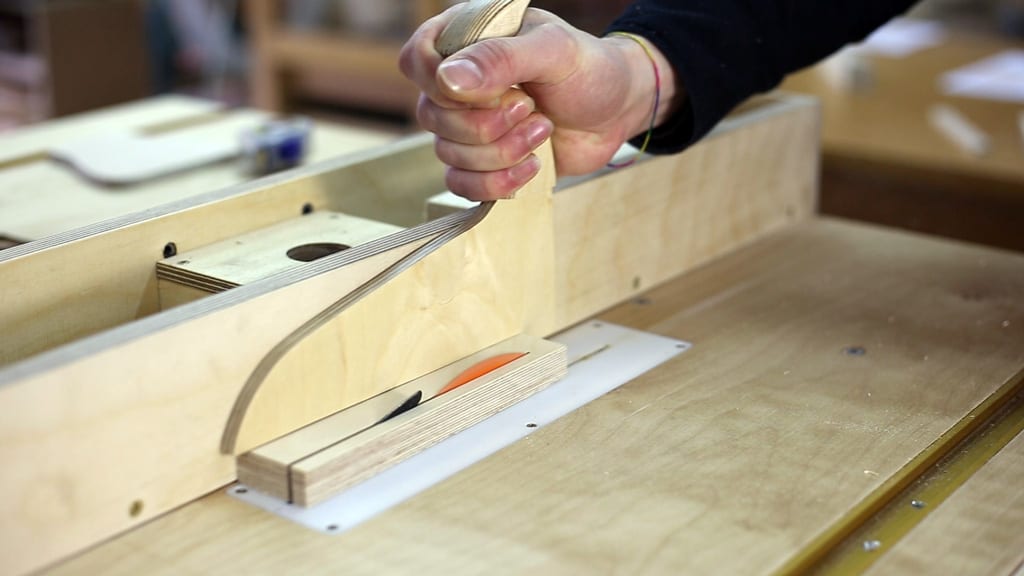
Next, glue two blocks of plywood using wood glue to get depth enough to build the neck.
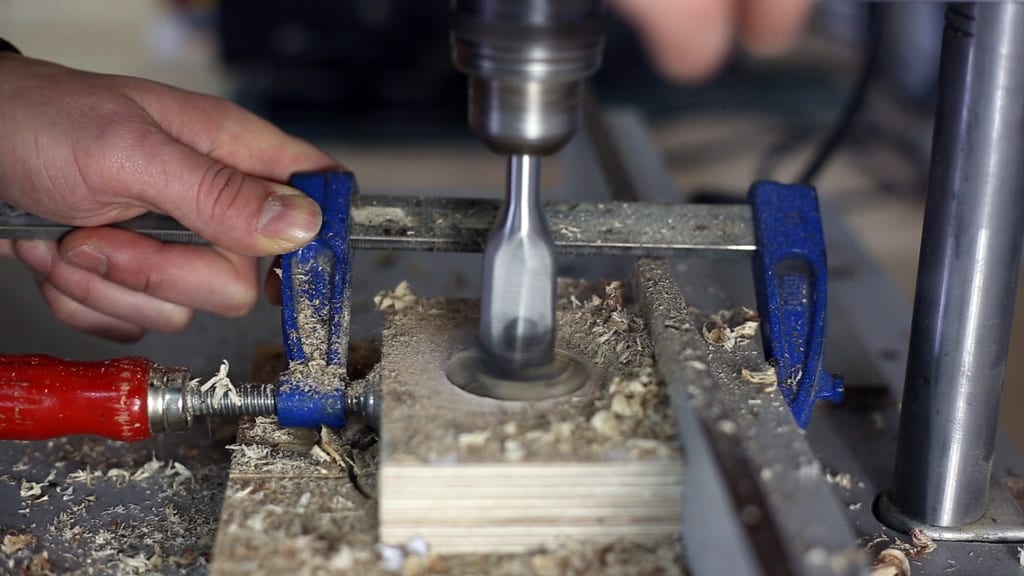
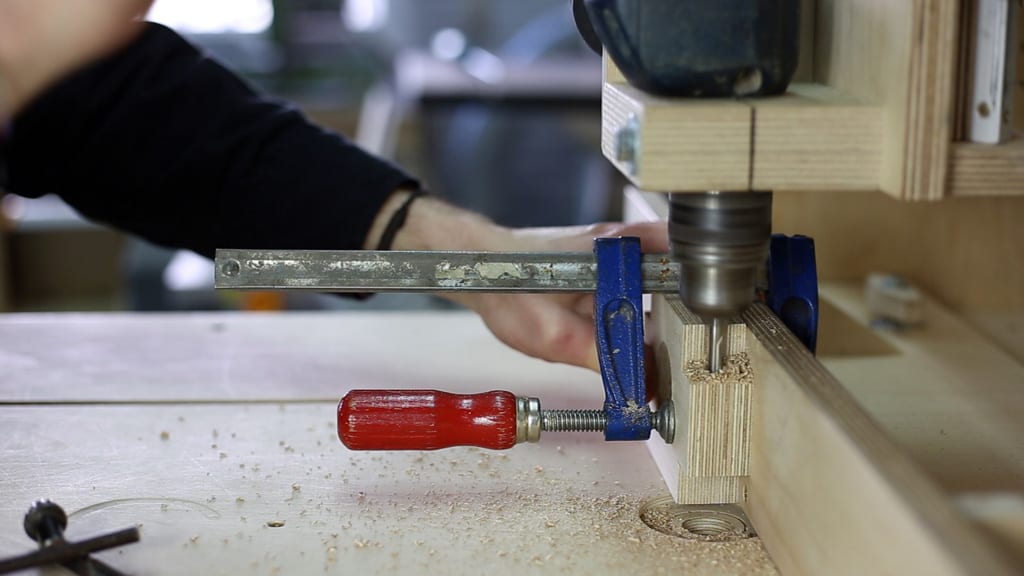
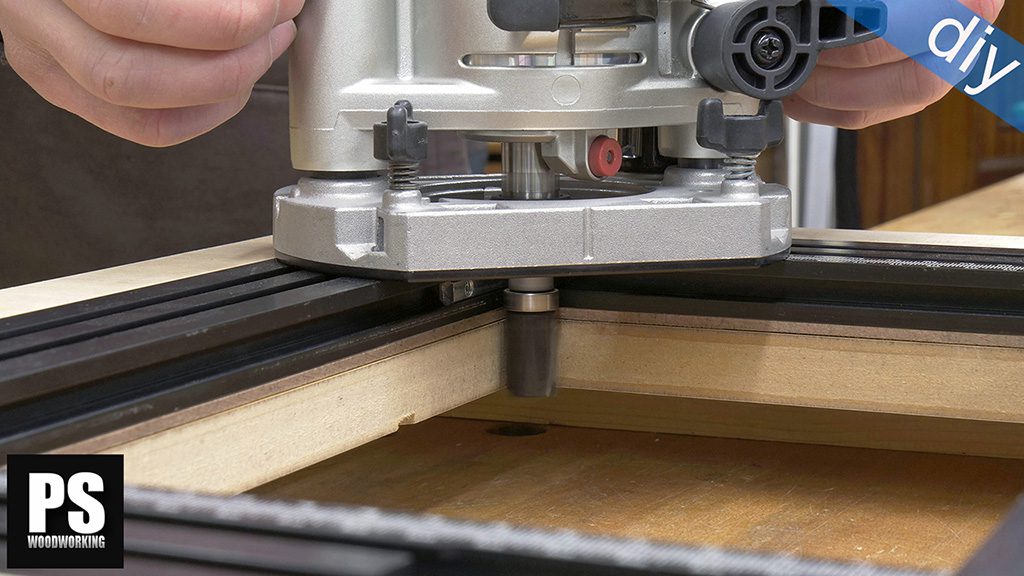
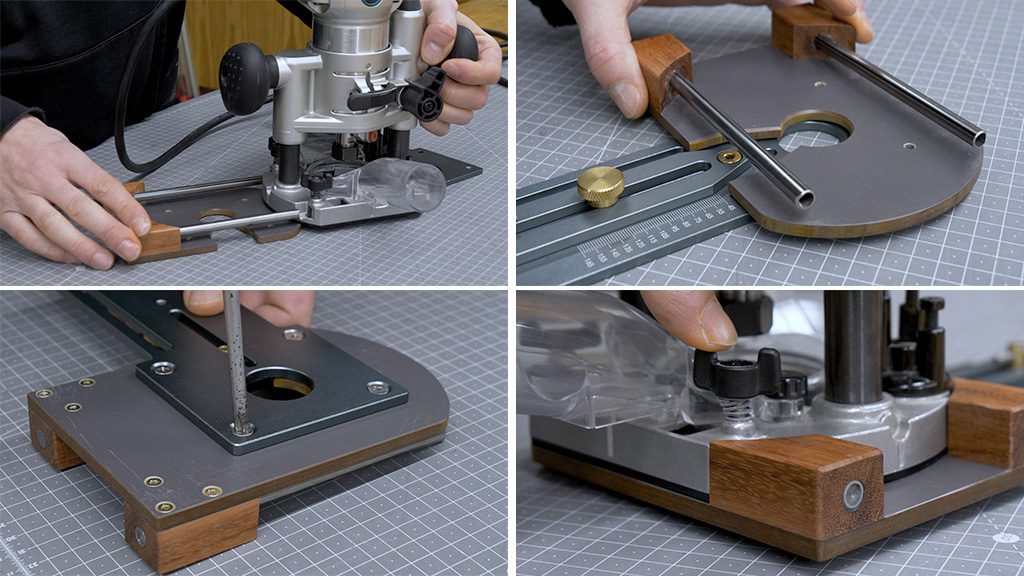
Stick the template and make the 43mm drill using an adjustable drill bit and a drill press stand.
It must fit kind of tight to avoid the router from loosening. As we are using a wide drill bit, we must slow down the speed and due to we are cutting hard material, we’ll try to don’t press so hard to keep it cold.
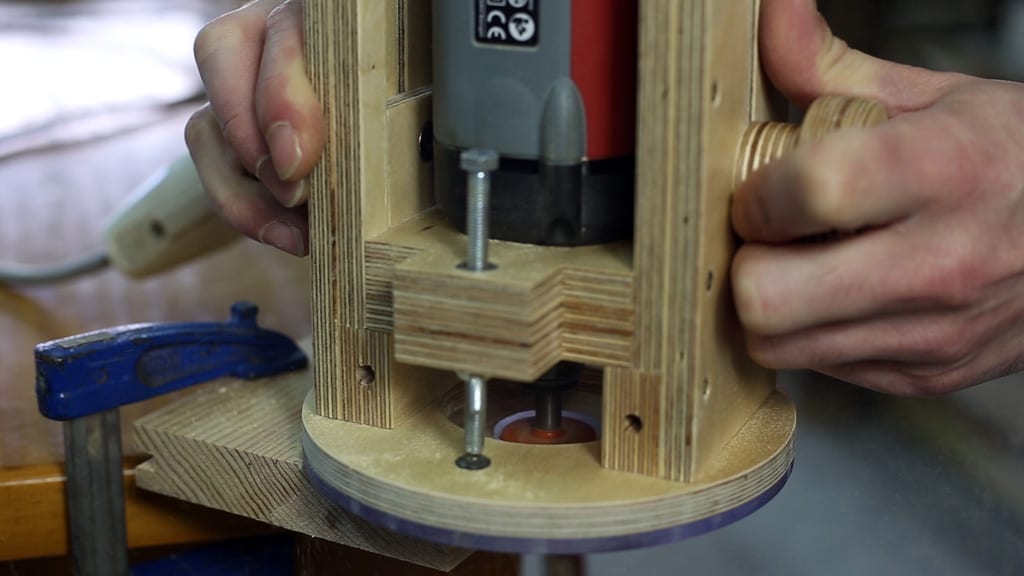
I am gonna use here threaded insert so we can adjust the height of milling and another one here for holding the Router.

Mechanize now the height adjustment system on the 3D Router.

I have to make a long drill to build the parallel guide, and as I don’t have a drill bit long enough, I have welded a steel rod to one of my drill bits.

Once we have all the parts ready, we can start assembly. As we are using reduce size pieces, we’ll better go with 3mm screws. Insert the screws to mark their final positions and remove them before applying the glue, this way we will avoid the parts from moving.

Sand this part until it we can easily slide it in its place effortlessly, let’s continue with the assembly.
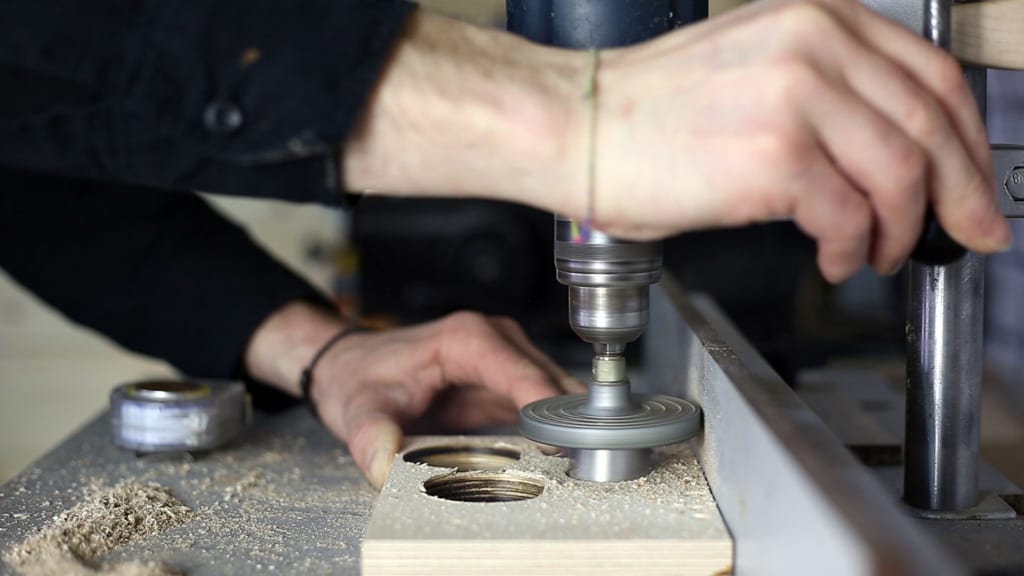
Mechanize the base using a holesaw and put it in place.
And let’s make the knobs now.

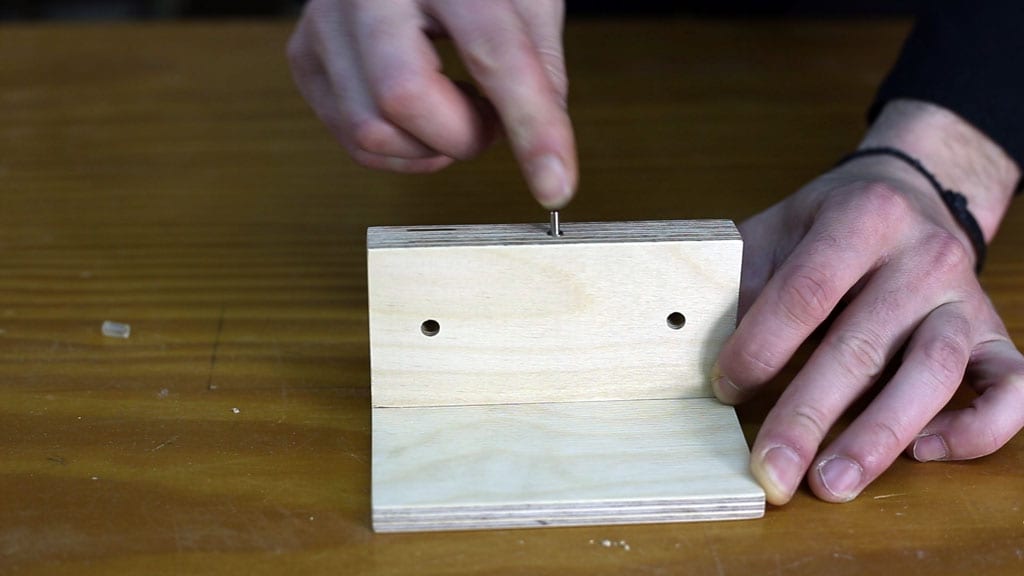
Glue both parts together and make a drill for the threaded insert.

Apply the varnish to get a better finish and durability.

Next I am gonna make the base using acrylic to improve the sliding and transparency, but this is not strictly necessary.

Put it in place using a few small screws.
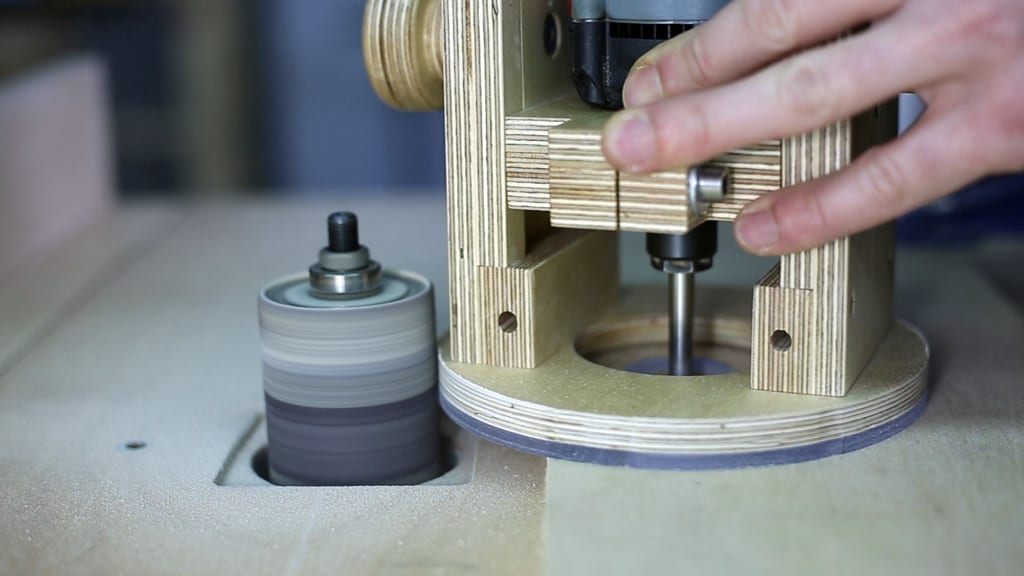
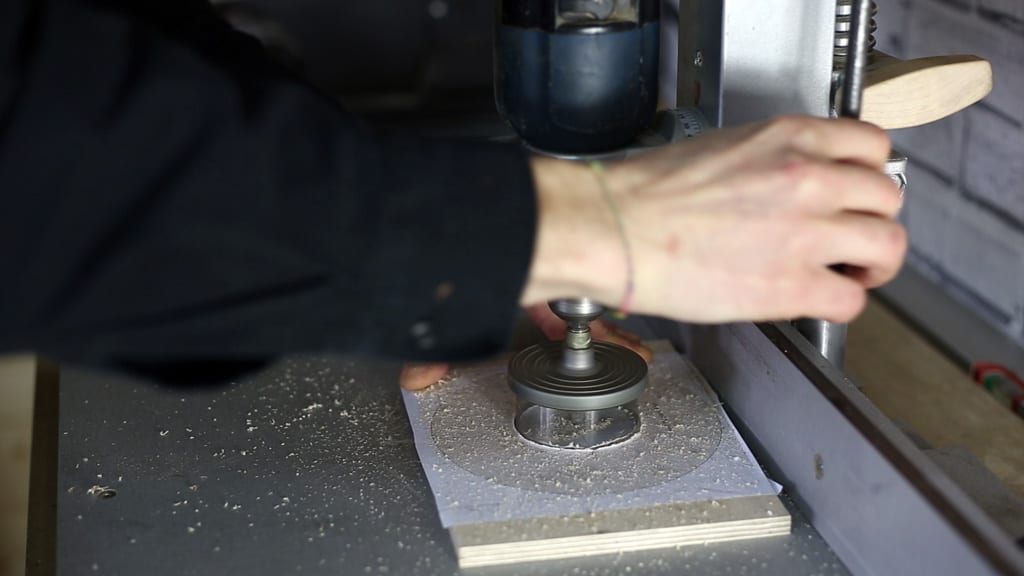
Assembly the knobs, insert the router with an 8mm steel rod to use as central axis of rotation to give the base a perfect circular shape using a drill sanding drum.

Now the milling depth adjustment system
And finally let’s try it.
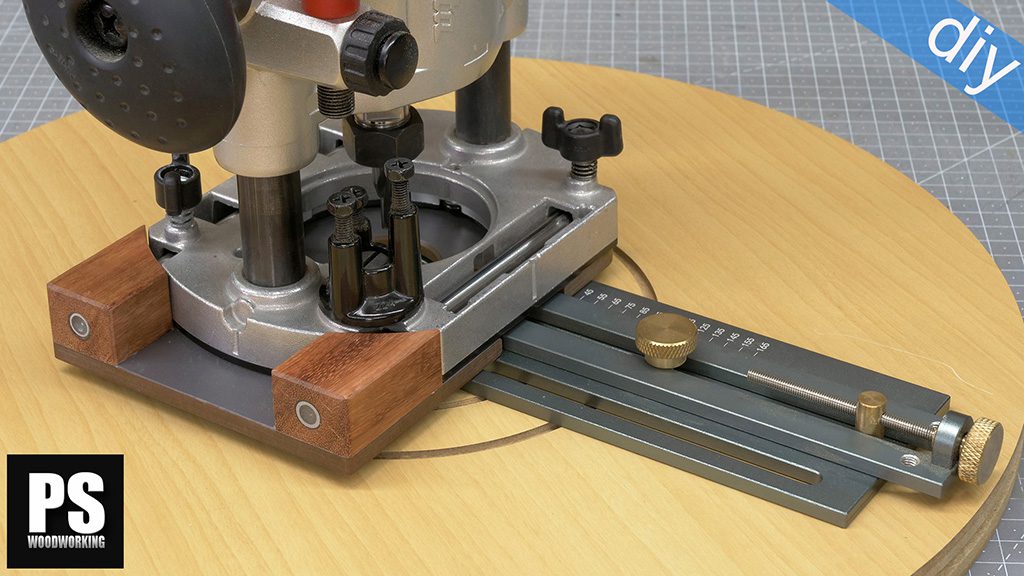
How to make the parallel and circle guide:
I am gonna make now a parallel and circle guide for my plunge router base. I’ll try to keep it as simple as possible using a couple of plywood bloks and a threaded rod. Let’s start mechanizing and assembling the two parts of the guide.

Cut the rod with the desired dimensions.
Make a drill to build the axis of rotation. Here we have two choices, insert a pivot like this or use a spreading insert.

Insert the rods using nuts and wing nuts and it is ready to try a parallel milling.

Now I am gonna try to mill a circle, to do that rotate the guide and make a drill to place a bolt which will be used as rotation axis.
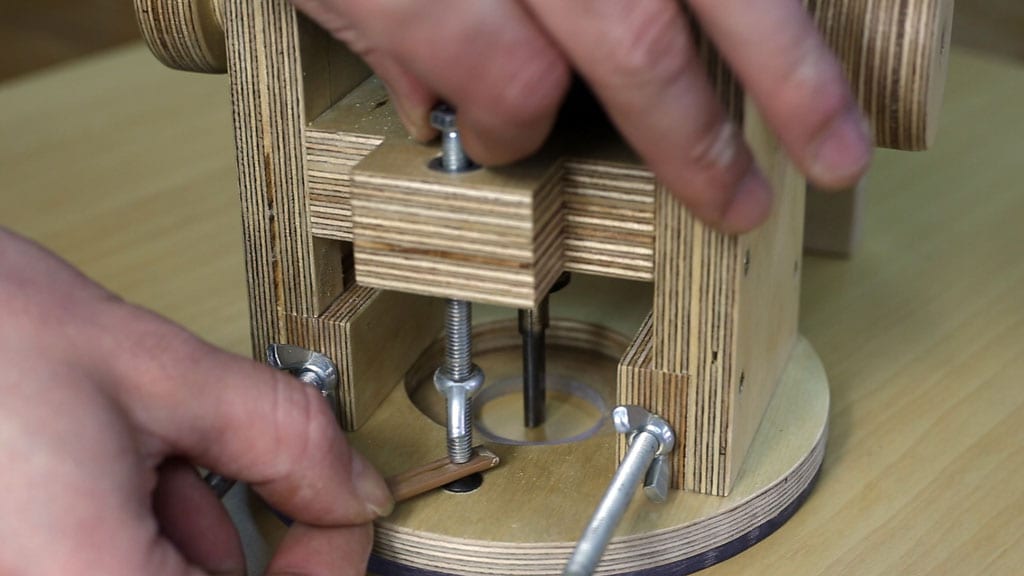
Adjusting the depth is so easy, bring the router down until the router bit touch the wood, and use as reference, something with the same thickness of the desired depth. It is advisable to wait until the router stops completely to remove it.
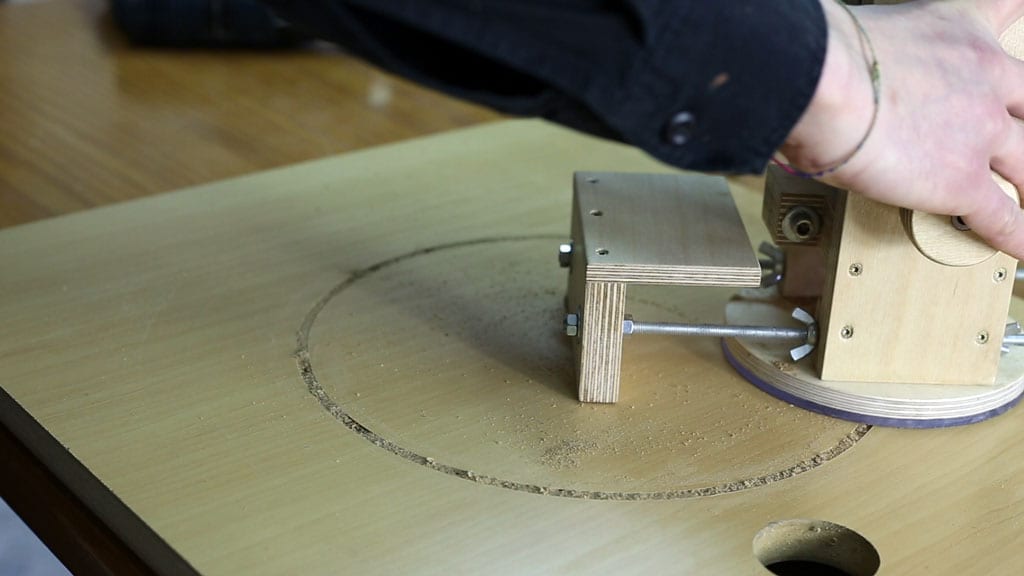
And as you can see, the result is very good!
How to make the adjustable routing template:
And finally I am gonna make an adjustable routing template. There are a lot of models you can buy, most of them made of aluminum, but they are not what we can call cheap, so I am gonna make my own. Here you’ll find the full article of the adjustable routing template.


Very impressive, you have a big admirer here in Romania. Keep going like that, your work is a great value.
Thank you very much Dragnea!
Awesome work, I like the way you treated the base in order to to be a perfect circle with the bit as a center point! Thanks for sharing!
thanks!
Hi! Thank you and congratulations for the great work! This is compatible with a drill?
yes, you can use it with a drill as well