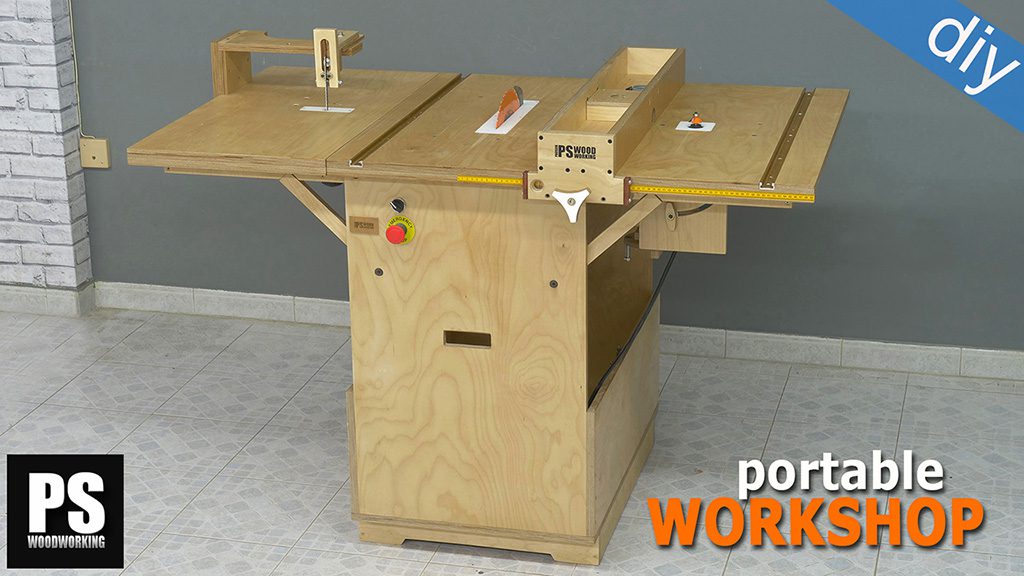
After a few years using the Portable Workshop I’ve spotted a few problems, as well as accessories that could use some improvement. I’m going to try and show how to fix them in a series of three or four articles. In this first article I’ll show you how to improve the fence.
DIY Table Saw Fence Plans
How to use a homemade table saw rip fence?
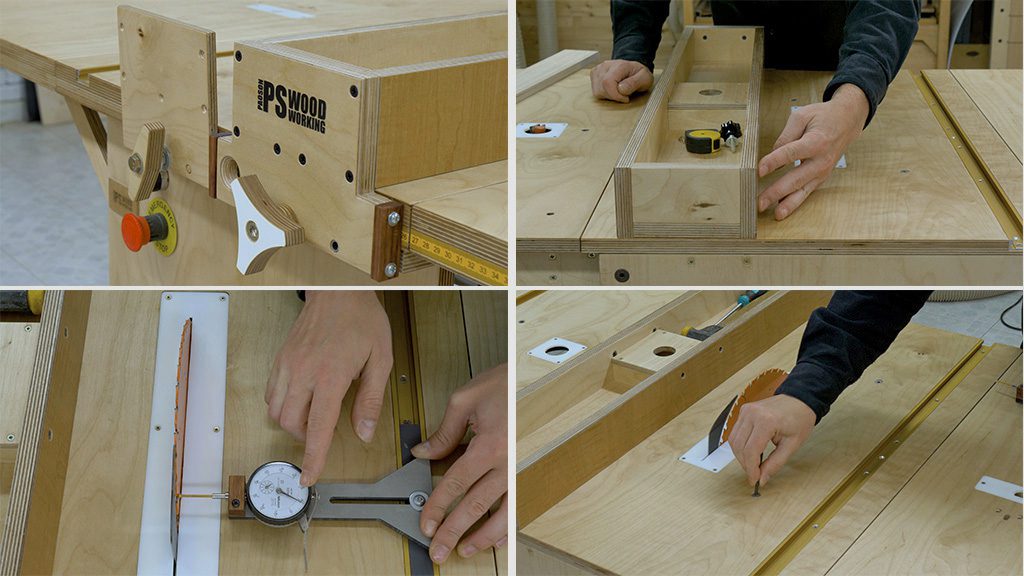
This is a very simple rip fence that’s inserted in one of the sides of the table saw. I’ve screwed a small plywood piece to the back side in order to make it sturdier and ensure it’s square with the top of the table saw.
I’ve also made a new front piece that’s a little longer on the bottom to achieve a greater support surface. This time I’ve used 18mm thick plywood rather than 9mm. It still has some slack at the end point of the cut, but this isn’t a problem. When making cuts, we usually apply pressure onto the fence until the blade has gone through, but at the end point, we barely put pressure on the fence. With this improvement, I’ve made the fence more stable.
I’m going to show you how to align the fence with the blade and the miter channel. This can be done with a woodworking square, a caliper, or in my case a dial indicator. First of all we have to introduce the dial indicator and find the distance to the front and back part of the blade.
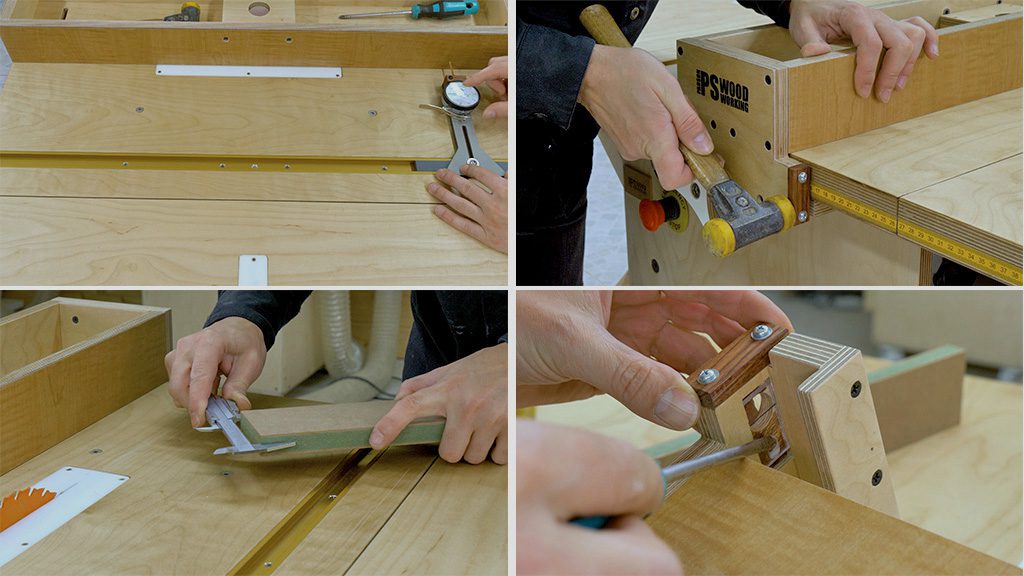
It’s not bad at all, but I have to move the blade slightly left in the back. To do this, I loosen the screws holding the circular saw just a little, and I gently tap the saw a few times with a rubber hammer. This step should be repeated as long as necessary until the blade is aligned with the miter channel.
Now that the blade is aligned, the next step is to align the miter channel with the fence. In this case I have to move the back part of the fence slightly towards the right. This is another needed improvement I’ve made. I’ve placed two small wooden pieces to tilt the fence in both directions. I only have to loosen two screws and tap it a little, and then tighten the screws again. Just like before, I have to repeat this process as many times as necessary until the fence is parallel with the miter channel.
For the final step of the adjustment, I’m going to cut a piece of a board to adjust the new fence cursor I’ve installed in the fence. I measure the piece with a caliper and adjust the cursor by moving it to one side or another as appropriate.

As you have probably noticed already, another improvement has been to glue an HPL sheet on each side of the fence. This allows for more smooth movement when cutting pieces and greater impact resistance.
Besides cutting, the fence can be used with the router table. I’ve installed a threaded insert on the opposite end of the top to prevent the fence from moving when pushing against it when using the router. I’m going to do some testing with the router table and the fence in operation. All of these improvements definitely make the router table more accurate and comfortable to use.
As usual with these kinds of router tables, I can use a miter gauge to make different kinds of straight or angled cuts. The same miter channel allows me to use a featherboard on top of the table, and I’ve also installed two threaded inserts in the fence so that I can use another featherboard and apply pressure downward.
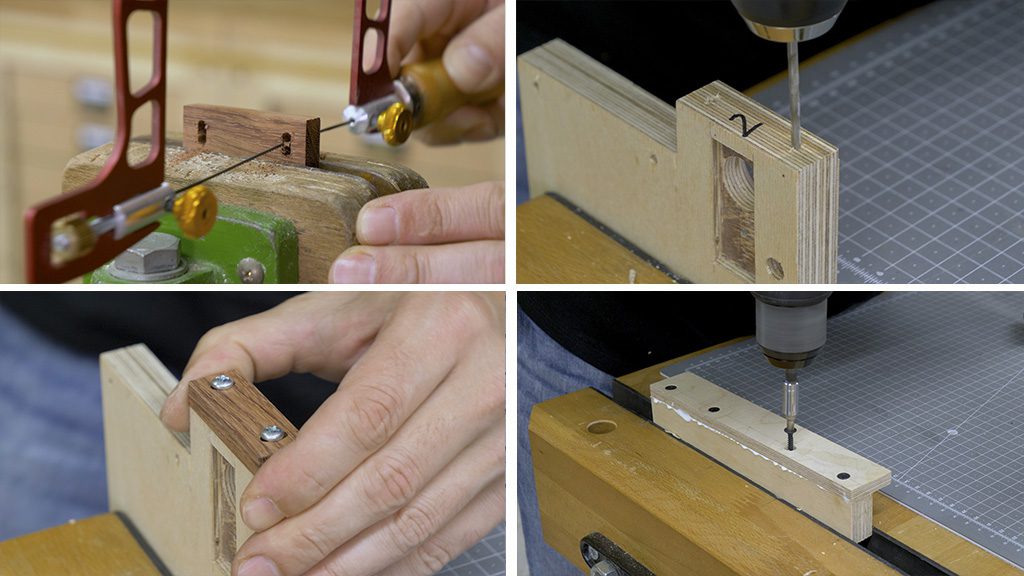
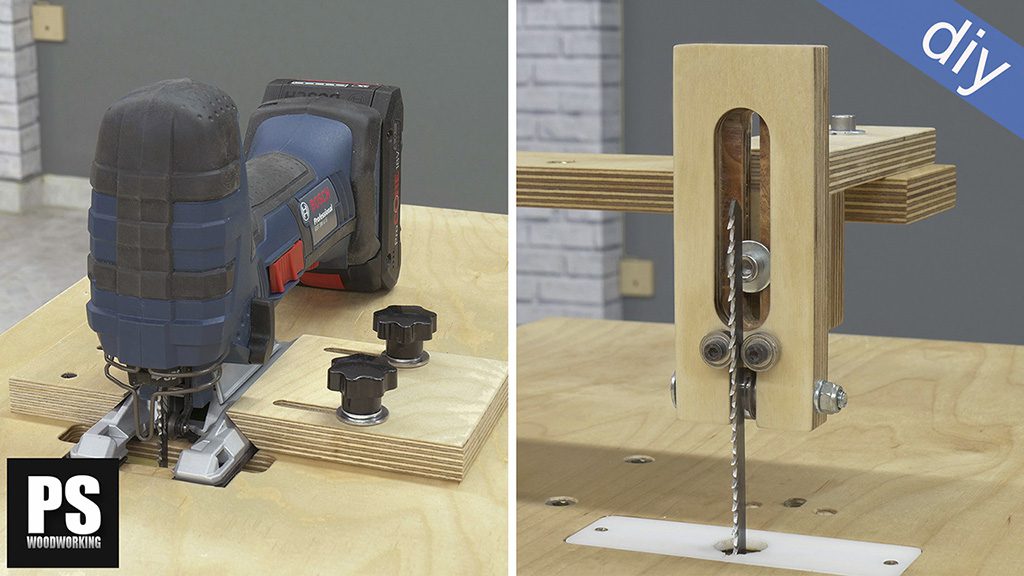
Finally, I’ll show you how to use the fence together with the inverted jig saw guide. It’s a very versatile system for making small cuts that aren’t possible to make with the blade.
How to improve a homemade table saw rip fence?

Next up, I’ll show you how the step to improve the table saw rip fence. First of all we have to remove the front 9mm thick piece. With the 3D Router, I’m going to cut a groove that allows me to hold the fence when using it with the router table. I’m going to cut a small piece of plywood and attach it to the back part of the fence with screws. This will let me square the fence with the table.
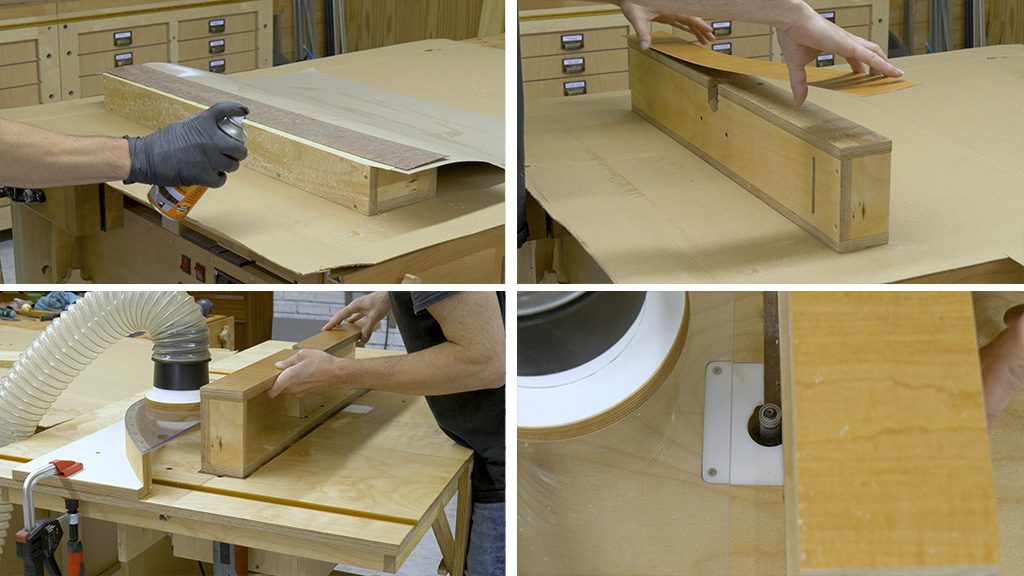
I also thought it would be a good idea to reinforce the sides of the fence with an HPL sheet. I spray contact glue on both surfaces and use some clamps to keep them pressured together for a few minutes. With the router and a flush trim bit, I cut the left over parts of the HPL sheet. I’ll use the DIY dust hood to work more comfortably.
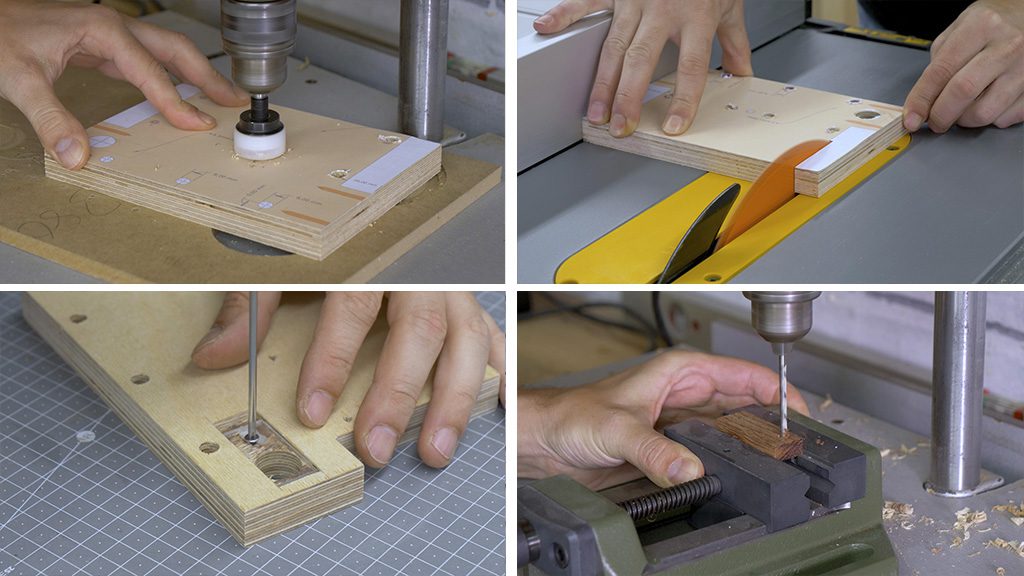
I’ve printed out a paper copy of the printable template for the new front piece of the fence so I can machine it as necessary more easily. I stick it on the plywood and make all the necessary holes with the column drill. I cut as required with the table saw and the inverted jig saw.
Now I’ll cut the rabbet that will let me place the fence cursor acrylic. I’ll finish the job with a chisel. After cutting the acrylic to size, I drill a few holes that will let me adjust the fence cursor. I’m going to put the acrylic in its emplacement and mark the measurement line. With a chamfering router bit, I’m going to bezel the hole for the fence cursor to make it easier to read the self-adhesive measuring tape.
It’s time to cut all the required parts to make the fence alignment system. I’ll use hardwood and four screws. After cutting the wood to size, I’ll drill a couple of holes and finish the job with a coping saw and a rasp.
How to make an alignment system for a DIY table saw fence?
I work out the position of the wooden pieces on the plywood so I can make the necessary holes. I make sure everything works as intended, and that seems to be the case!
Next I’ll make the system that locks the parallel fence to the table saw. This new system is very similar to the old one. I join the two pieces that make up the “L” shape of the system with screws and wood glue. I drill holes for the tightening bolt and steel pipe that will act as guides. I’ll use the previously drilled holes as a reference. I glue the pipes to the L and make sure they work correctly.
How to make a locking system for a DIY table saw fence?
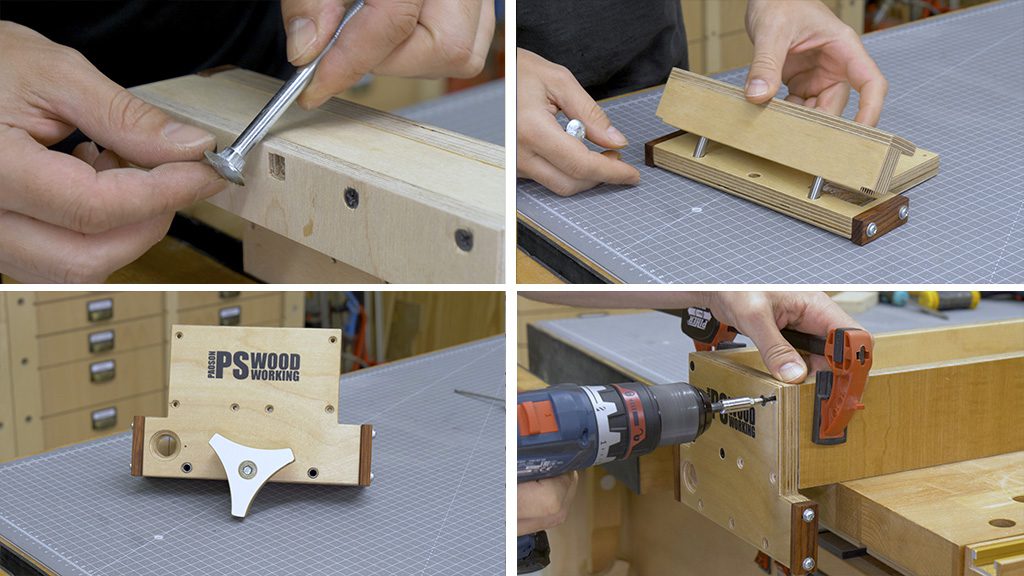
I’m also going to cut a rabbet for a mushroom bolt. I’ll use a knob I had in my workshop. After placing the threaded insert, I cut a spacer with a hole saw. Now all that’s left is to assemble and try the tightening system and apply three coats of nitrocellulose lacquer.
Once the varnish is dry, I assemble the entire tightening system of the fence again. I screw the new plywood piece back to the fence. Lastly, I’m going to cut and screw this small 9mm plywood piece on the side to strengthen the bond.
Here you’ll find the next article in this series, where I’ll show you how to upgrade the inverted jig saw guide of this DIY woodworking portable multi-tool.


Tolle Entwicklung und Idee, bin 100% Fan Deiner Produkte. Saubere und präzise Arbeiten für jeden Nachvollziehbar. Danke, ich bleib dabei.
Vielen Dank!
Outstanding as always, Suso! Unquestionably the best DIY rip fence design available. The one minor improvement I’d make is to put the cursor window (and of course the measuring tape) facing upward so you don’t have to kneel or bend way over to line it up. (I realize you had the scale on the front rather than the top of the original design, of course.) Looking forward to the next video!
you are right Donny! I had thought about it but without a dedicated profile for the fence it is complicated. I don’t like the measuring tape on the top of the table with this design. The other problem is not being able to remove the fence without going through one of the sides, but as i say in the video, it is a simple design!