In this article I’d like to give you some woodworking and DIY tips I’ve learnt throughout the years working with wood. All these tips and tricks will help you do your projects in a more convenient and professional way. Some will let you do processes on your own for which you’d normally need very expensive or hard to find tools.
How to use wood glue
No article on woodworking tips and techniques is complete without some good advice on using white wood glue. The glue used for joining pieces of wood together in all sorts of ways was a great step forward for DIY projects.
It’s versatile and very easy to use. To achieve a good bond between two pieces of wood, you’ll only need a little glue, two pieces of wood with clean, smooth surfaces, and something to apply pressure, such as clamps.
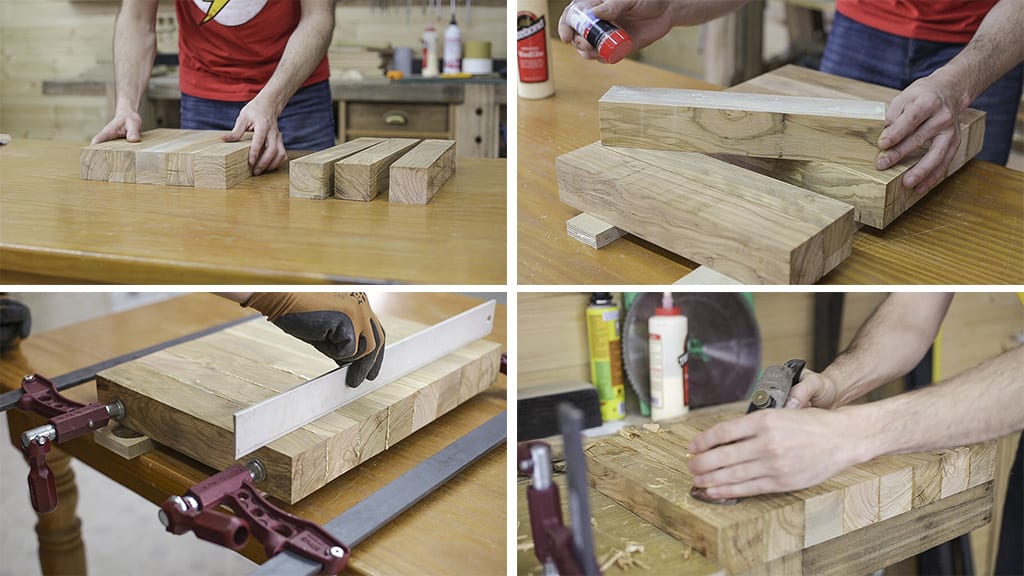
The trick I’d like to talk to you about has to do with the part where we apply pressure to join the pieces. Due to the viscosity of the glue, it’s easy for the pieces to slide to one side when applying pressure, depending on how the clamps are positioned.
This is a very annoying problem, and I’ve personally had to scrap projects because of it. To solve this, you could loosen one of the tightening screws and try to tilt it to one side to make up for the deviation, but it’s quite hard to find the right spot to apply pressure on to avoid this problem.
There’s another quick and easy trick. You only need to sprinkle some salt on the glue on one of the pieces before putting them together. That’s right, table salt! The finest kind won’t do, but you don’t have to use the thickest kind, either, the ones in between are ideal. Salt will dig a few tenths of a millimeter into both pieces, preventing any unwanted movements.
I used this trick when I made the olive wood cutting board in the picture above. I often build my homemade tools by addition — that is, by gluing pieces of plywood together. In a lot of these cases, I also use this trick. One example would be the multifunction workbench.
How to join wood or boards with screws
The next item on my list of carpentry tricks is how to do a task that may look simple at first glance, but –like most things in life– there’s more to it than meets the eye.
Wood screws are also one of the greatest and most useful inventions for joining wood. They’re cheap, quick and easy to use, and, if used correctly, they provide a firm, long-lasting bond.

Whenever we screw pieces together, if it’s possible, and the size of the project allows it, what we should do first is predrill one of the pieces with a column drill.
First we must drill the piece where the screw will be inserted. If it’s possible, it’s best to use a countersink bit and a depth stop, like you can see in the above photo, so that the screw head won’t deform the wood’s surface. This hole must be made with a bit with the same diameter as the screw.
Later we can use these holes as a guide to drill the other piece. To make the process easier, we can hold the pieces together using some kind of clamps, or in the case of small pieces, you can even use cyanoacrylate, as you can see above, when I was building my portable mortiser.
This new hole must be drilled with a bit more or less 0.5mm smaller in diameter than the screw for hardwood or boards, or up to 1mm in softer wood.
Logically, we must adapt the length and thickness of the screw to the board we’re using. For a board that’s between 15 and 20mm thick, we can use 3.5 or 4mm screws. For 9mm thick boards, a 3mm screw will be enough.
In general, in carpentry we normally avoid leaving screws exposed, but depending on the project and the type of screw, they may even give the piece of furniture or project a more pleasing or charming look.
Straight holes at specific depths
Now I’ll show you a couple of uncomplicated tricks to drill straight and square holes with our cordless screwdriver. The first one involves using a simple piece of wood which we must cut into an L shape. By positioning the bit on the corner of the L, it’ll be much easier to guide the bit to make straight holes.

In these pictures you can see how I used this jig to fasten the wheels of my woodworking bench. Another simple yet effective trick to make holes of a specific depth is to use masking tape. We must measure the depth we need on the bit and stick a piece of tape on it.
When drilling, we must stop exactly when the tape is at the same height as the piece we’re drilling. These two tricks can be used at the same time to drill straight holes of a specific depth.
How to use the biscuit joiner
If we don’t want to use screws to build our furnishings or shelves, this is a good alternative. It’s not a particularly expensive tool and it will allow us to join pieces of wood or boards together, both edge-to-face or edge-to-edge

It’s a simple handheld tool with a small blade that cuts grooves into the wood that will let us insert a kind of wooden biscuit which, together with glue, will allow us to achieve firm, long-lasting bonds. Another advantage of using biscuits is that they will serve as a guide to center the pieces we’re joining, making the assembly easier.
The uses and operation are similar to that of a portable mortiser, like the one you can find on this website called X-motion. In my opinion, for certain kinds of joints, a biscuit joiner is still the better option. For example, to join the sides and bottoms of kitchen cabinets, where the boards used are rarely very thick.
We only need to adjust the depth of the groove on the tool, taking into account the biscuit and the thickness of the board. The first biscuit should be 20mm away from the front, and depending on the length of the board, more biscuits should be placed every 150 or 200mm. To mark their position, we only need to put the pieces edge-to-edge and mark them with a pencil.
A good example of the usefulness of this tool is the wall mounted bathroom vanity I made a few years ago, which you can see in the photos above.
This tool will also allow us to make kitchen worktops with end-to-end joints. To do this, besides biscuits we can use another fitting known as half moon nut. Another good example of how to use a biscuit joiner along with half moon nuts is the small European-style kitchen I built a few years back.
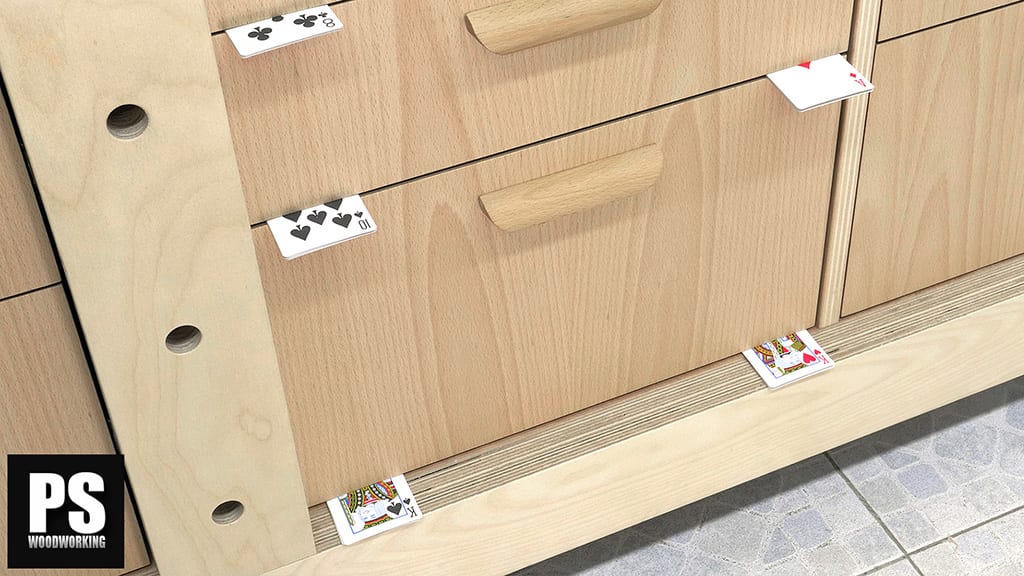
How to evenly space drawers using a deck of cards
That’s right, I’m talking about playing cards, like the ones used in poker. The method is quite simple. First we must place all the fronts one on top of the other in their emplacement, but leaving no gaps between them. Now we should get a deck of cards and put it in the gap at the top, removing as many cards as necessary until the deck fits in the hole.
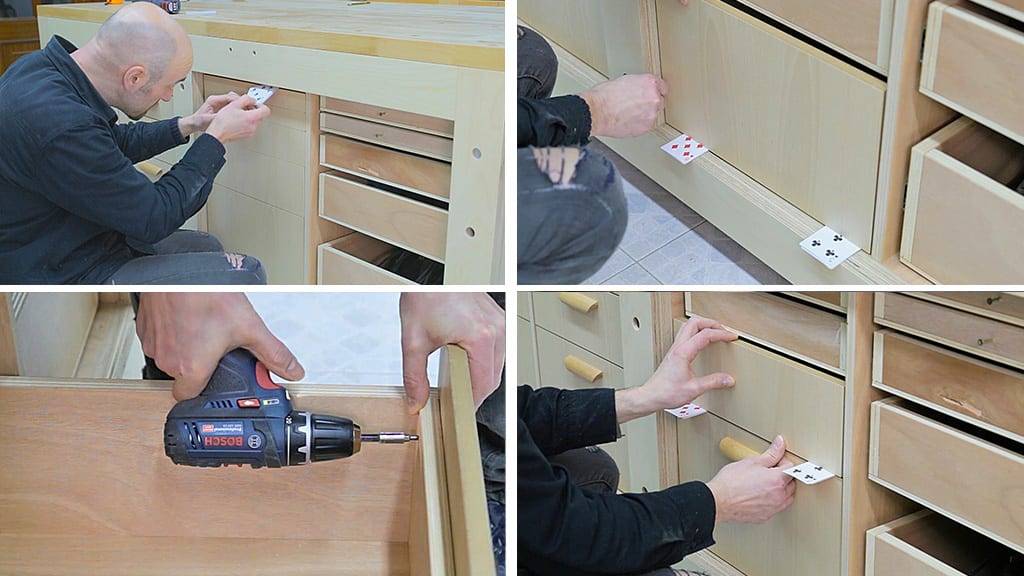
Once we’ve worked out the number of cards that fits in the gap, we must simply divide that number between the number of gaps we need between the drawers. It will always be one more than the total of drawers. So for example, if we have 5 drawers, or drawer fronts, we need 6 gaps. Let’s say we fit 60 cards in the gap. We divide 60 between 6, leaving a total of 10 cards.
Now we must take two piles of six cards and place them on each end of the bottom of the cabinet for the drawers. We put the first drawer front on top of the piles of cards and we work our way to the top, drawer by drawer, until they’re all installed. It’s that simple! You can see the full process in the pictures above in the article about my multifunction workbench.
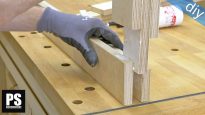
I take this opportunity to talk about another trick to cut get continuous grain on the drawer fronts when cutting them. First we must cut a strip of board with the exact width of the drawers, and then cut out each front exactly as they will be placed on the cabinet, just like I did when building my multifunction workbench.
You can see the full process in the pictures above in the article about my multifunction workbench.
I take this opportunity to talk about another trick to cut get continuous grain on the drawer fronts when cutting them.
First we must cut a strip of board with the exact width of the drawers, and then cut out each front exactly as they will be placed on the cabinet, just like I also did when building my multifunction workbench.
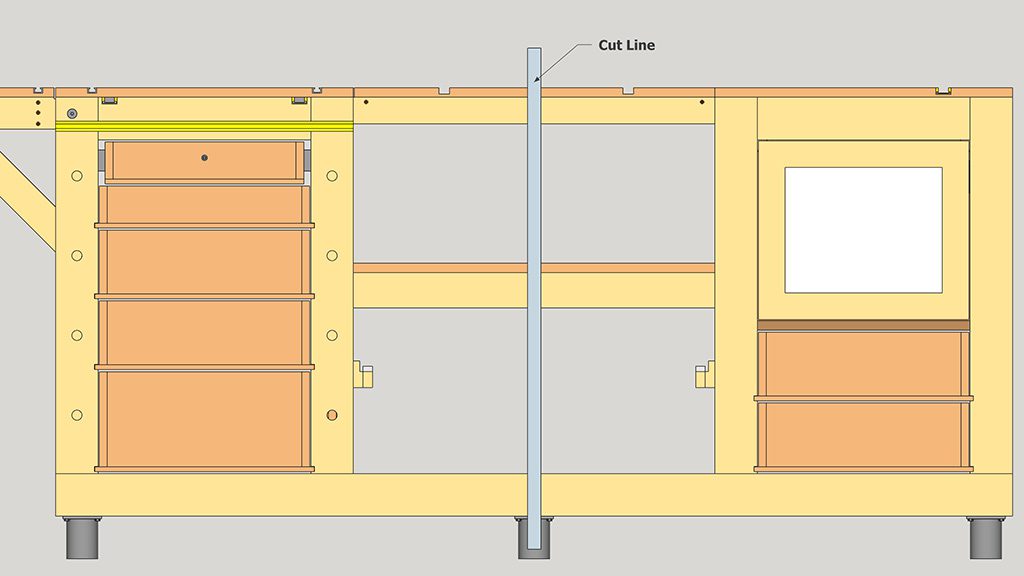
This bench is a cross between a woodworking bench and a simple work table, combining the advantages of both. It’s a robust bench with plenty of storage space to keep tools handy. Instead of making it the usual way by removing material, I did it by gluing pieces of plywood together until they are thick enough.


Those were way more useful than I expected. The last trick with the cards was pure genius. Very much appreciated Suso.
thanks Richard!
Pretty interesting. Thanks