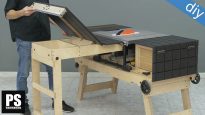
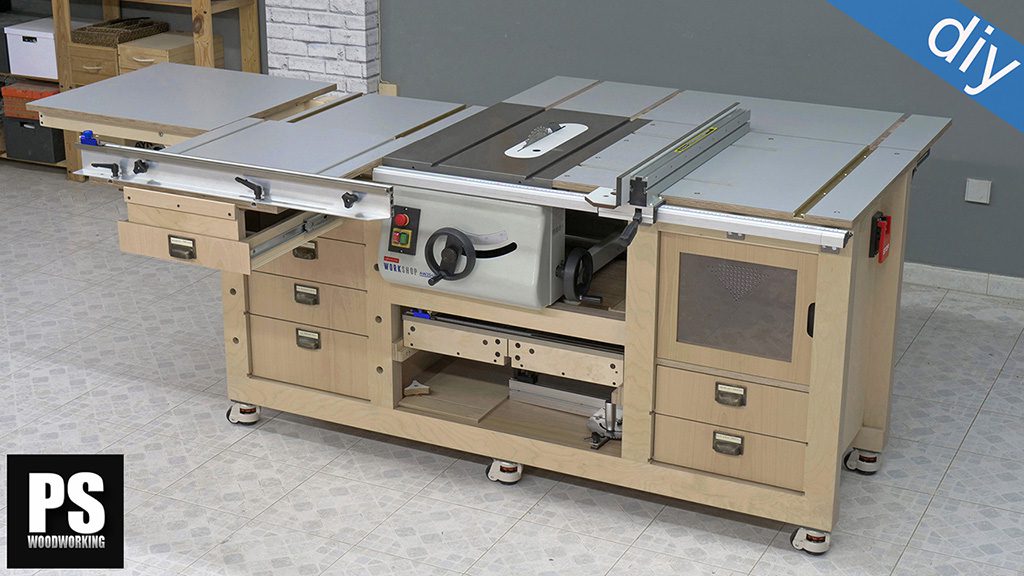
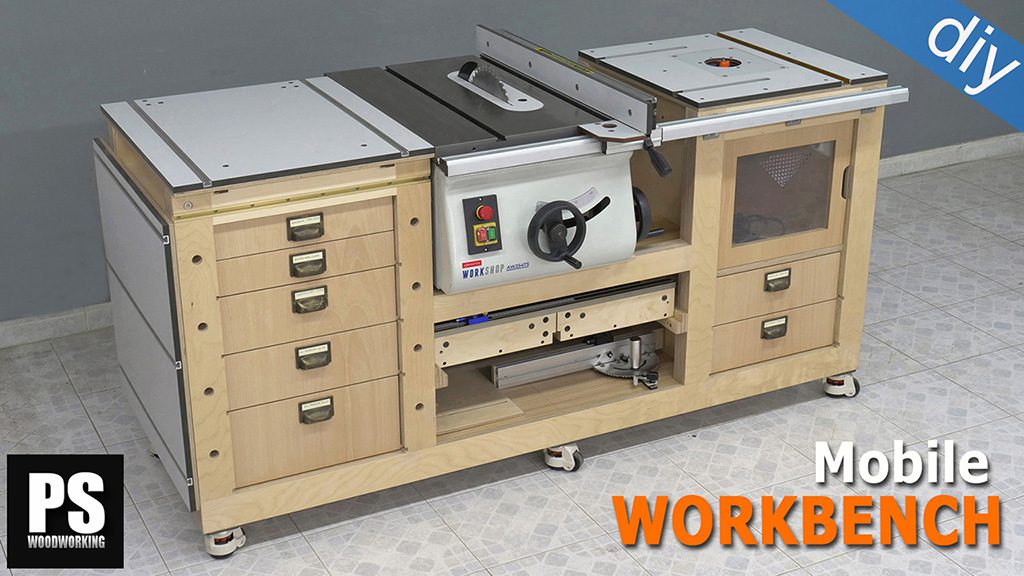
This is the sixth video in an eight-part series about my new mobile table saw station, which I’ve equipped with a table saw and a router table. Today, I’m going to show you how to make and use this outfeed folding table.
Specs of the Folding Outfeed Table for Table Saw & Workbench
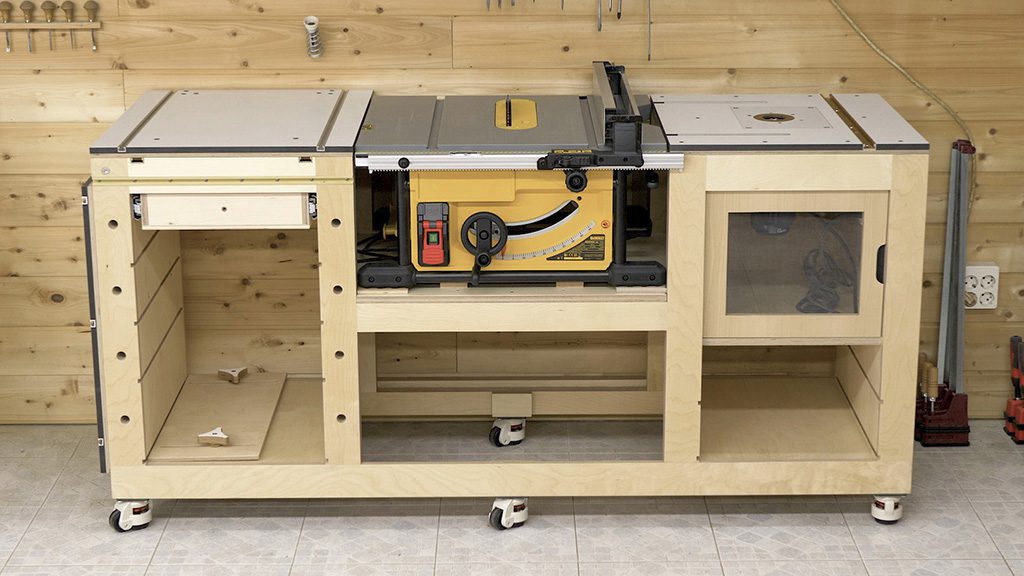
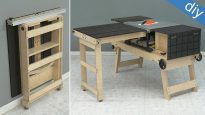
The main idea that led me to designing and making the outfeed folding table is being able to put the bench by the wall so that it will take up as little space as possible when I’m not using it.
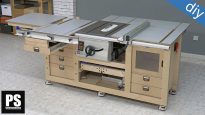
At the same time, being able to open it to achieve a larger work surface so that I can cut and mill large workpieces whenever it’s necessary. When it’s against the wall, the workbench is about 70cm deep and 180cm long
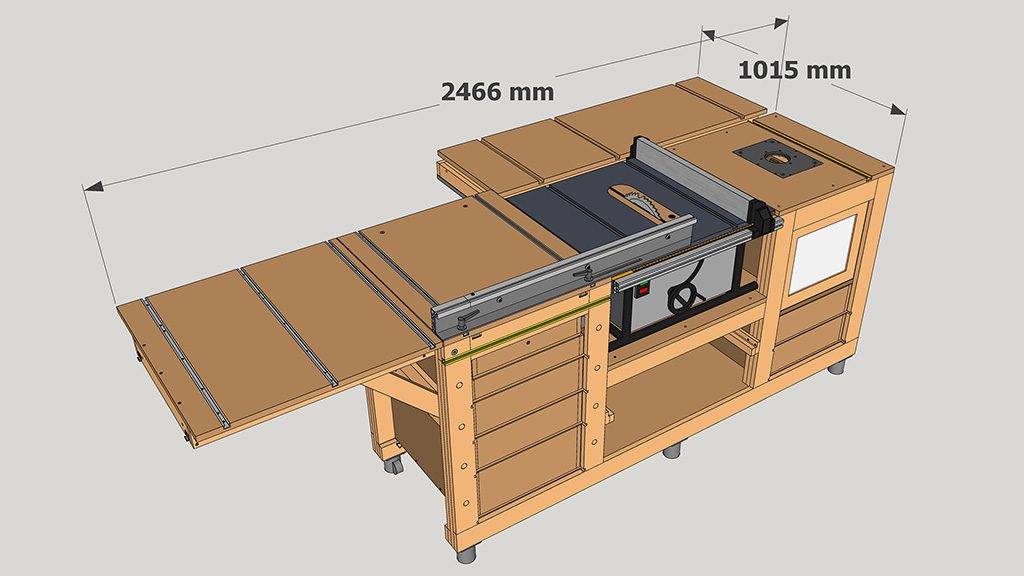
This is the 3D SketchUp file included in the plans on this website. Here you can see the full measurements of the woodworking workbench with both tables open.
Workbench Plans

Thanks to its wheels I can move the bench to the desired location, and it’s six leveling casters allow me to lock it and level it quite easily.
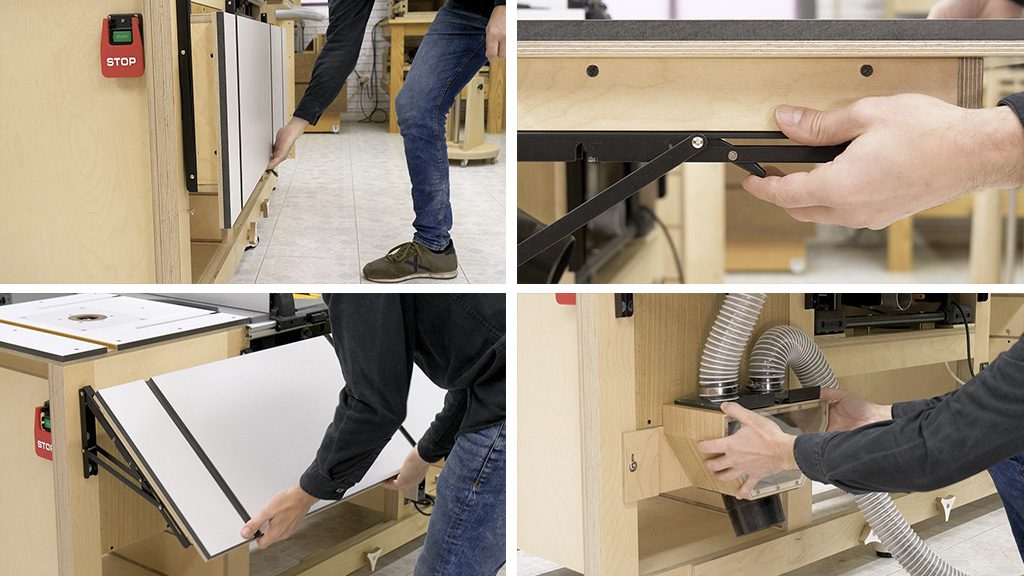
I’ve used three folding shelf brackets, the kind used to make folding kitched tables. They’re fairly robust, enough for these kinds of projects. They’re also easy to activate and deactivate.
Once open, I have to install the blast gate box and connect the two pipes to the saw and the flange adapter in the recess for the router. I can fold the table without the need to detach the box, but not all the way. Just enough to mill and cut whenever it’s more comfortable to not have it open.
To put the bench away by the wall so that it takes up as little space as possible, I’ll have to remove the blast gate box, but as you’ve seen, this is a very easy and simple step.
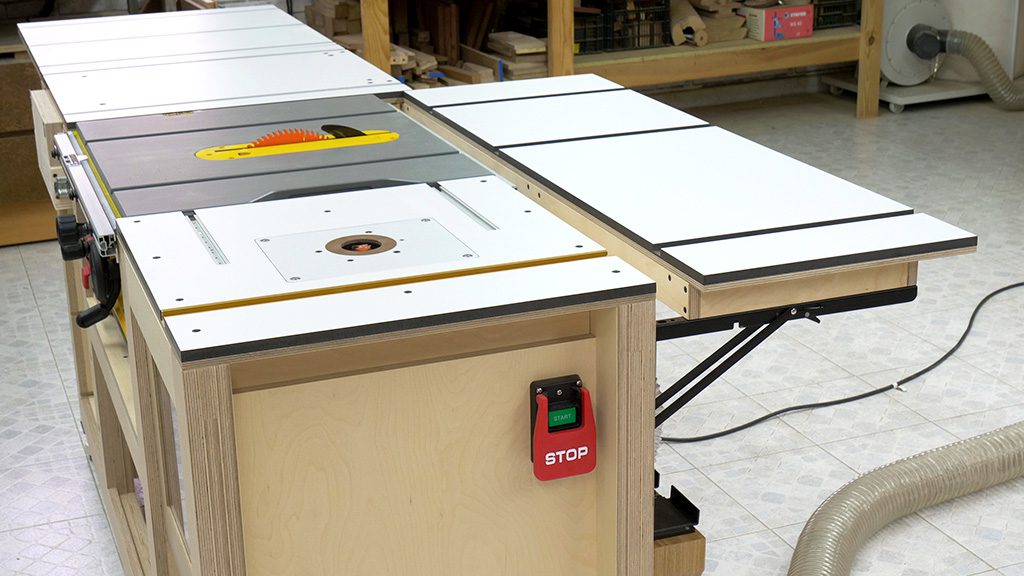
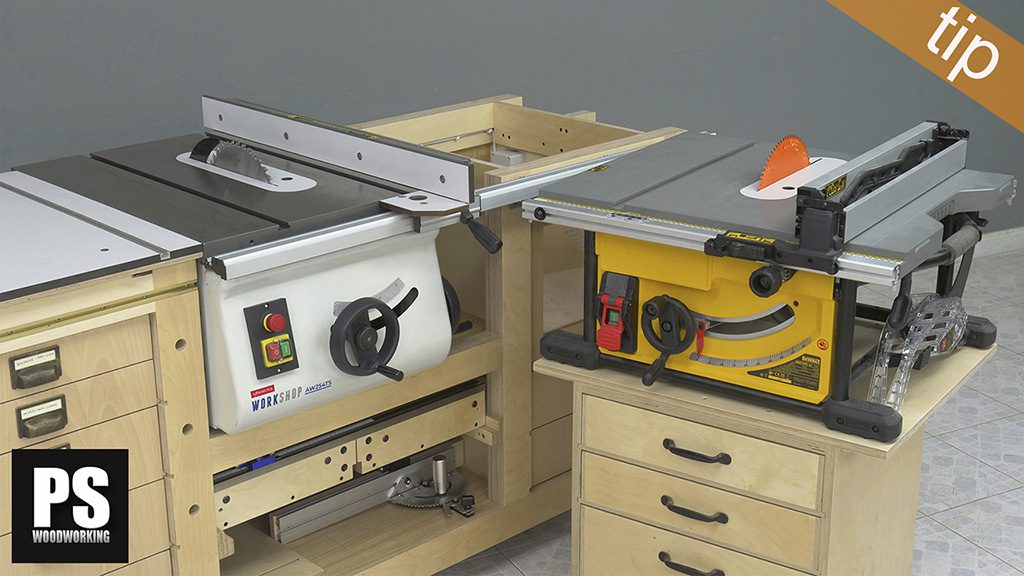
I’ve left a gap between the table and the back of the bench so that I can use the fence that comes with the DeWalt DWE7492-QS bench table saw.
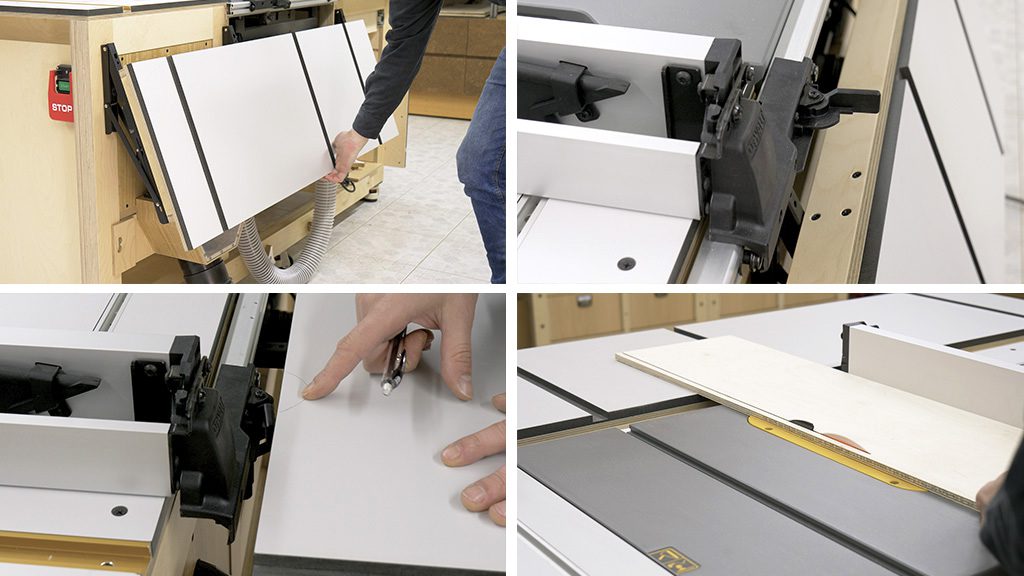
Another important consideration is how to remove the saw fence. This fence model has a lever to secure it to the saw. To activate and deactivate the lever, I have to fold the table for a moment. Another option would be to make a recess somewhere on the table so that the lever can be activated. You can see what I’m talking about in the third photo
In my case, I’m not going to make this recess because I’m planning on making a new fence that I can use with this table saw and workbench. The fences that come with these bench saws are highly precise, but not very robust. Whenever you want to cut large or heavy workpieces, the fence can easily move when pushing it, even when locked.
Besides, it has a small support surface in the entry and exit points of the cut. Another advantage of the new fence is that I can bring the top of this folding table closer to the back of the bench and get rid of that gap.
How to use the DIY Folding Outfeed Table for Table Saw & Workbench

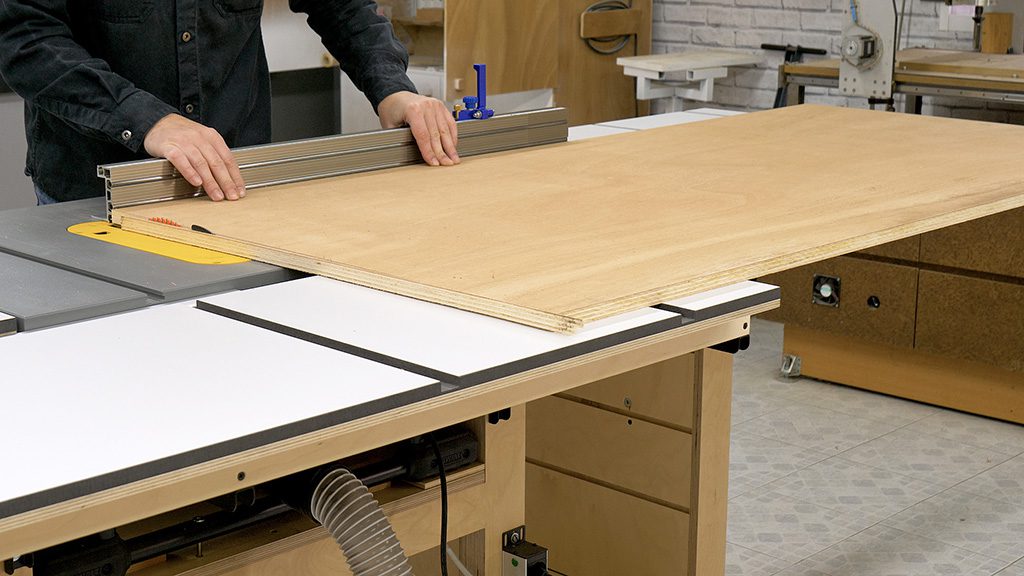
I’m going to make a few cuts to see the table in action. With medium sized workpieces I now have extra support on the exit point of the cut.
This makes it easier to finish the cut more accurately without worrying about the piece tilting due to not having enough support. Of course, with larger boards, it also helps having more support on the end.
Now I’m going to open the side folding table to make some cuts with the sliding carriage. This little extra support will also be quite useful on the exit point of the cut.
Finally, I’m going to show you how to use this extension table while using the router table. First off, I’ll install the router fence and mill a piece of MDF. The table will give me a larger surface to work comfortably with larger workpieces.
I’m planning to make another extension table for the front of the workbench. That will allow me obtain enough support for the workpieces at the exit point of the millings.

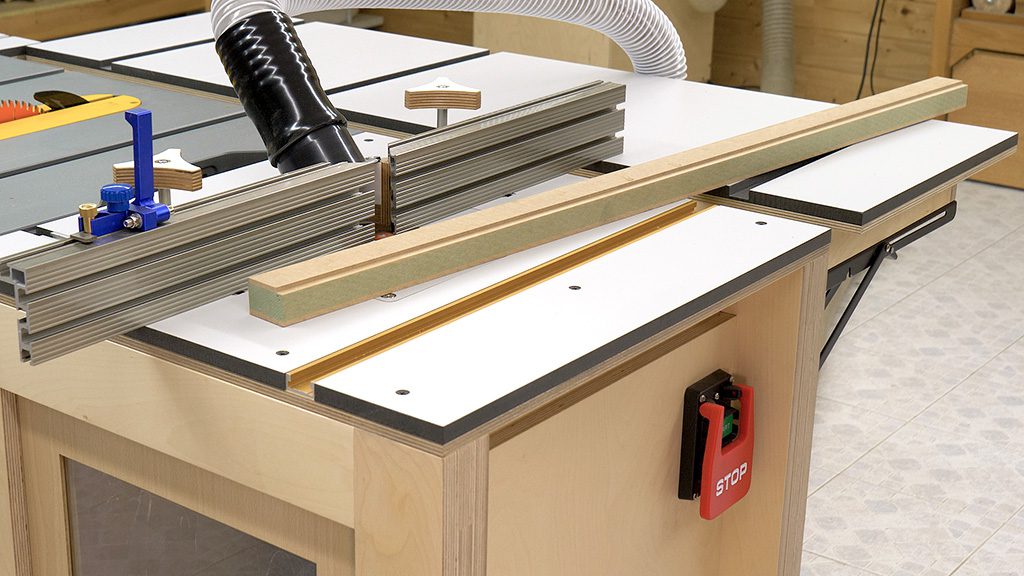
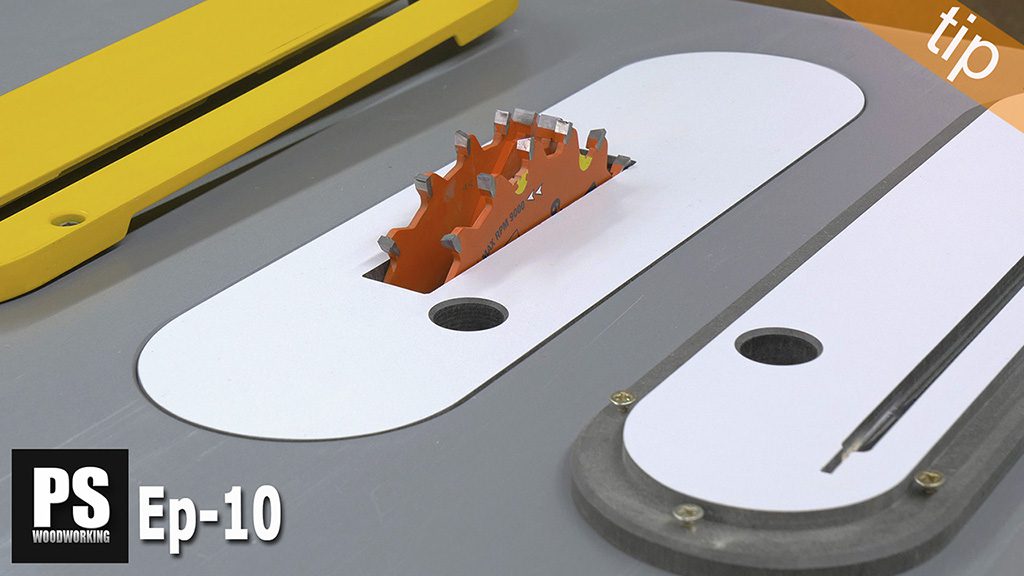
The grooves I made in the extension table will allow me to use the miter gauge in the table router and also with the saw table.
Here’s the next part in this series of articles where you can see me building the table saw sled for this woodworking workbench with a bench table saw.

So clean! Very nice
thanks Dirk!
Once it’s completely done, this might be the most functional table saw/router station available for someone to build. Can’t wait to see the rest.
thanks Mike!
Ótimo projeto! Parabéns
I would like to know where to buy the hardware and materials you used to use building this table saw combination. I love the design and care you put into it. I’m in the USA
thanks Richard!
check out this post and this other post and you will find almost everything I have used.
I like the work desk creation, may I get the design or the details (if you don’t mind), because I’m a beginner and I don’t have any tools yet
When milling pieces or cutting them down, do you find it difficult running over those gaps between each folding section? The gap for the side table when using the router seems pretty wide, so I didn’t know if you had run into any issues 🤷🏻♂️
hi Andrew, it is not too difficult, although I would prefer to avoid that gap in the back folding table. When I make the new fence I will be able to join the back folding table to the rest of the furniture.
Hi Suso, when are you planning to release plans for the new fence? Are you also thinking about other modifications or additions? Cheers, Eric
hi Eric, it will not be this year, possibly in 2023. Sorry!
Love the bench and everything about it. Do your plans come in imperial measurements? And account for American lumber dimensions?
Zeer geschikt voor compacte ruimte, mooi!
gr. Hans
Is it possible to buy such a table, how much does it cost? Delivery to Slovenia (Europe)
thanks for the reply